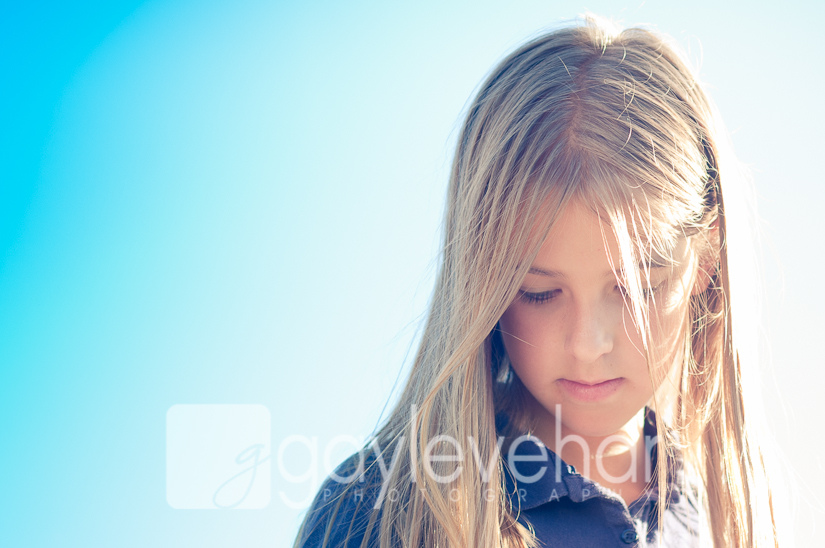
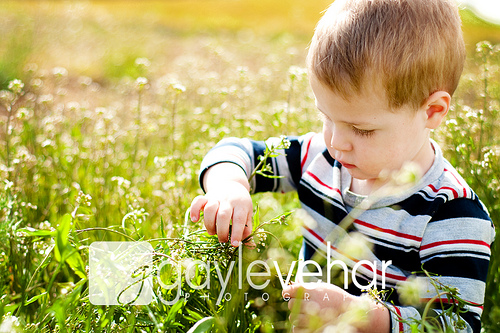
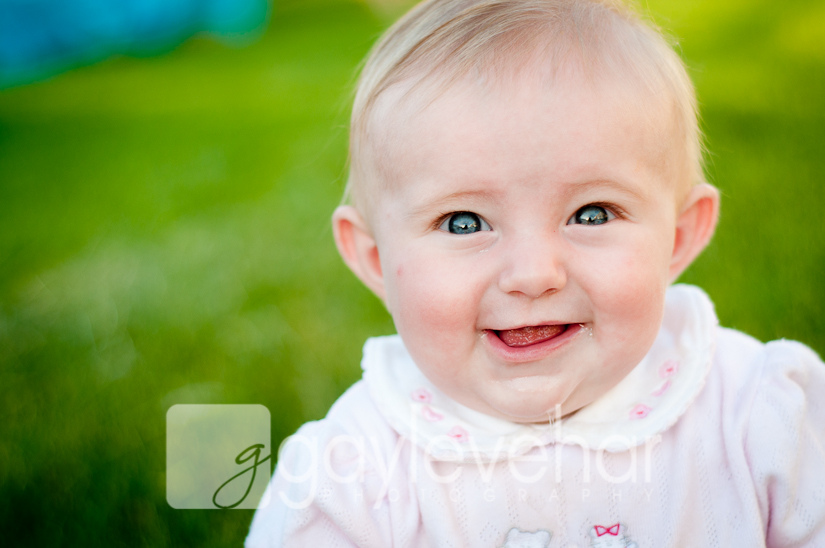
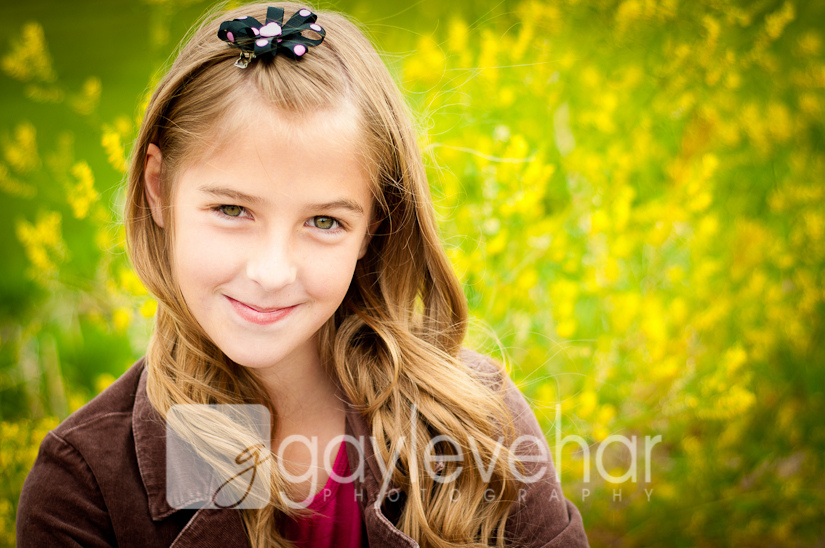
We are honored to have the amazing Gayle of Gayle Vehar Photography and Mom & Camera as a guest blogger today! I stumbled upon Mom & Camera back when I was on my quest to understand the manual function on my camera. I have been hooked to her blog ever since. Her images are beautiful and her ability to teach is just as wonderful. She is going to get your camera out of Auto mode and you are actually going to understand what this camera terminology means! Please welcome Gayle Vehar to the blog!
——————————————-
How to Take Your Camera Off Auto Mode and Start Getting the Photos You Want!
By Gayle Vehar
When Lisa asked me to write about taking a digital SLR from auto mode to manual mode, I was thrilled. I love manual mode and I love teaching others about how to get their own great photos by shooting in manual mode. I have written about this topic on my blog in a series I titled The Big Three. I am going to do my best to condense it a little for you here but there is still LOTS of information. If you’d like to read my posts in full one at a time, you can check out the series on my Mom and Camera blog. Grab a drink and a snack and let’s dig in!!
You need light in order to make a photo. If there is no light, there can be no photograph. Aperture, shutter speed, and ISO are the “Big 3” things that control how much light is recorded by your camera. EVERY camera has each of these things–however, with most point-and-shoot type cameras (or any digital SLR operated in AUTO mode), you don’t have full control over how they operate. Why do you want full control? The short answer–because your in-camera light meter is easily tricked!
First, let’s talk about aperture. It is a circular opening that allows light into the camera. The aperture is located in your lens. Aperture lets light into your camera much like the pupil of your eye allows light into your eye. It can be opened up or closed down depending on how much light you want to enter your camera. When you are trying to take pictures in a low light situation, you want to open the aperture up as much as possible to let in lots of light in much the same way that your pupil opens up and becomes larger when you are in a dark room. The more open your aperture is the more light that can enter the camera. In bright situations, you might want the aperture closed down or made smaller to let in less light in much the same way your pupil becomes smaller when you are outside on a sunny day.
F-stops are the number that your camera uses to tell how open or closed the aperture should be. The most confusing thing about f-stops and how they relate to aperture is this: the smaller the number the larger the opening in the lens (or aperture) and the larger the number the smaller the opening in the lens.
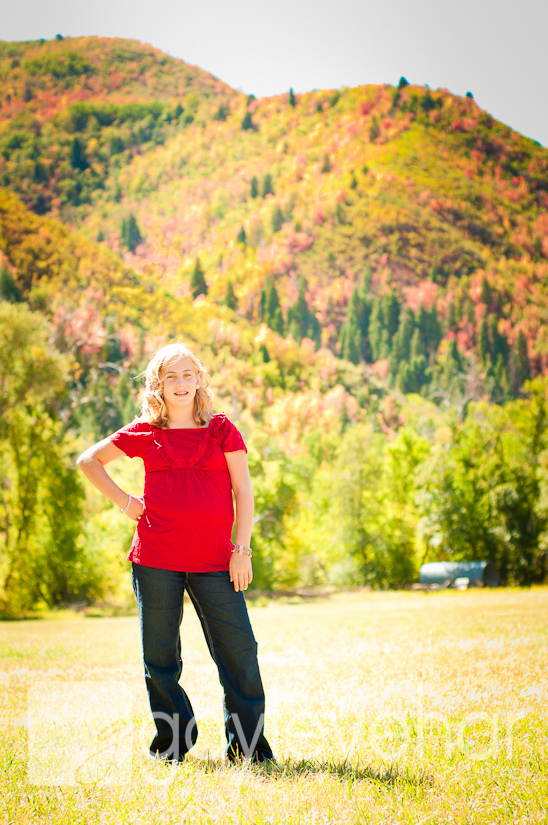
Aperture is also used to control the depth of field or how much of your photo is in focus. If you want everything between your camera and the subject and beyond in focus, then you need a closed down aperture (small aperture opening/large f-stop number.) If you want only your subject in focus and everything else to have that nice blurry look then you need an opened up aperture (large aperture opening/small f-stop number.) Since I LOVE blurry backgrounds, I tend to use a very open aperture A LOT!!
Shutter speed is the second of The Big 3. Shutter speed is pretty easy to understand. Each time the shutter “clicks”, a little set of curtains open and close to allow light to enter the camera. The speed that it opens and closes is what determine how much light the camera records. That little curtain isn’t moving slowly. Cameras record shutter speeds in seconds or, more accurately, fractions of a second.
Shutter speed is used to control the amount of motion in a photograph. A slow shutter speed is often selected to suggest movement since a slow shutter speed will allow some blur. Fast shutter speeds are used to “freeze” motion.

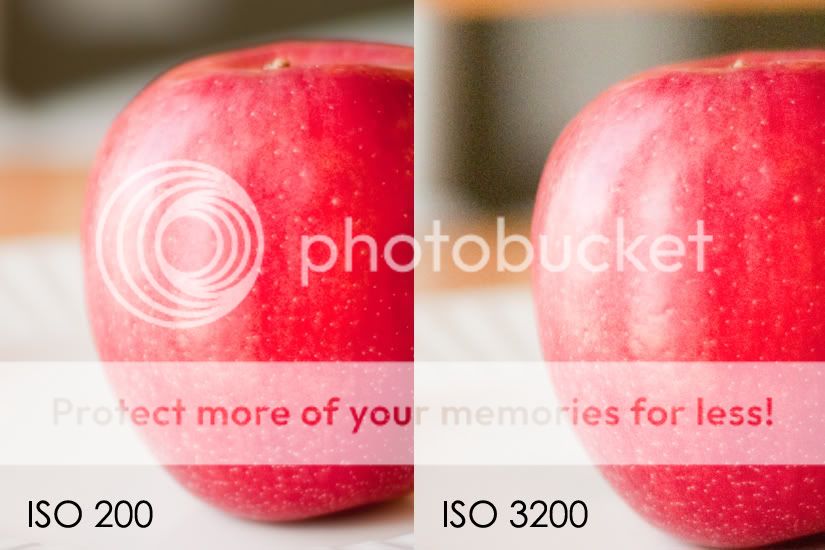
ISO is the third of The Big 3. I was first introduced to ISO in the days when I used film. I would go to the store to buy my film and the ISO 100 and 200 film had pictures of sun and ISO 800 film showed clouds. The real story is that ISO measures the sensitivity of the camera sensor (or film) to light. Digital camera sensors are made up of pixels. The lower the ISO number the smaller and less noticeable those pixels are. This is ideal. Increasing your ISO will allow your camera to be more sensitive to light and these numbers would be used in low light situations. However, increasing your ISO will also allow the pixels to become more noticeable.
As a general rule, you want to keep your ISO as low as possible. Increasing your ISO should only be done after you have exhausted all other options for letting light into the camera. Does that mean that I always keep my ISO at 200? Absolutely not! When photographing indoors, I really dislike on-camera flash and sometimes choose to have more noticeable pixels over using pop-up flash.
So how does this all work together? Let’s talk about exposure. At the beginning of this post I talked about how you need light to create a photograph. Really, you need the RIGHT AMOUNT of light to create a photograph. If you allow too much light in the camera, your photograph will be overexposed and your subject will be too light or white. If you allow too little light in the camera, your photograph will be underexposed and things will be dark or black. You control exposure with the Big 3–aperture, shutter speed, and ISO.
For any given scene, there are many different exposures that could be correct. Your subject and the final photo you see in your mind will dictate the settings you choose to get the right exposure. Think of these many different options as EQUIVALENT exposures. Your in-camera light meter looks like this: +…..0…..-. It can be seen when looking through your viewfinder and will help you set your exposure. Here is an example:
Let’s say that I am outside taking photos of my kids. I want the background blurry (shallow depth of field) so I open my aperture to f/3.5. The last time I was taking pictures I had my shutter speed set to 1/60 of a second. As I look at the light meter in the viewfinder, it looks like this: +|||||0…..-. Those lines toward the plus sign tell me that I have TOO much light coming into the camera. In order to get the light meter in balance, I need to make the shutter open and close faster so less light will hit the sensor. I turn the dial until the lines toward the plus sign disappear. Now my shutter speed is at 1/500 of a second and my light meter is in balance and looks like this: +…..0…..-.
I could have also taken this photo at f/10 and 1/60 since that would also have been an equivalent exposure. However, the photo I ended up with would have been much different. In that photo the background would have remained in focus with much more detail than I wanted.
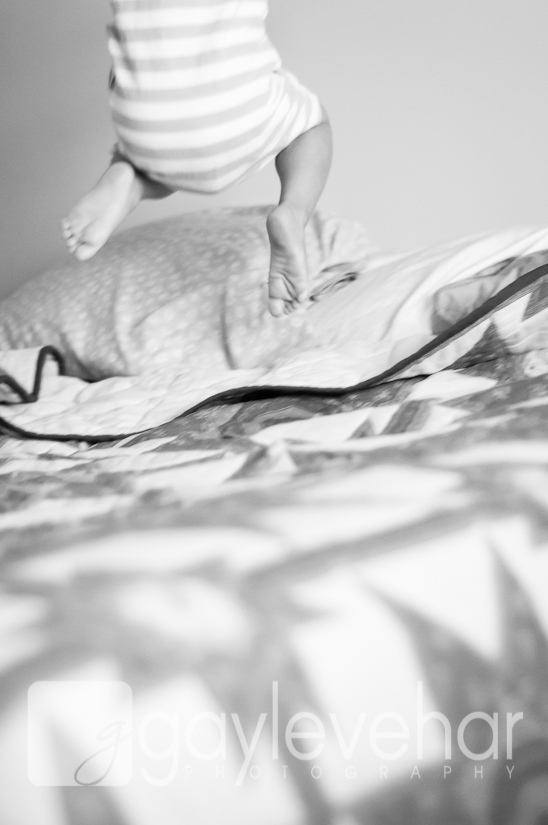
You may be wondering how ISO plays into the balance of exposure. Let’s say that I now want to move inside and take some pictures of my kids jumping on the bed. There is a lot less light in my house, so I open the window blinds to let in as much light as possible. I know that in order to freeze the action, I am going to need a fast shutter speed. However, even with the blinds open and my aperture opened up, I still can’t get my shutter speed fast enough to freeze the jumping (the shutter speed would have to be above 1/250 to freeze motion.) Since I have exhausted all my other options to increase the amount of light coming into the camera, I need to make my camera sensor more sensitive to the light. By increasing my ISO to 800, I am able to increase my shutter speed to 1/400 of a second and thus freeze my kids mid-jump!
Congratulations!!! You made it to the end! But really this is just the beginning! Now that you know the basics, start practicing in manual mode. It will take some time and patience, but you can take control of that powerful camera and begin getting the pictures you have always dreamed of!
——————————————-
Now that you understand what Aperture, Shutterspeed and Iso are, you are well on your way to taking better photos! Be sure to refer to your camera manual if you don’t know how to adjust these settings. Post your questions if you have any, and we will do our best to answer 🙂
Be sure to visit Mom & Camera for more great information. You will be hooked like me!
Gayle will be back tomorrow with some Tips & Tricks so stay tuned!

