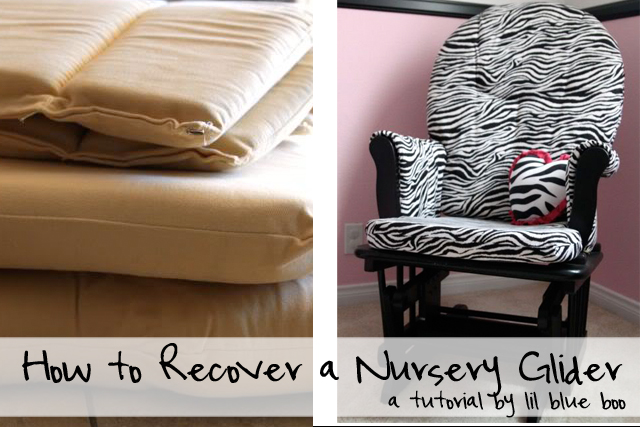
I recently recovered these outdated cushions for my sister-in-law to surprise her while she was in the hospital recovering from a c-section:

My brother-in-law had repainted her black and adding these new cushions completed the whole pink, black and white nursery look for my new niece!

The easiest way to recover foam cushions is to use a seam ripper to remove the old covers and use them as your pattern….then you’ll get a perfect fit!

I carefully removed each cushion cover and pinned each piece to the new fabric to cut out an identical piece:

I marked any pleats with my disappearing ink pen….

….and then pinned them into place.

Matching the pleats, I place the two pieces for this particular cushion together and then sewed all the way around the edges leaving the back open to re-insert the cushion.

Here is the finished bottom cushion turned right side out:

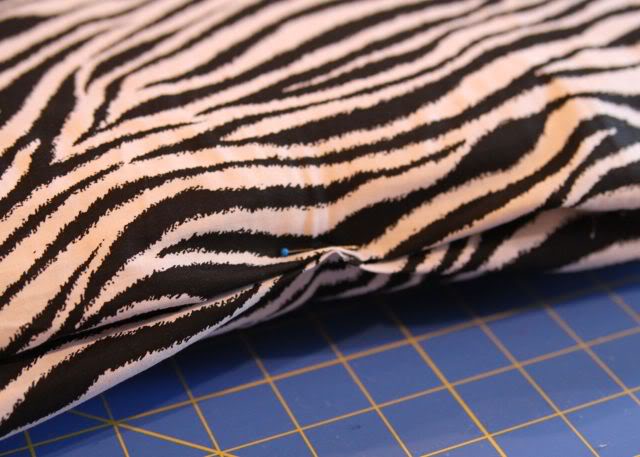
To close the backside of the cushion…

……I turned the edges inward on the backside of the cushion, pinned the together and used a blind stitch to close.
Some cushions are made of multiple pieces and are slightly more difficult….but if you break the cushions down into pieces you can easy recover them as well. Just approach each cushion as its own project!

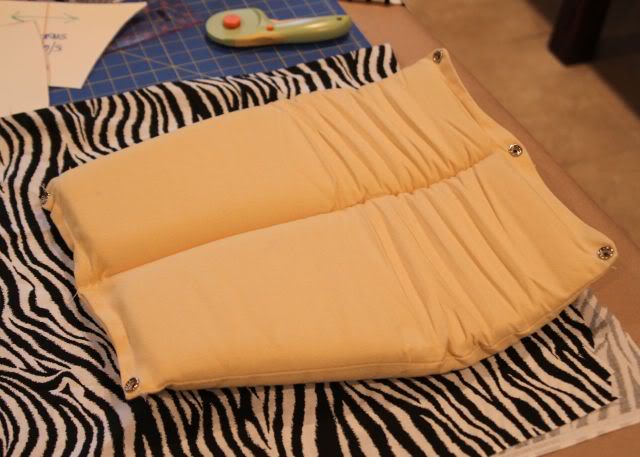
You can see how this one had two pieces:

I left the cover on the top piece (the piece with all the fancy stitching):

I simply stitched any indentations into the cover…..

……by just adding a stitch through the new fabric and straight through the foam, knotting the thread in the back of the cushion.

Here you can see the stitched indentations. Then I basted the edges of the zebra fabric to the edges of the original cushion cover using a needle and thread.

I laid the 2nd piece of the cushion cover on top of the one just finished…….

……..and pinned the edges together.

Then I carefully sewed the edges together (a little awkward with the thinner cushion attached….but go slowly and it works fine).

Turned the pieces right side out and then inserted the other foam piece.

I didn’t want to have to buy new hardware for the straps that attach the cushion to the chair….so I made tiny sleeves for them….

….and opened up a small area on the back of the cushion with a seam ripper to slide each strap into place and then resewed the cushion shut.

For these side pieces, I didn’t want to mess with the hardware either, so I made slipcovers for them. I just traced the pieces, added seam allowance…..
….and then stitched the sides together. I just serged the ends to finish since they were hidden once attached to the chair.

Finished cushions! Better than new because they were custom!

Perfectly coordinated nursery:

Even the name painting I made my sweet niece Cari before she was born matches!

