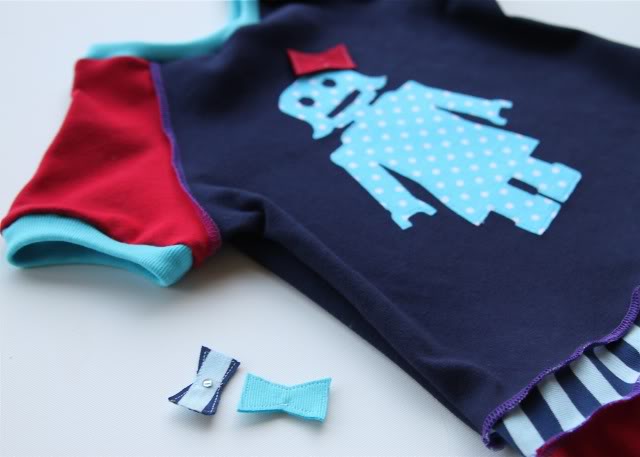
Here is my new little robot design that I am using on some dresses and skirts for my shop….she is a girl version of the boy robot I made the other day. I made this little knit dress today with an applique version and added interchangeable bows for the robot’s hair. They snap on and off so that the wearer can pick which one she wants “lil miss roboto” to wear! Sienna has so many clothes already I’ve listed it in my etsy shop. Stay tuned over the next week for some different versions and sizes!
Green Robot

I used my new little robot to make a set of pajamas for my nephew who turns 3 this weekend. The robot is a freezer paper stencil onto a white t-shirt and I made the pajama pants from some green robot print fabric.
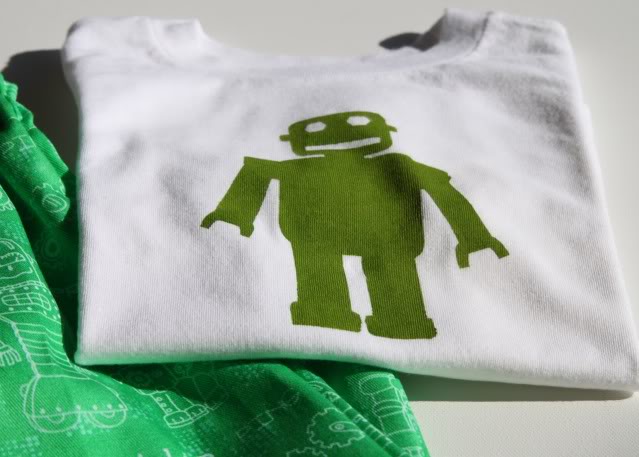
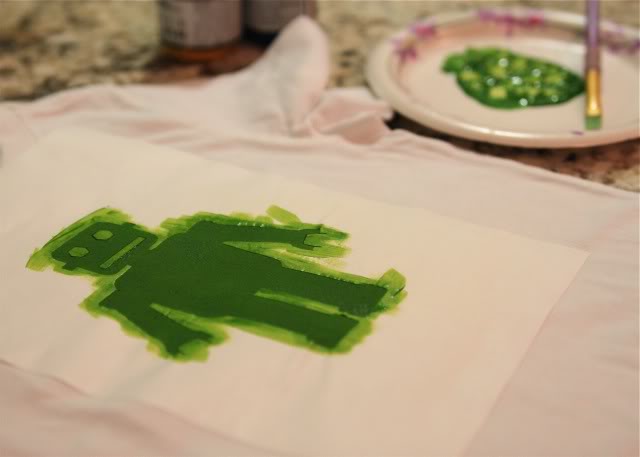
I printed the robot directly onto freezer paper, cut out the image and used fabric paint (Jacquard is of course my favorite) to fill in the image. (Read this tutorial for more info on freezer paper stenciling, and fabric paint.) The greens don’t match exactly….but I didn’t have the right blue paint to mix with the yellow!
I’m definitely going to use him again soon! Here is my template if you want to make your own. Click to download the PDF:
Copyright © 2009 by Ashley Hackshaw. All rights reserved. This robot template is for personal and home use only. Please email me at ashley (at) lilblueboo.com for more information. Thank you for respecting my copyright!
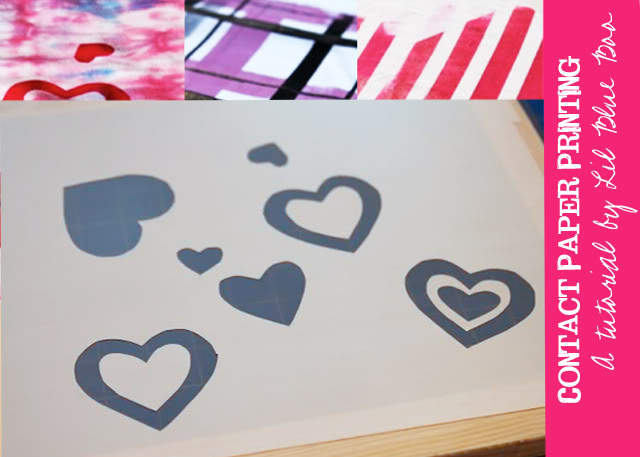
If you are making more than one print try this easy contact paper screen printing tutorial!
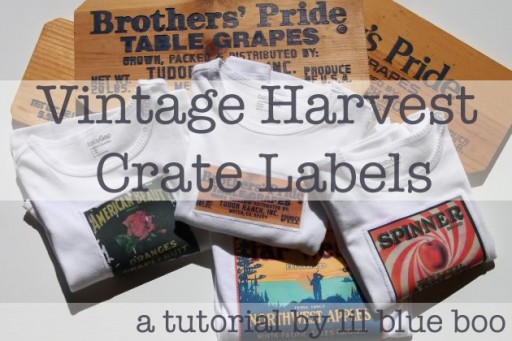
Vintage Harvest Crate Stamp/Label Patches (A Tutorial)
This was my first submission to the SYTYC contest for the theme “harvest.” Here is the tutorial in case you are interested! Thanks all of you who voted!
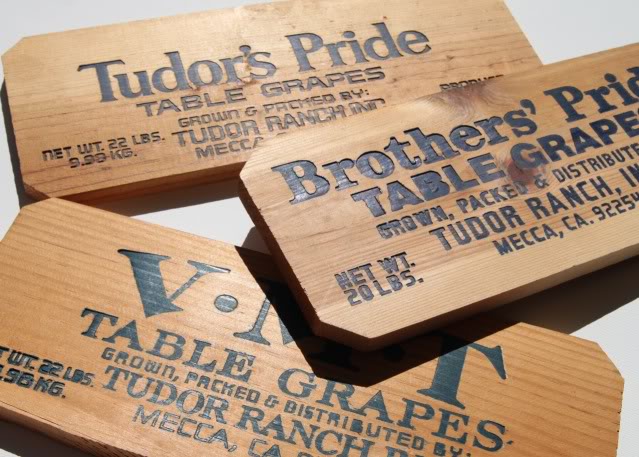
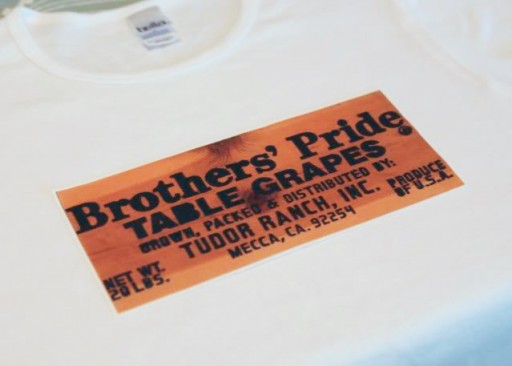
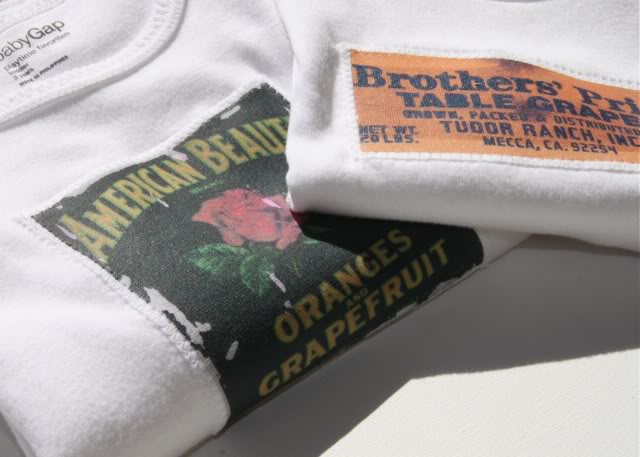
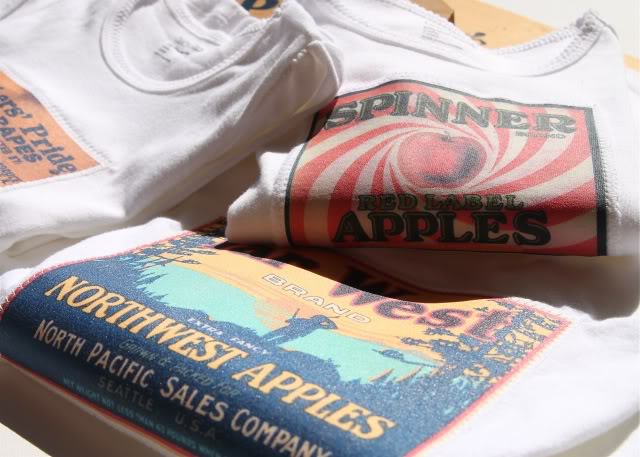
I love John Steinbeck….I own every book he wrote, including Grapes of Wrath. I love the wooden crates used for harvesting fruit way back before plastic was available. My friend George and his family have owned a grape farm since the 1940’s and I asked him for some of his old wooden crates with the ranch’s stamped logo. I used the wooden crates and some vintage fruit crate labels to create knit patches for girl and boy t-shirts. My two favorites: the “Brother’s Pride” crate label because of the wood grain, and the “American Beauty” fruit label because of the distressing technique I used.
Below is a photo I took at George’s farm. I think it is amazing how much agriculture is grown out here in the desert…..it is all irrigated by canals! You’ll be driving along surrounded by only sand and tumbleweeds and then all the sudden:

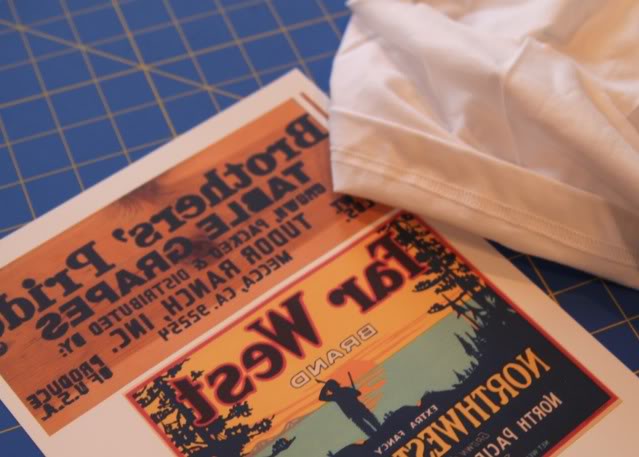
Step 1: I took these wooden crate slats and scanned them directly into my computer. I also had a few paper labels I scanned in. You can actually buy an entire CD of copyright free images here if you have trouble tracking down physical labels.
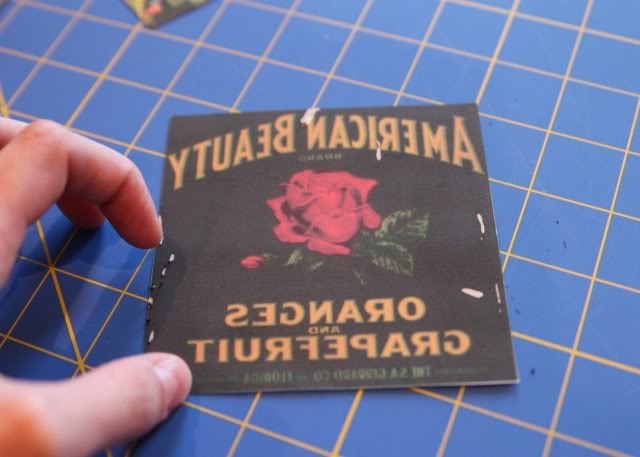
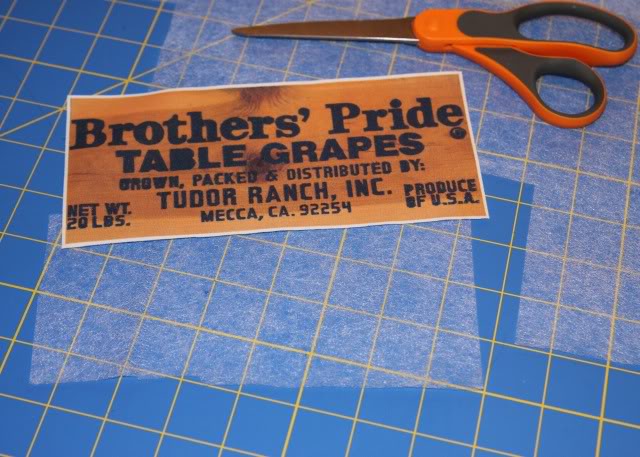
Step 2: Reverse the images on your computer, resize them and the print them onto t-shirt transfer paper.
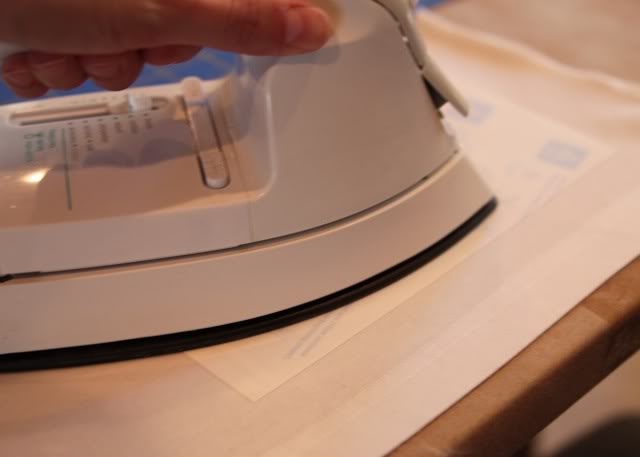
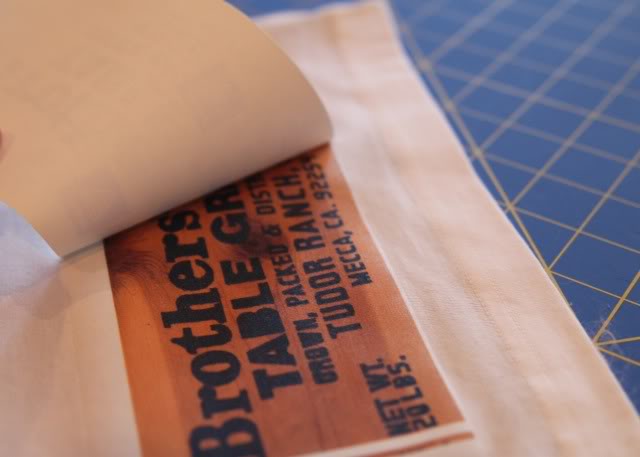
Step 3: Cut out the transfer and place face down onto the t-shirt knit. The trick is NOT to use an ironing board…..you should a hard surface like a table or the floor and place protective brown paper or an old t-shirt on your surface to protect it. Follow the directions of the specific transfer paper you are using.
Step 5: Cut out a piece of Wonder Under or other fusible web product slightly smaller than your patch. Note: Do NOT use the fusible web that needs to be steamed in a second step (usually has backing on it)….the steam will affect the ink in your transfer.
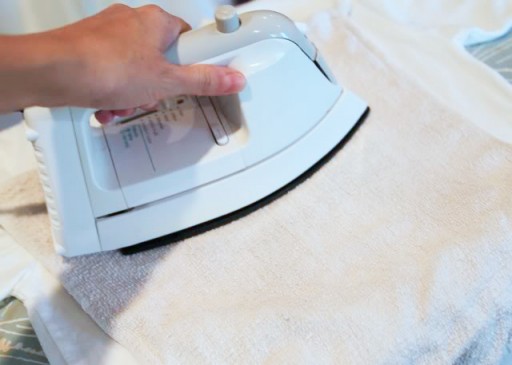
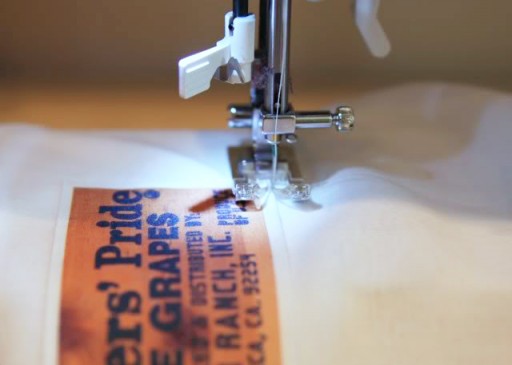
Step 6: Position your knit patch onto your t-shirt with the Wonder Under sandwiched in between.
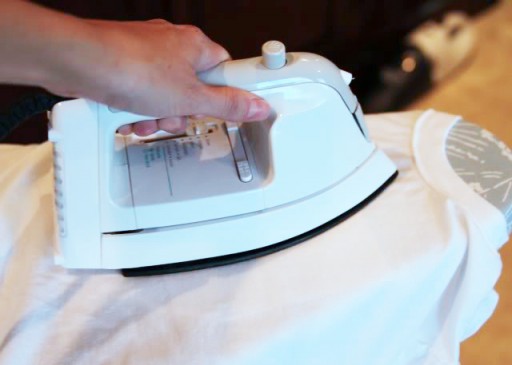
Step 8: Turn the shirt inside out and place over the narrow edge of the ironing board and press the patch area with the iron to finish fusing the patch to the shirt.
There are so many designs out there you are destined to find the perfect ones for your little girl or little boy! You can also use the patches for jeans, coin purses….so many possibilities!
- « Previous Page
- 1
- …
- 36
- 37
- 38
- 39
- 40
- …
- 61
- Next Page »

