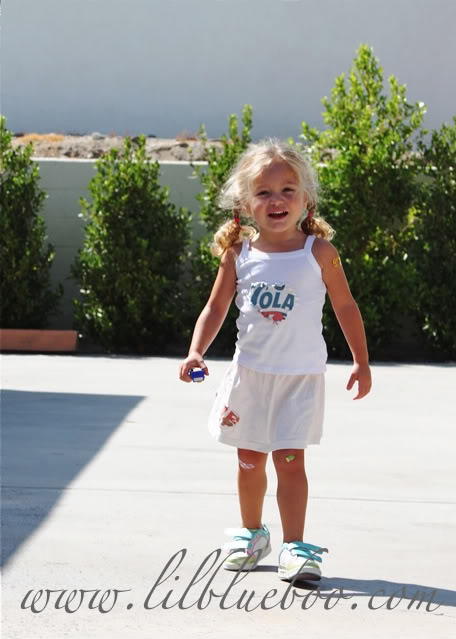
Every once in a while something I make is a “homerun” with my daughter (although it is very rare occurrence). It will be a sad day when Sienna outgrows the recycled t-shirt skirt and matching top I made a few months ago. We only have about 1 1/2 seasons here in the desert, so it could be a year-round outfit if she would stop growing.
Scrapbook Punch to Fabric Stencil
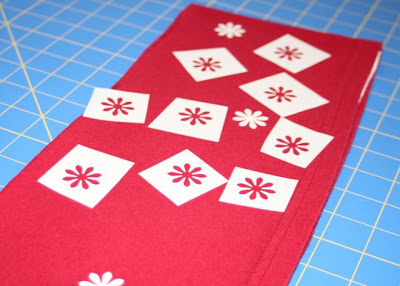
I don’t do a lot of scrapbooking (I am YEARS behind unfortunately…it is on my “list” to catch up)…..but I do LOVE those little paper punches. I use them to make freezer paper fabric stencils…my simple, inexpensive way to “screen-print” at home.
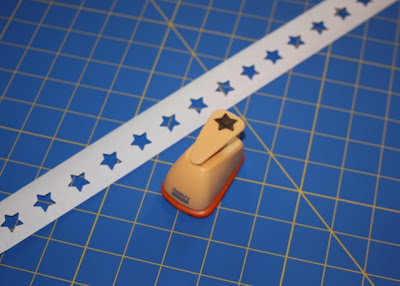
I punch out the shapes into a strip of freezer paper….
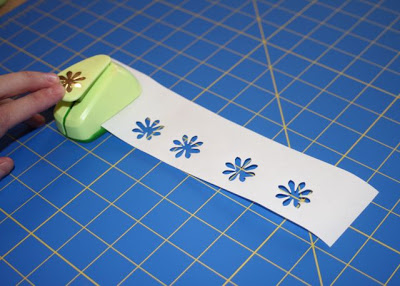
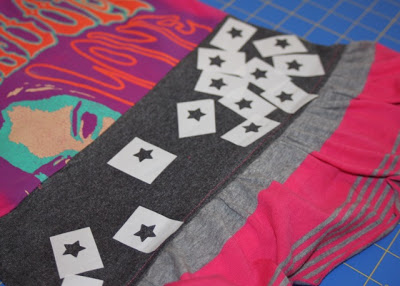
….and sometimes use both the shape and the “negative” image left behind.
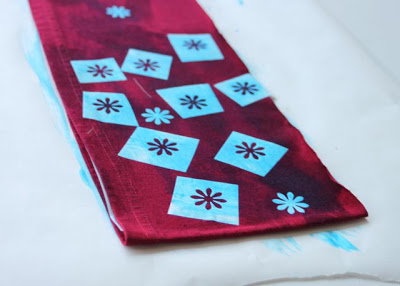
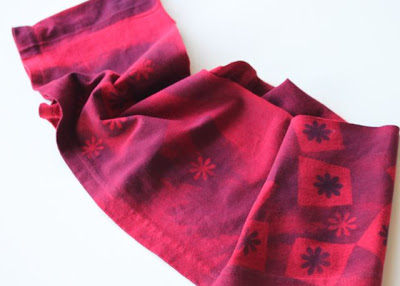
I used blue watered-down paint to make the red fabric look more purple and used the freezer paper punches to leave a random design behind…..
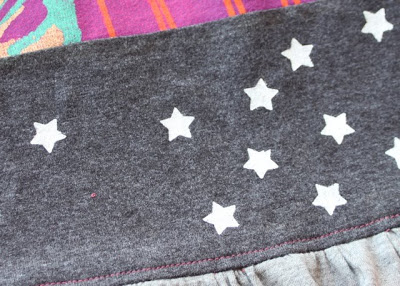
A star punch…..
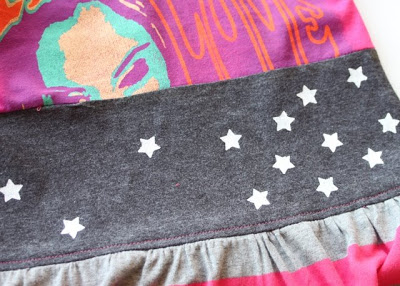
….used to make a cluster of “floating” stars on a dress…..
……an easy spruce up to a dull grey t-shirt!
Just remember:
:: Put a layer of freezer paper in between your fabric layers so that paint doesn’t bleed through to the other side.
:: Iron your dry paint layers to heat “set” them so they don’t wash out!
Click here to see other freezer paper stenciling projects that I’ve done.
Flaming Pants
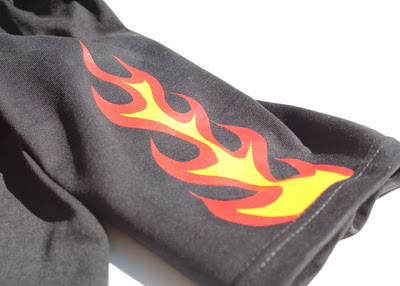
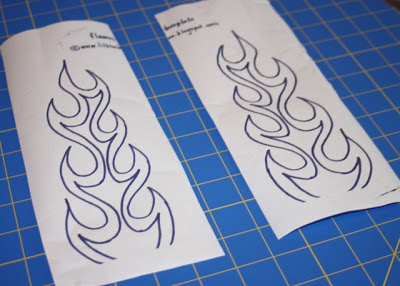
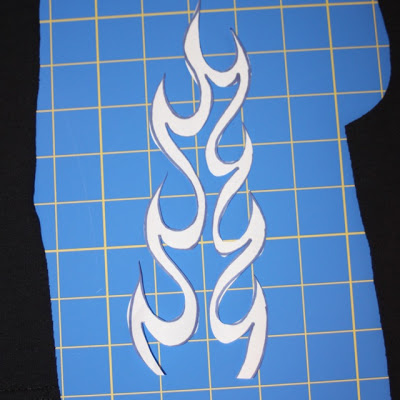
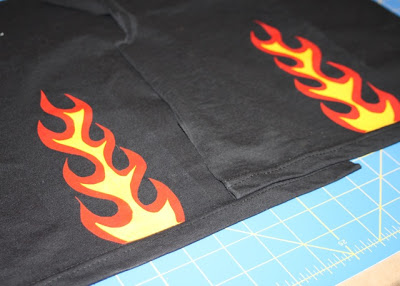
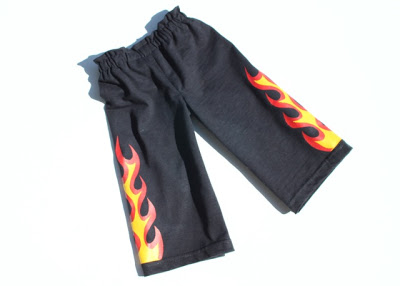
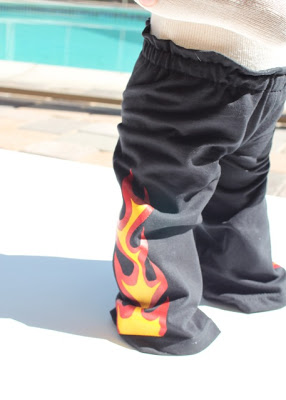
I’ve been neglecting making things for boys lately….so I made these little black sweatpants for my newborn nephew today. I made them with an old t-shirt and a layered freezer paper stencil. He’ll look really “tough” at 6 months old with the flames don’t you think? You can make them too…..I scanned and uploaded my flame sketch at the bottom of the post.
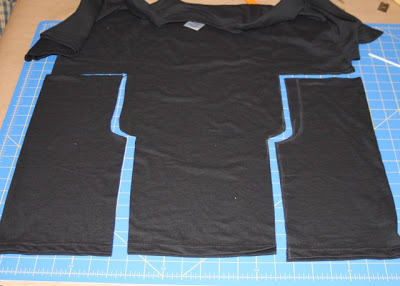
Step 2: I cut an 8.5 x 11″ piece of freezer paper and printed my template directly onto it (make sure to print on the paper side…NOT the waxy side or you’ll have a real mess). I cut the template in half…. one flame for each leg.
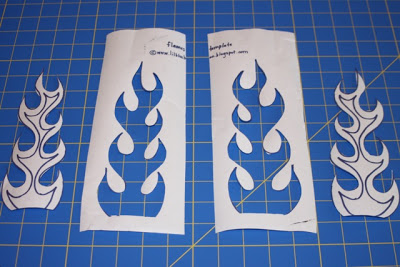
Step 3: I cut out the large flame from each piece of paper (save the inside flame for later)…..
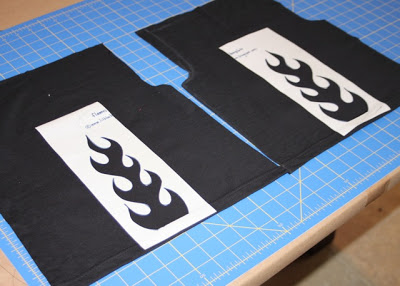
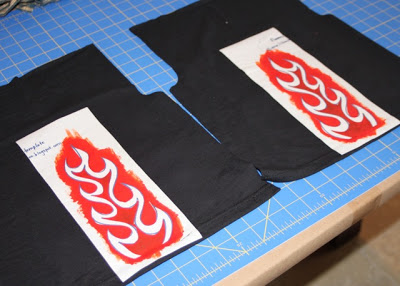
Step 4: I ironed on my flame stencils to the t-shirt (read this tutorial for more info on freezer paper stenciling, and fabric paint). I ironed a piece of freezer paper underneath as well so the paint didn’t bleed through.
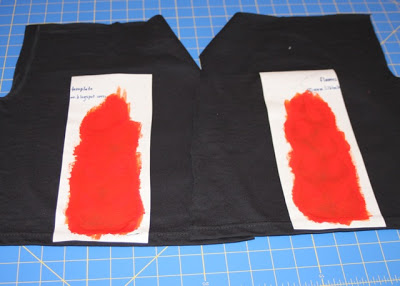
Step 5: I mixed a red/orange color and painted several layers onto the stencil.
Step 6: I cut out the smallest portion of the inside flame.
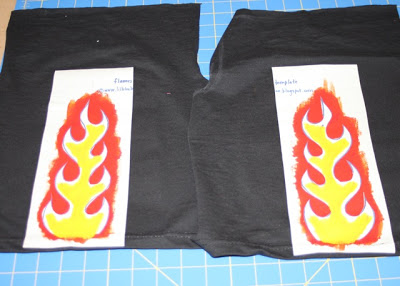
Step 7: Once the red/orange layer of paint was dry, I ironed the “inside” stencil directly onto the paint and larger stencil.
Step 8: I mixed a little bit of white fabric paint with yellow (to make the yellow more opaque) and painted several layers onto the “inside” stencil.
Step 9: Once all the paint was dry I peeled off the stencils and my flames were finished!
Step 10: I sewed together my t-shirt pants and added the elastic waist (see the t-shirt pant tutorial here for directions).
And put them on my new little “baby manny” that a friend gave me! He sure is frumpy.
*Copyright © 2009 by Ashley Hackshaw. All rights reserved. This applique is for personal and home use only.
- « Previous Page
- 1
- …
- 45
- 46
- 47
- 48
- 49
- …
- 61
- Next Page »

