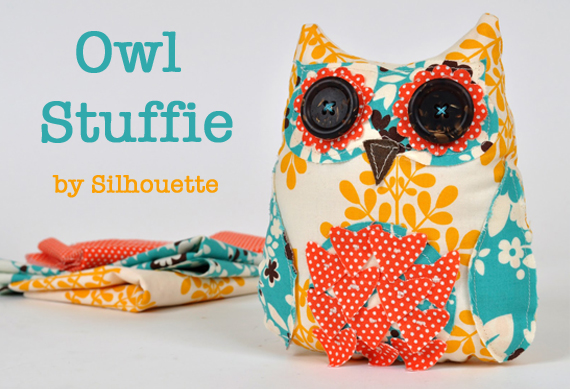
Just a few Silhouette projects that I love (click images to visit):


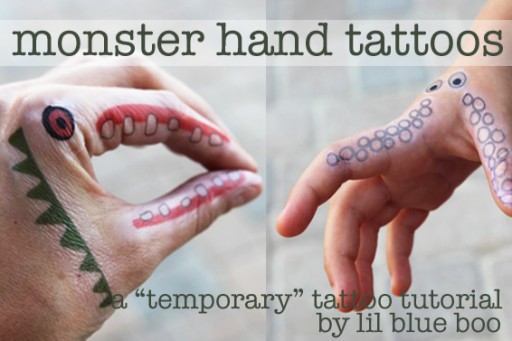
Just spent the last few days in San Francisco and can’t wait to share our trip. We got back late yesterday afternoon and finished up this fun little project using Silhouette’s temporary tattoo paper:
I drew these little “monster” parts at Boo’s direction and sized them for the hand and fingers (click below to download the graphics). They can be mixed and matched to create a variety of monster characters:
I printed them out onto the tattoo paper using my regular ink jet printer:
The second step is applying the adhesive paper to the back of the freshly printed tattoos…..
….and using a bone folder or a similar tool to burnish/smooth it onto the paper:
You can use the Silhouette software to cut out your tattoos, but these were so simple (and I was only making one copy) I just used scissors to cut them out:
The tattoos are applied just like any other temporary tattoo….by applying a damp cloth to the paper backing:
The paper backing will slide off and reveal the tattoo:
A finished monster tattoo! Although this one kind of resembles a prehistoric bird, right?
Diesel was kind of unsure about it:
Boo chose a tentacled monster yesterday:
And a snaggle tooth dragon today:
A fun way to make tattoo hand puppets!
I recently found this old wood lazy susan at a thrift store for $2.99…….
……and painted it to look like an old wine barrel lid using a wood aging technique I used back in my college studio art days:
I love the look of reclaimed wine barrels used in home decor…..they are just so expensive. With a few simple household products and some spray paint I was able to recreate the wine-inspired look for under $5.
Materials needed:
Wood lazy susan, tray or plaque
White distilled vinegar
Steel wool
Spray paint
Adhesive vinyl shelf paper or paper stencils
Step 1: I used my Silhouette machine to cut a stencil out of vinyl adhesive shelf paper. If you have a Silhouette machine you can click on the image below to save my .studio file for your own machine. If you don’t have a Silhouette machine you can use basic stencils from the craft store and paint each letter or you can save the image below and enlarge it to cut it out as a stencil by hand:
Step 2: Place the stencil on the wood and mask off any other areas you don’t want to get paint on:
Step 3: Spray a layer of paint onto the stencil and let it dry thoroughly. Once dry, carefully peel off the stencil.
Step 4: Mix white distilled vinegar into a bowl and submerge a steel wool pad (just like the one you wash dishes with) into it.
The steel wool reacts with the vinegar to create an “aging” wash. Let the steel wool soak in the vinegar for about 20 minutes…….the steel wool pad will begin to disintegrate a little.
Use a paper towel or gloves to grab the steel wool pad and some of the liquid and “paint” across the wood. Let dry and apply a second coat. As the liquid becomes discolored in the bowl you can also use a paint brush to apply the vinegar.
Step 5: If the color is a little too gray for your liking you can steep some basic tea bags in hot water……
…..and use a paint brush to add a few coats of concentrated tea. It will add a slight natural brownish tinge to the wood:
Once the wood is dry you are finished! Use a rag to clean off any bits of steel wool left behind. Spray with varnish or add a layer of polyurethane if you like to protect the color:
Looks just like the real thing:
Behind the scenes: Boo and I taking photos for this tutorial…..Lisa snapped this photo from the office as she worked:
Let me know if you make one for yourself! Would love to see it!
