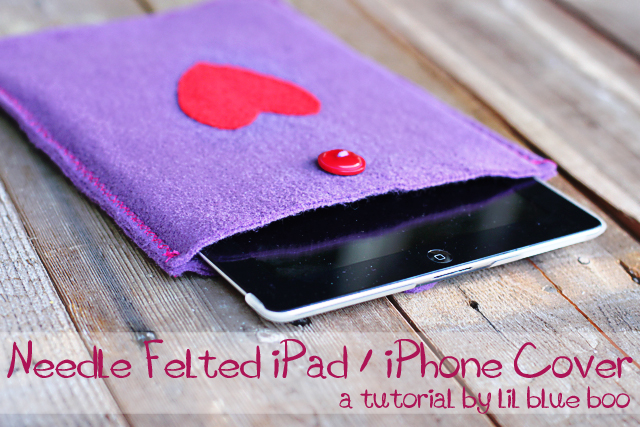
DIY iPad Cover that’s super easy to make. I was so excited to do my first needle felting project. I wanted to start out as basic as possible……so I did some applique felting. Needle felting is basically where you use a barbed set of needles to attach 2 pieces of felt. The barbed needles drag the fibers of one piece through the fibers of the second piece and the fibers tangle together to attach the two. It’s a super easy project if you use felt pieces from the fabric store….you can layer felt shapes to make any applique:
I used layered felt pieces to create a thick padded iPad cover….using the needle felting process to attach the layered pieces and to add a simple heart applique to the front:
I started out with basic felt from the fabric store. The other option for needle felting would be wool roving…..but that’s for another project soon!
I cut out four pieces of felt about 1/2″ larger on each side of the iPad:
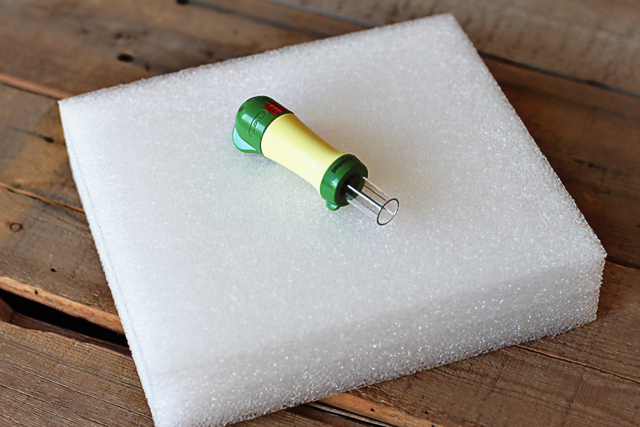
For this project I used a multi-needle tool and needle felting foam. The foam allows the needles to pass through easily as you do your punching:
For smaller projects you can use a small brush mat like the one below:
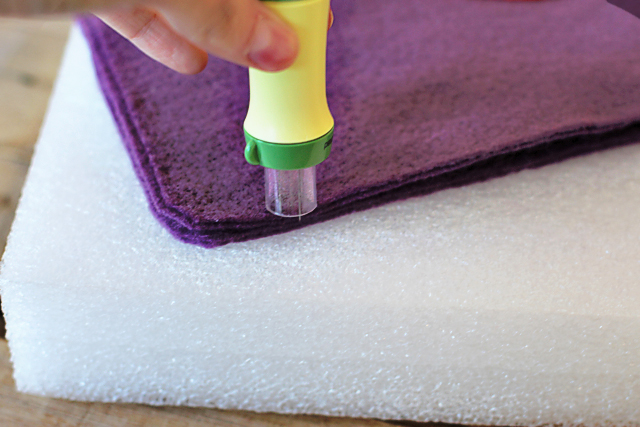
The needle tool has a guard on it that retracts when it goes through the felt:
I took 2 of my pieces of felt and placed them on top of each other and used my needle tool to start punching through the entire surface….over and over and over:
It took me about 30 minutes to punch the felt enough to create a solid piece of felt from the two pieces:
I repeated the process for the second set of pieces:
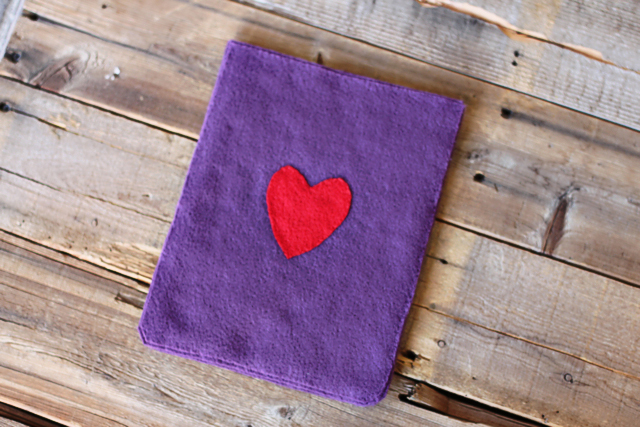
I designated one piece to be my front and cut a small heart from a red piece of felt and placed it on top:
Using the needle tool I felted the heart piece to the purple piece….punching and punching over and over until they were completely attached:
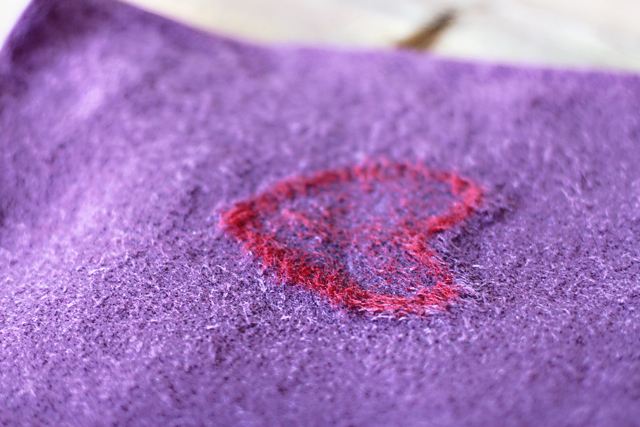
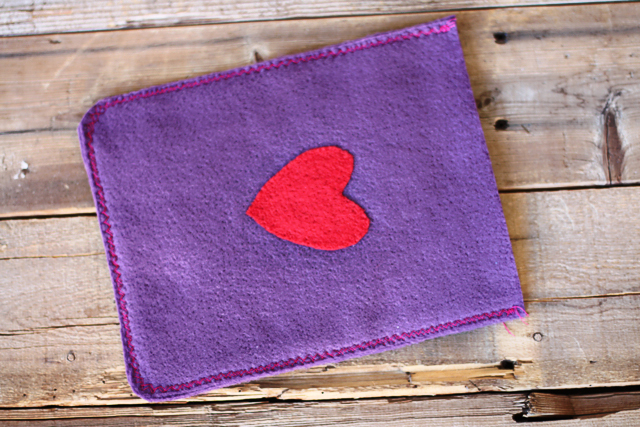
Here’s what the needle felting looks like from the reverse side. You can see how the red fibers are punched through the other side of the purple felt to attach the two:
The front and the back of my iPad cover:
I placed the top of the iPad cover onto the back and used the needle tool to felt the sides together….just letting the needles punch through the edges:
Here is how the iPad cover looks at this point:
I used my sewing machine to sew a zig-zag stitch along the 2 side edges and the bottom edge. I actually sewed around these sides three different times. You could also use DMC thread to sew a blanket stitch by hand if you like that look instead:
Getting close!
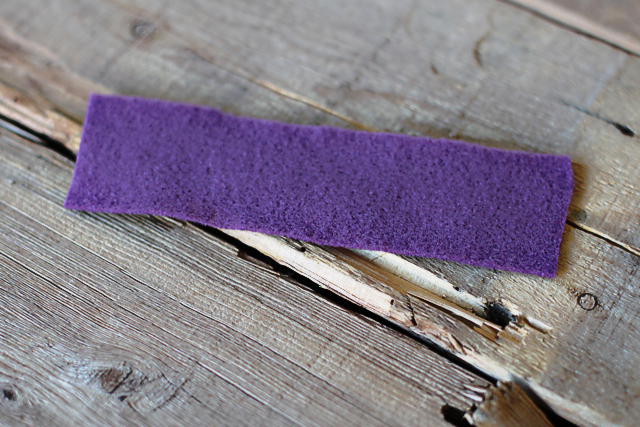
I cut a 6 inch x 1 inch piece of felt for the closure:
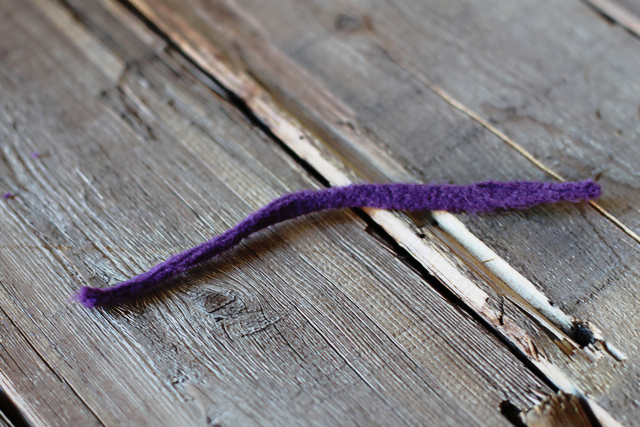
I rolled the piece longways and used the needle tool to felt it to itself:
Here’s what the piece looks like once it’s been rolled and felted….just like a skinny felt rope:
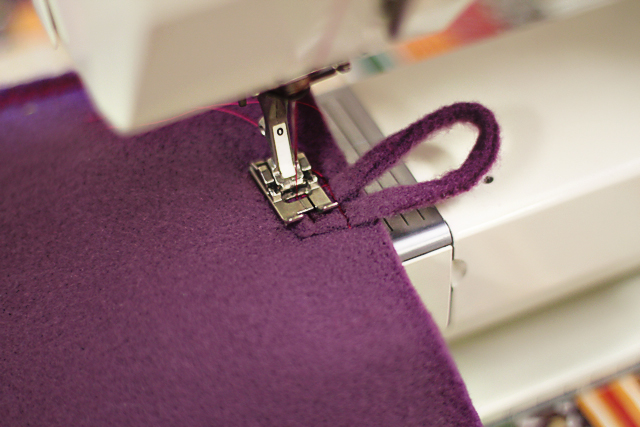
I made a loop and carefully sewed it to the back of the cover:
I cut a small square to cover the ends of the loop:
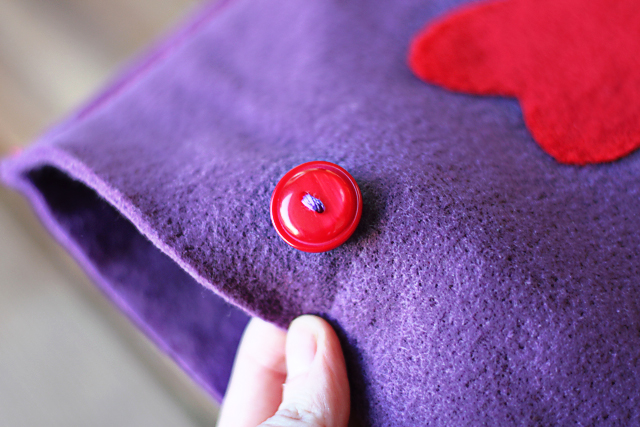
I added a pretty button to the front:
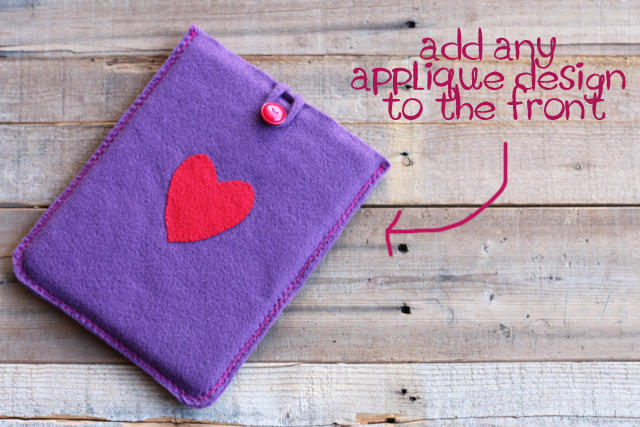
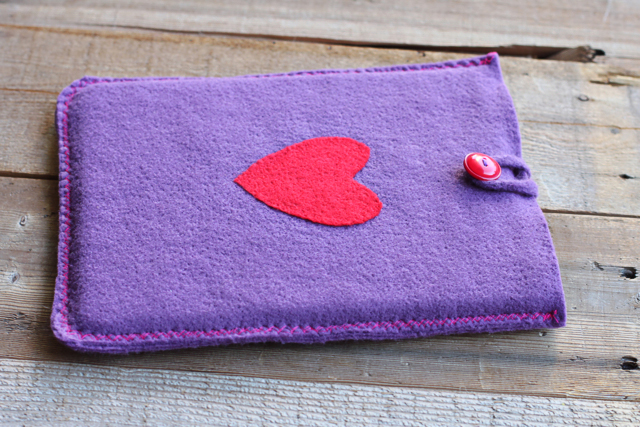
And the iPad cover is complete!
I went with a simple applique but you could cut and overlap as many felt pieces as you like for a more complicated design:
Easy, inexpensive and a great gift idea…..and the same idea could be applied to so many different projects!

