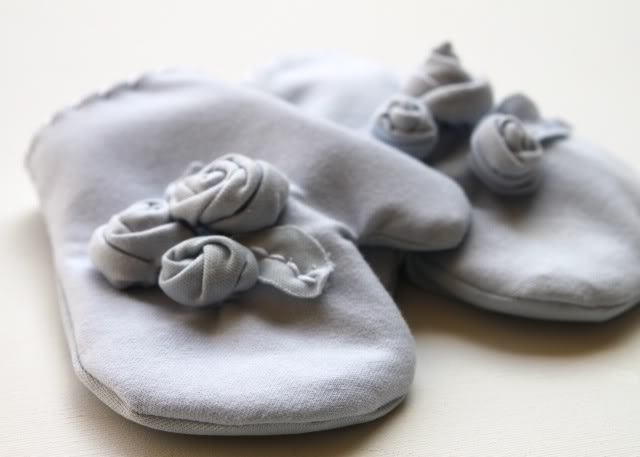
I made these upcycled mittens for the SYTYC contest but decided to go with another idea instead.
Step 1: I made a template using my daughter’s hand and cut out 2 mitten shapes for each hand (4 total) from a soft ice blue microfiber golf shirt. These are the outsides of the mittens.
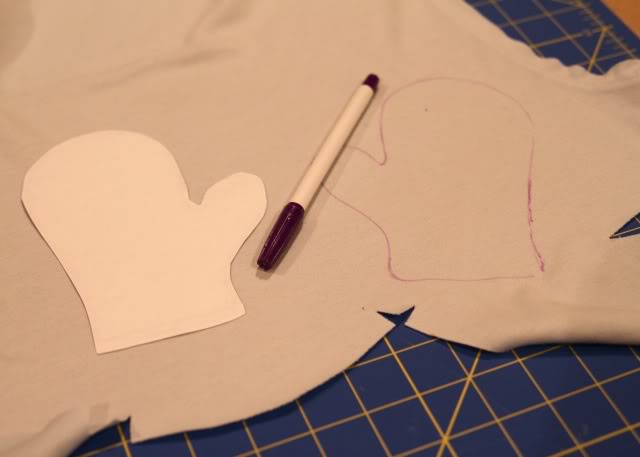
I cut out 2 mitten shapes for each hand (4 total) from a pair of white stretchy sweatpants. These are the warm insides of the mittens.
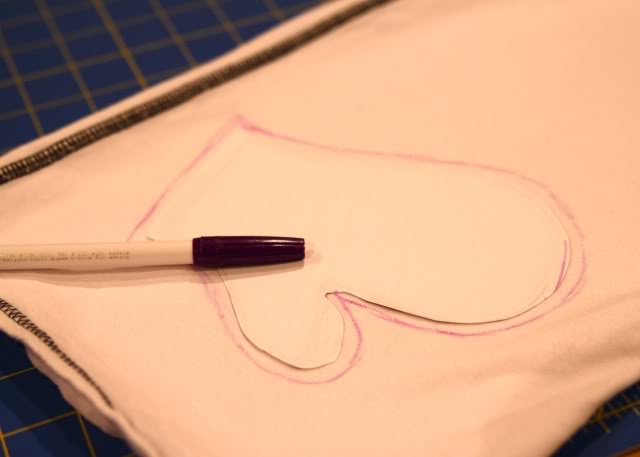
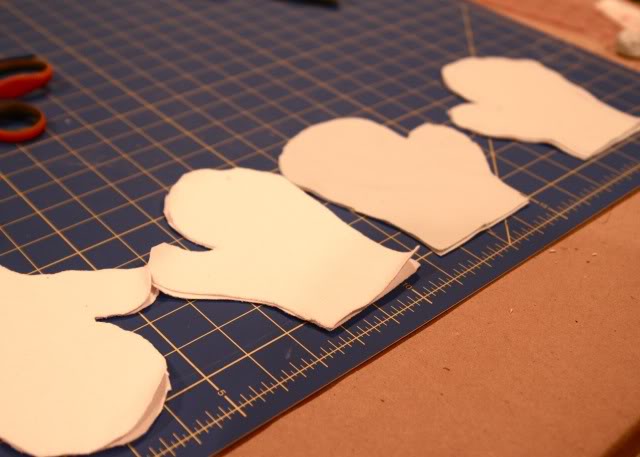
You should have 4 pieces for each mitten: 2 insides, and 2 outsides.
Step 2: For each mitten I placed the two outside pieces right sides together and sewed around the edges, leaving the wrist area open. Repeat for the inside pieces.
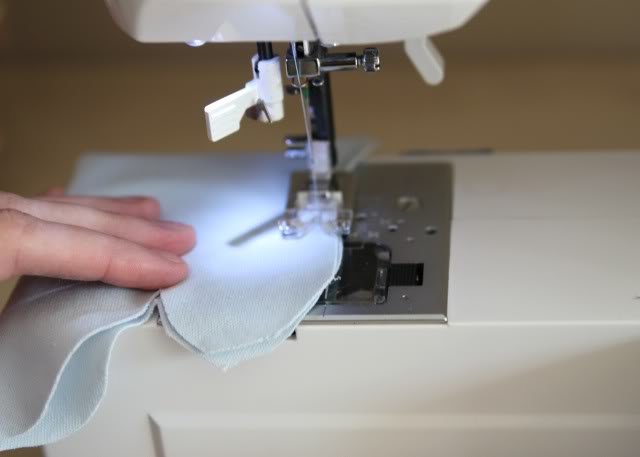
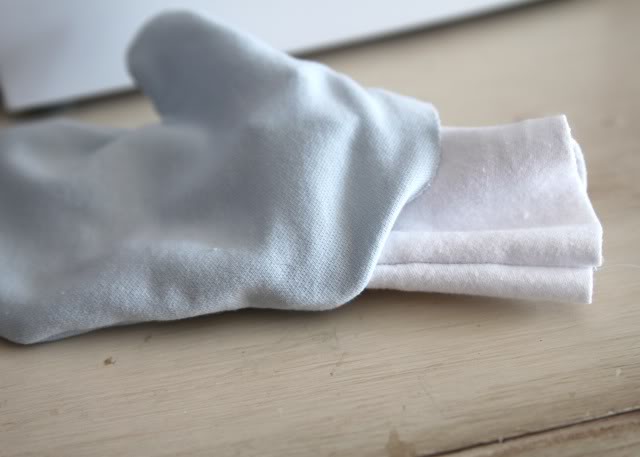
Step 3: Turn all the mitten pieces right side out and inside lining up into the outside mitten.
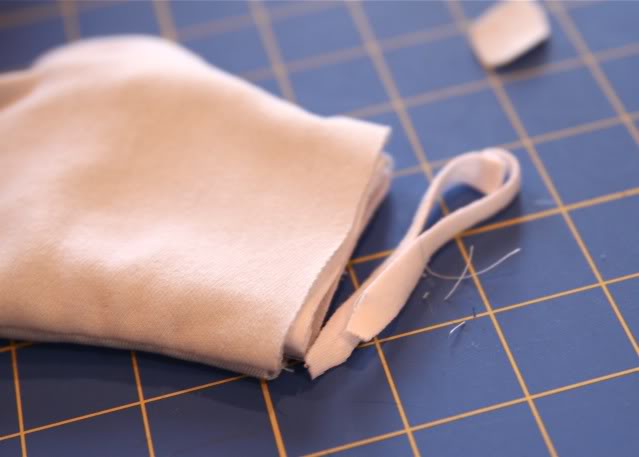
Step 4: Trim the outside and inside wrists of the mittens so that the edges are flush.
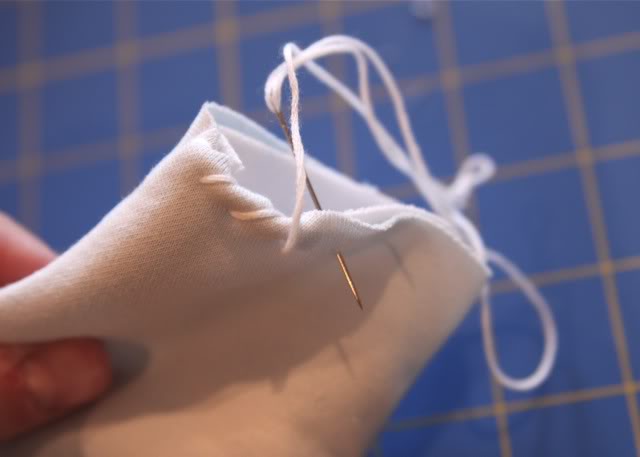
Step 5: Using white DMC embroidery thread, I stitched around the edges turning the outside of the mitten inward over the inside lining.
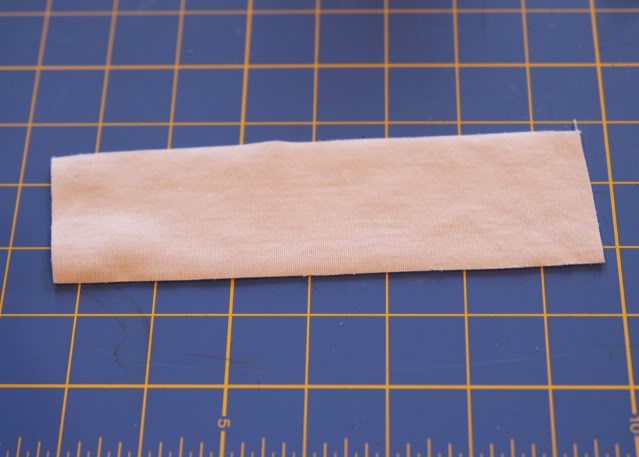
Step 6: To make each rose I cut a small strip of knit.….each a little bit different size.
Step 7: Folding one corner downward (wrong sides together), I started a gathering stitch along one edge as shown below:
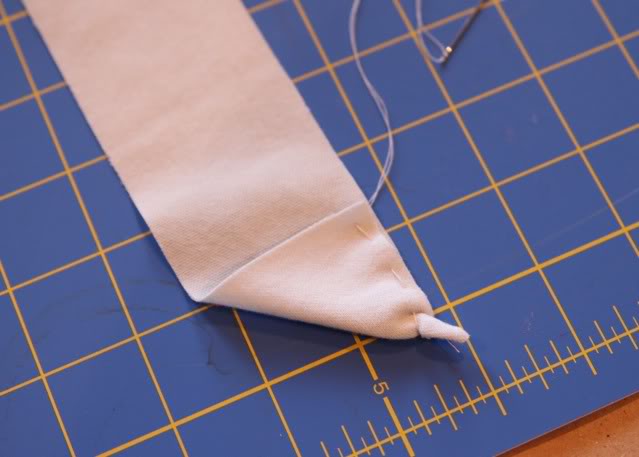
Step 8: Next I folded the following edges together and continued the gathering stitch….
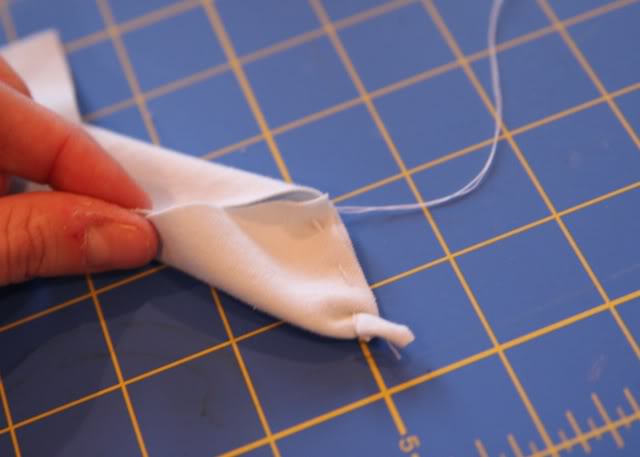
….matching and stitching the edges together….
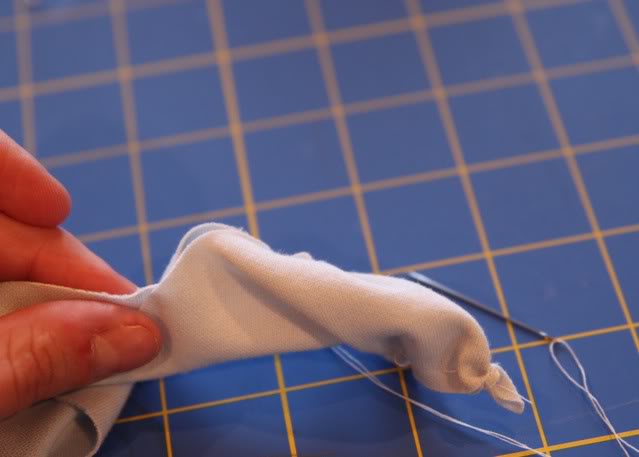
…….until I reached the opposite side. Basically, instead of folding the rectangle in half you are offsetting it slightly which will make the flower folds more interesting.
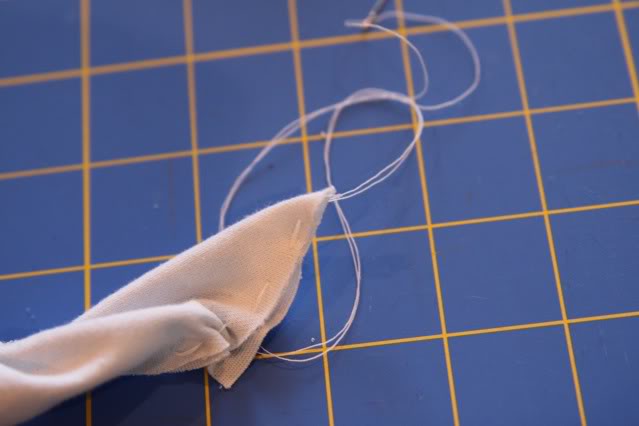
Step 9: Straighten out your piece until all the stitches are at the bottom. Your piece will be twisted:
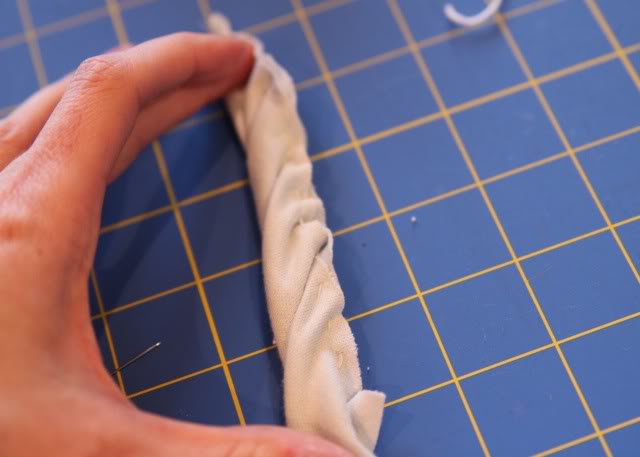
Step 10: Take a bobby pin and clip it onto the end where you started your stitching….
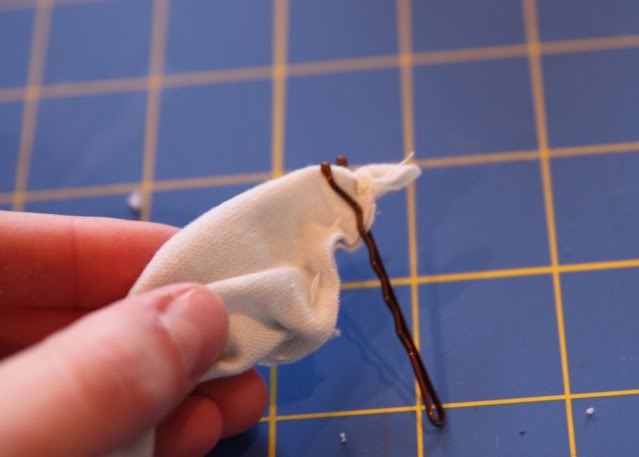
…..and twist until the flower gathers as shown. Stitch through the bottom of the flower several times to secure all the petals.
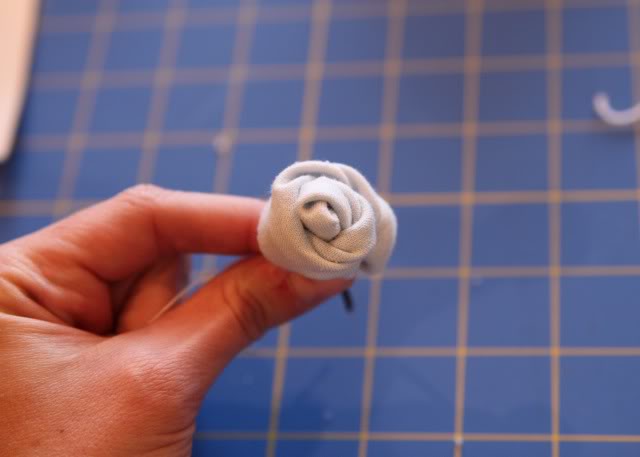
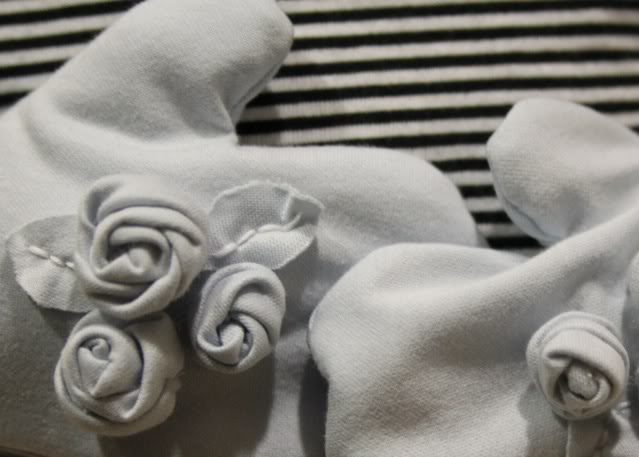
Step 11: Sew the flowers onto the mittens.….
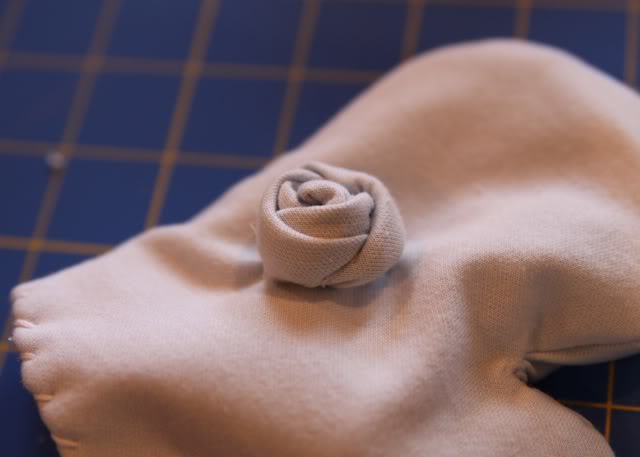
…..as well as tiny leaf shapes.
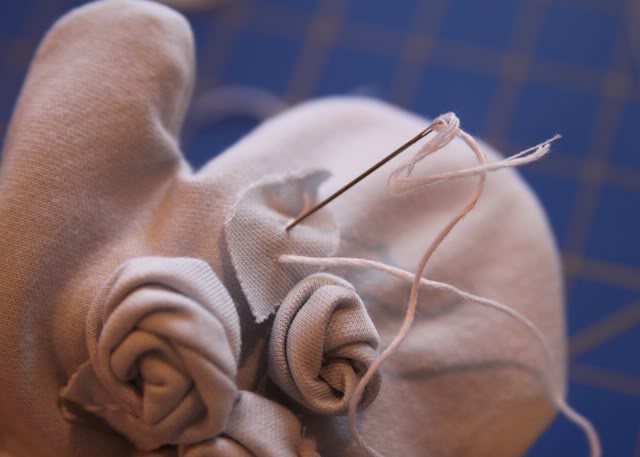
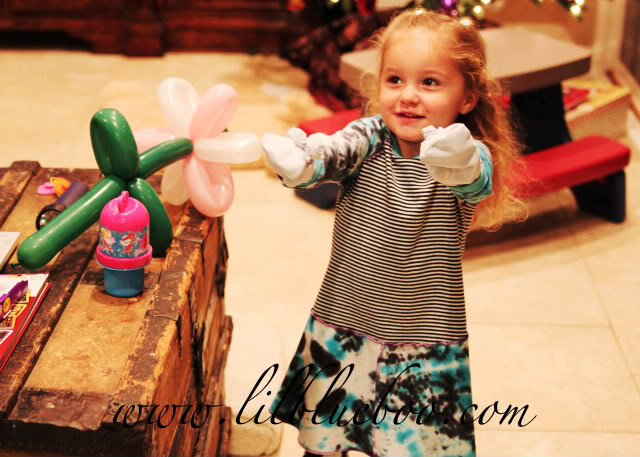
Fun, functional, dainty mitten….plus, they are warm!

