So it took me a while, but here is a template and instructions for a frog crown (you can print the crown pattern at the bottom of the post). You can modify it to have more “spikes” if you want or shorten it a little…..but it will be a good starting point if you want to “crown” your little frog prince. The original frog beanbag pattern is here.
Step 1: Place 2 piece of fabric right sides together and pin your template together with them. I use a disappearing ink pen to trace my crown just to make sure it is perfectly proportioned when I cut it out.
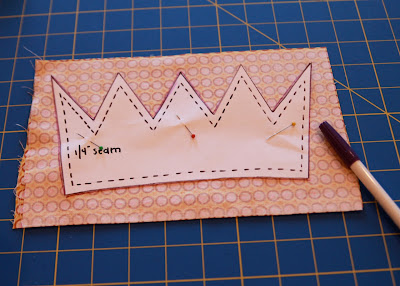
Step 2: Carefully cut out the crown pieces and re-pin together if necessary.

Step 3: Using a 1/4″ seam, starting at the bottom middle of the crown, sew all the way around the crown. You might want to draw your sewing lines with your disappearing ink pen to make sure your point are perfect…..because if they aren’t you’ll be able to tell! Make sure to…….

…….leave a small 1.5″ inch gap at the bottom so that the crown can be turned right side out.

Step 4: Carefully cut trim the seam allowance around the points…..
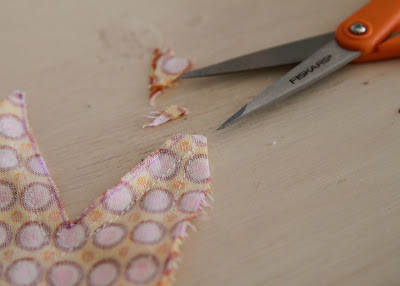
….and notch around the “valleys”, otherwise you will have too much bulk when you turn it right side out.
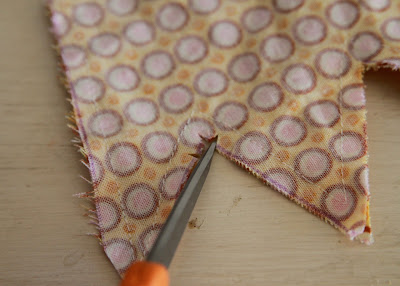
Step 5: Turn the crown right side out. Use a skinny object like the end of a small paintbrush or the dull end of a kabob skewer (that is what I use) to push the tiny points out. Then iron your crown flat.

Step 6: Topstitch 1/8″ from the edge all the way around the crown.

Step 7: Using a needle and thread, use a blind stitch to sew the crown together in the back. I knot each stitch as I go.
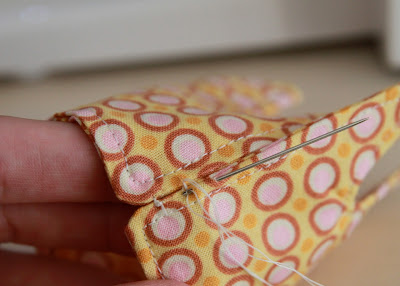
Optional step: Use small knots around the base of the crown to attach the crown to the frog.

Finished! You can add other embellishments as well. Make sure to get your frog finished before the new Disney movie comes out!
Frog Prince Crown
Copyright © 2009 by Ashley Hackshaw. All rights reserved. This crown pattern is for personal and home use only.


