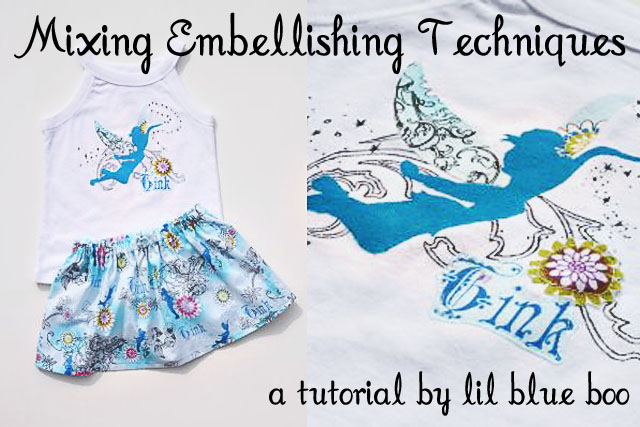
This might look a little overwhelming at first….but I promise it is not! You just have to follow the steps and it is easy! You could use these same techniques to make any theme shirt for a boy or girl. I made this Tinkerbell shirt using a combination of a freezer paper stencil, applique and permanent fabric pen. I’ve always found that mixing mediums adds interest.
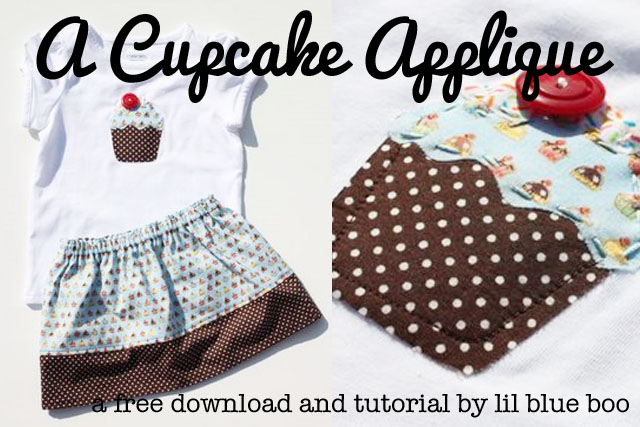
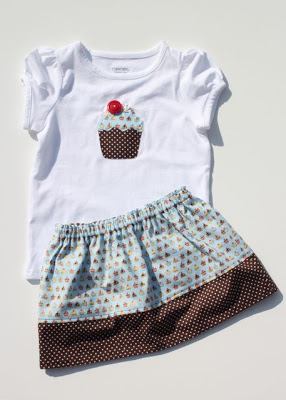
Here is the skirt. It is just a simple elastic waist skirt. I love this fabric (side says “Floral Silhouette Tink”) ….not your typical Disney fabric.
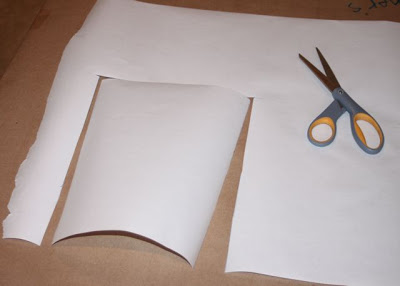
A trick I’ve come up with to make stenciling easier is to cut out 8.5″ x 11″ sheets from the freezer paper and just send it through your printer!
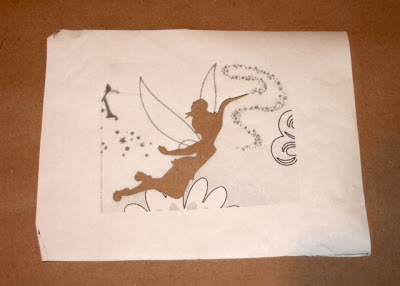
I scanned some of the fabric from the skirt and enlarged one of the Tinkerbell silhouettes. Then I printed it in grayscale directly onto the non-waxy side of the freezer paper and used a razorblade to cut out her body. (my poor printer is all wonky and ate this up….but it will still work) I would scan and post this template but I’m afraid Disney would come after me 😉
The next step is to iron the freezer paper onto the front of the shirt. I also put a large piece of freezer paper on the underside of the stencil to keep any paint from bleeding through to the other side.
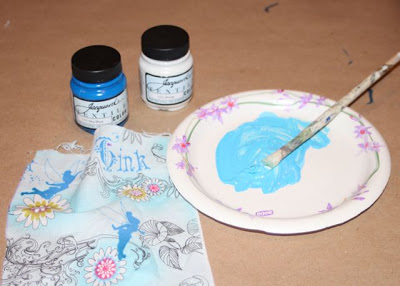
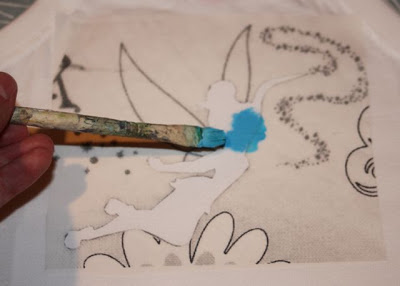
I mixed blue and white paint until I got a turquoise shade similar to the Tink fabric. I use Jacquard fabric paint and it seems to wash really well.
Apply a thin layer of paint onto the stencil. Let dry and repeat with another layer if necessary. Once the paint is dry you can pull the freezer paper off and you will have the cutout image left behind (my favorite step).
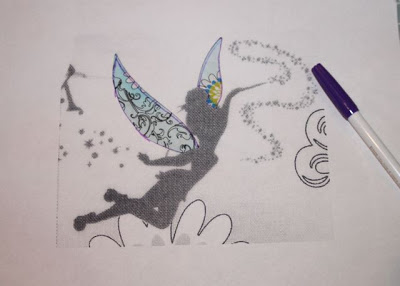
Next I printed off another Tink silhouette on regular paper and cut out the wings to make a template. Then I used my disappearing ink pen to sketch out wings onto some leftover fabric from the skirt. Before cutting the wings out, I ironed Pellon Wonder Under to the underside of the fabric and then added them to the shirt as an applique.
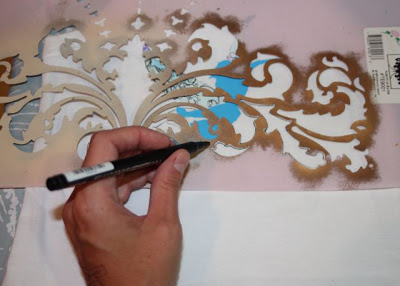
I used a wall stencil that had similar designs to the ones on the Tink fabric and used a fine black permanent pen (I use a Y&C Fabric Mate) to draw several shapes onto the shirt.
Still using the pen I replicated the “pixie dust” effect seen on the Tink fabric.
Pixie dust is easy. Just draw a bunch of the below sketch (draw tiny and in different sizes) and add specks randomly all over (less is more).
I made two other small applique pieces, the “Tink” and flower, to anchor the bottom of the design. I used the sewing machine to stitch around the appliques to stabilize them. The final step was to press the entire design to “set” the paint and ink.

