Can you believe that this…..
…..was once this:
It took a lot of work but now the journal below is FULL of memories, notes, lists, drawings, etc. It is a simple process and you will get so much enjoyment out of it. It would be a fulfilling activity for older children as well. My 2-year-old has already started her art journal (with my help obviously)….it is a little simpler than this….but the same concept: a book to draw, create, embellish, make lists, and create!
Here is how you can make your own:
The cover is the easy part. I usually take scraps of decorative and vintage paper and apply to the cover using paper Modge Podge. Vintage cigar wrappers make great borders like you see in the journal below.
Then I poke holes in either side of the journal and thread ribbon through. This allows me to tied the journals closed to keep all the stuff in!
Sometimes I’ll use gesso (gesso is pictured further along in the post) to paint over some letters to decorate the cover as well…..
…I love the messy, haphazard image that is left behind.
The next step is to thicken the pages. This step makes sturdy journal pages that you can paint and sew on! I typically do a few pages at a time and then as I finished journaling on them I will do a few more. I even work in several journals at once.
You’ll need matte medium to start (I prefer Liquitex Matte Medium):
Place wax paper underneath 2 pages of the journal to protect the other pages.
Paint matte medium on the bottom page to glue the top page to it.
Take a brayer and roll out any air bubbles.
Next, I take old phone book pages and use the matte medium to glue them onto the top page. Brush a light layer on top as well.
Keep adding scrap phone book pages until the page is covered.
Once covered, place wax paper on top of the page and use the brayer to roll out the air bubbles and to flatten the page. I leave the wax paper on the page until it dries.
You can work on several pages at once and leave the wax paper on the pages so that they won’t stick together.
Here is the journal closed with wax paper in between the wet pages.
Once the pages dry, I use gesso….
…and cover the pages to make them opaque white. This prepares the surfaces for paint or other mediums.
I also use gesso to paint the inside cover.
Here is the inside cover of one of my journals.
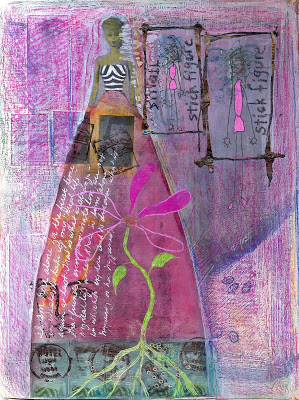
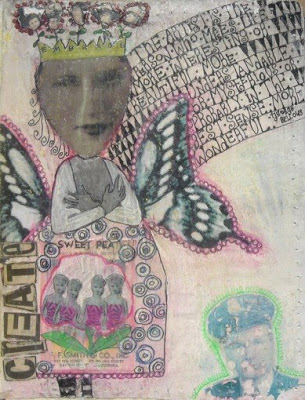
Once your pages are dry there is SO much you can do with them. Below are a few examples!
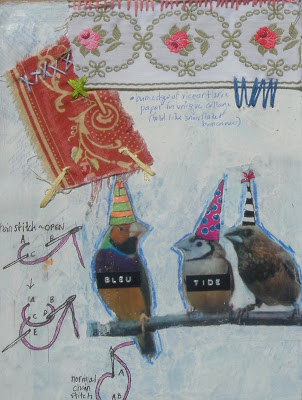
Punch holes to sew around the edges with embroidery thread:
Sew items into your journal:
I even like the stitching from the back side…..
Sew fabric or decorative paper into your journal:
I covered fabric with modge podge to keep it from fraying and stitched the words “spilling open” on the front.
You can see the stitching on the back of the fabric page. I covered the back with gesso so that I could write on it.
Closeup of how the fabric page was sewed into the journal. I cut one of the prepared pages down….punched holes along it and then used embroidery thread to attach the fabric page.
An artist’s brochure I stitched in as a “foldout” page.
A booklet of photos that I attached to the back cover and used embroidery thread to tie it shut.
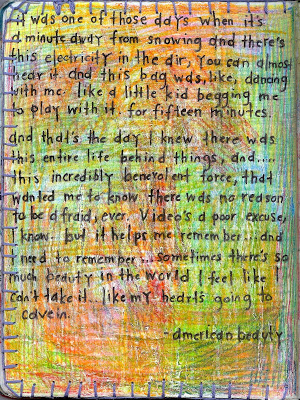
I always like to leave the last page of my journal with a cute drawing or quote!
Here are some of my other journaling posts for ideas!
Journaling – Part I (Introduction)
Journaling – Part II (Books and links for inspiration)
Journaling – Part III (Drawing in your journal)
Journaling – Part IV (Accidental pages)
Journaling – Part V (Layering)


