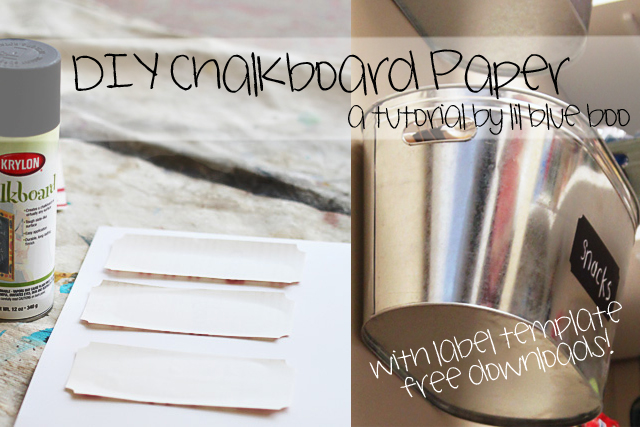
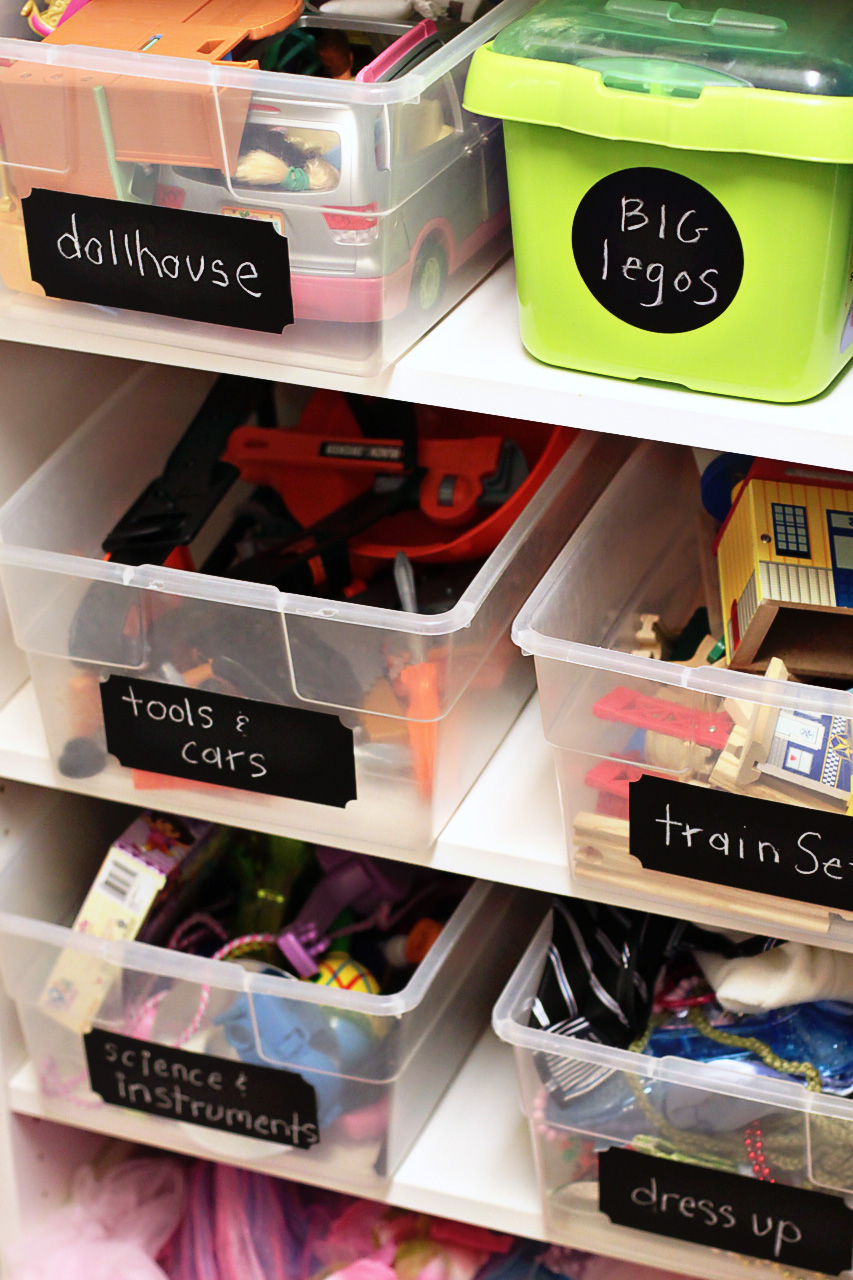
Boo and I have been working on organizing her toys as part of our “Getting Organized” project. It was too hard to find chalkboard paper around here for labels so I made my own using chalkboard spray paint and regular adhesive shelving paper.
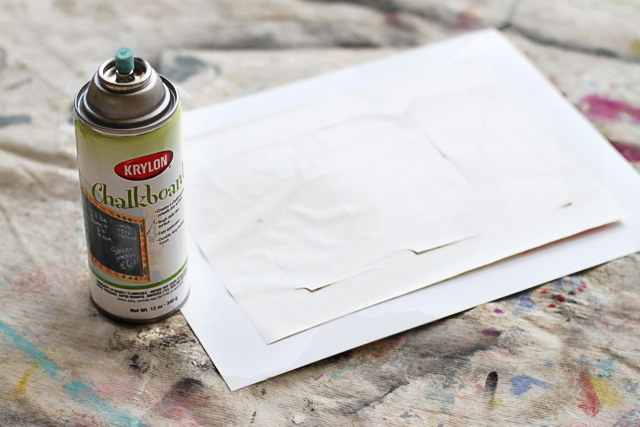
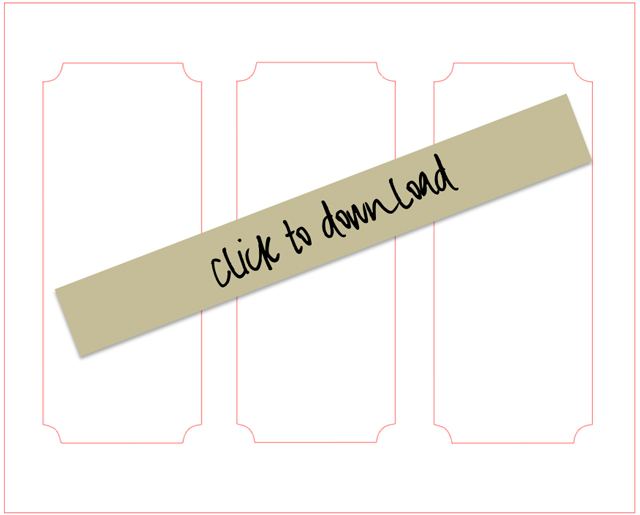
First, I had my Silhouette machine cut out the labels onto a piece of contact paper (you can download the Silhouette template file further down the post):
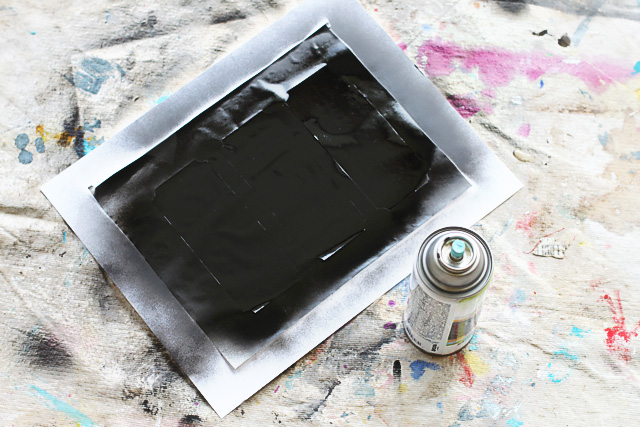
Next I sprayed a light coat of Chalkboard paint across the labels not entirely covering them. Once that was dry I sprayed a second coat to fill in all the thin areas:
(Note: to keep your paper from curling you can use a glue stick to tack the backing of the labels down onto cardboard or cardstock)
It’s easy to make a large batch of labels at once!
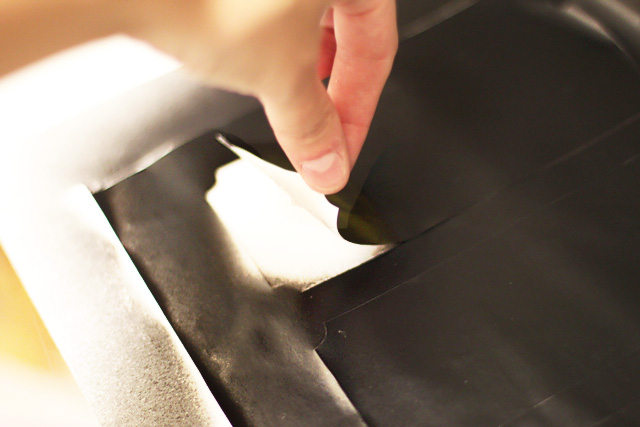
When the labels are completely dry, carefully peel them from the backing and apply where you like:
Click below to download my label template for the Silhouette machine:
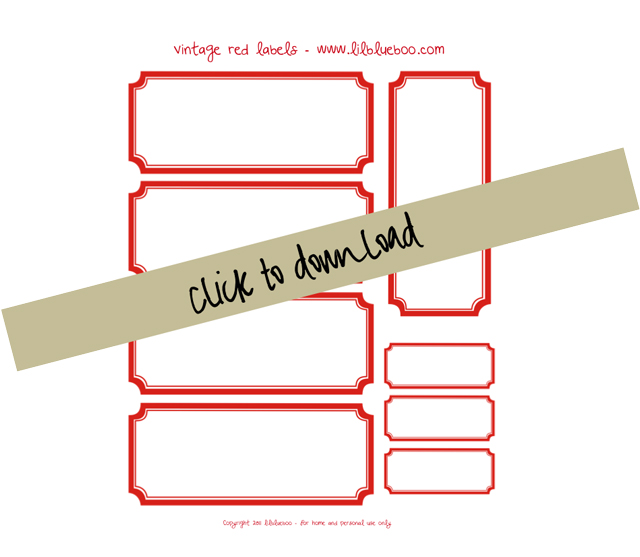
If you don’t have a Silhouette machine you can download these vintage labels and use them as a template:
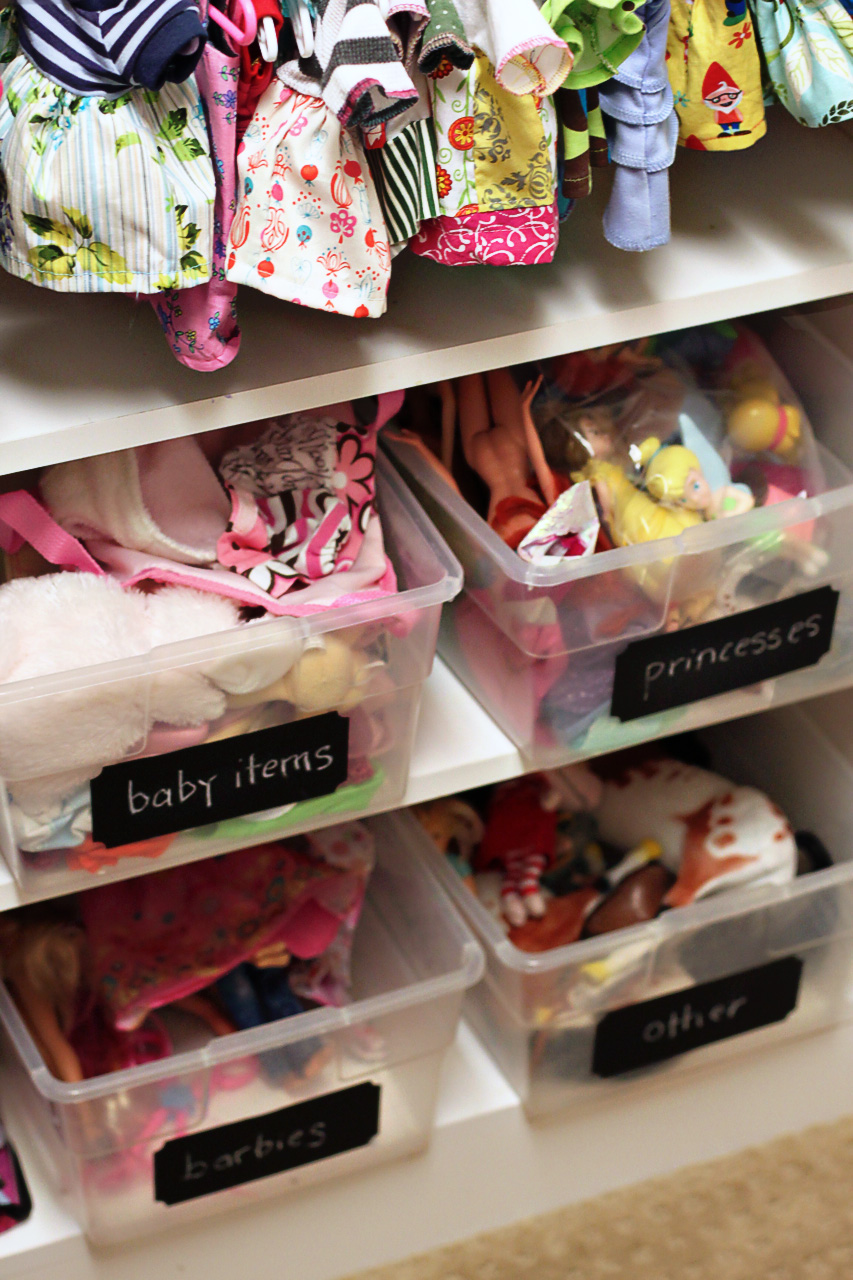
One of my first projects was organizing Boo’s closet and toys. I like to use clear containers when organizing so that I can see what is in them. Chalkboard labels keep everything organized with a specific “home” for each type of toy….and as Boo outgrows toys we can easily change the labels to reflect her new ones!
Stay tuned for more as I get my household in order!
This post is featured on Babble’s The New Home Ec.

