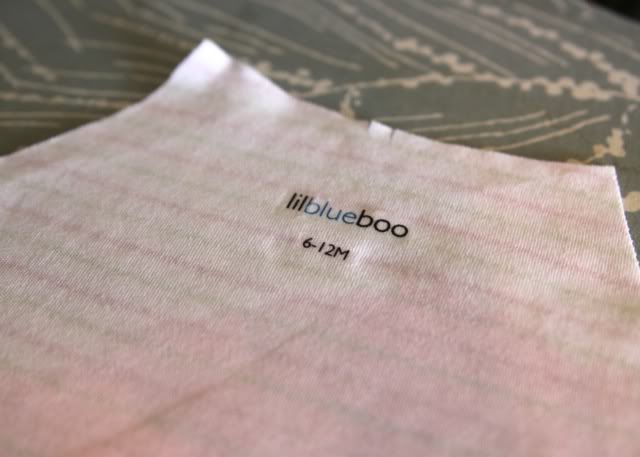
I can’t stand tags. Neither can my daughter. I have to carefully cut them out of everything. Most tagless labeled clothing you see in the store is silk screened. An easy substitute is the super soft transfer paper from Dharma Trading. The labels look and feel like they are part of the fabric!
First you have to create the text for your labels. I create the text in Adobe Photoshop or Word and save it as a picture. Then reverse it (you have to print it in reverse). I actually pull the graphic into Powerpoint, resize it small and then paste it over and over and over so it fills up a whole page. Then print it out using your ink jet printer:

Care labels and fiber content (Note: it is close to impossible to come up with a fiber content label for upcycled clothing. Technically you are supposed to say: “fiber content unavailable” or something to that effect if you don’t know). Here is a link to the FTC’s requirements.
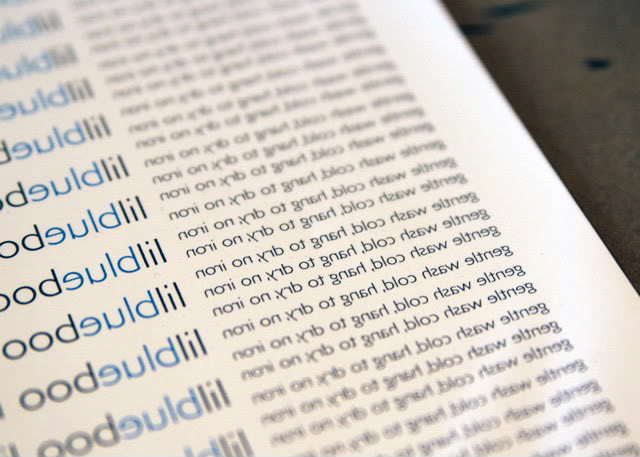
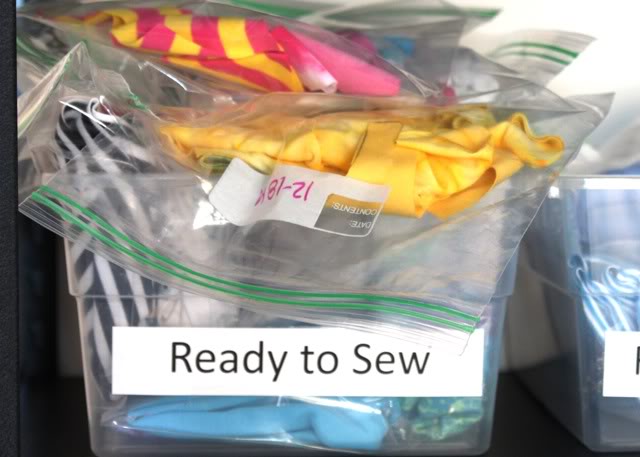
I precut all my sizes, brand, and care instructions and store them in containers like the one below:

I print everything separately and mix and match them depending on the garment:
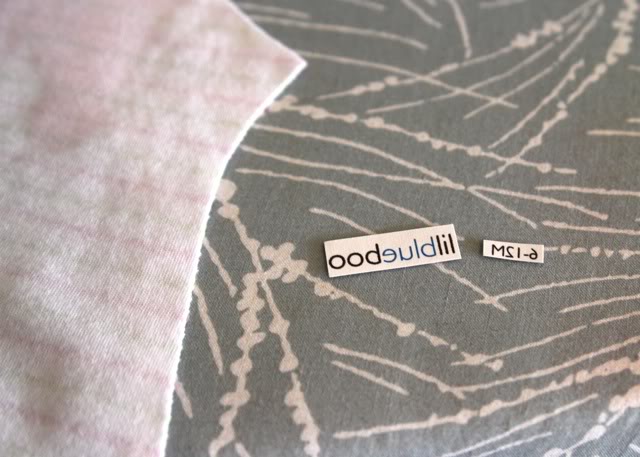
Place them face down onto the fabric…

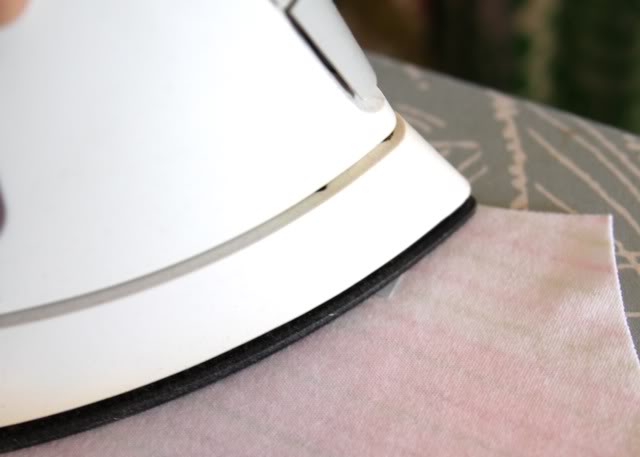
……and iron as the directions say. You are supposed to use a harder surface for transfer paper than an ironing board, but it works fine for me when I’m using the perfect heat setting and I use enough pressure:
Before the fabric cools I peel off the backing:
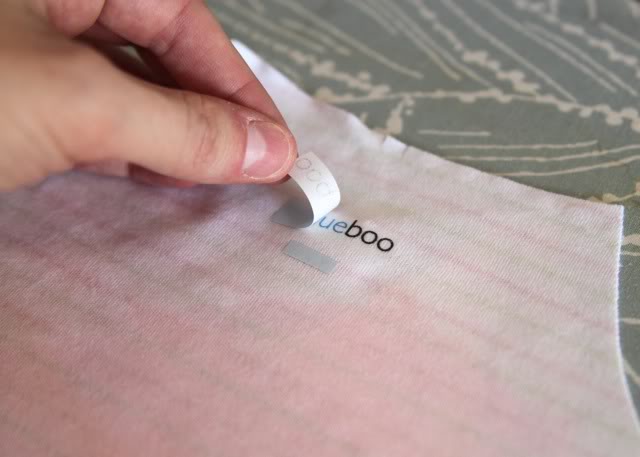
Tagless clothing labels!
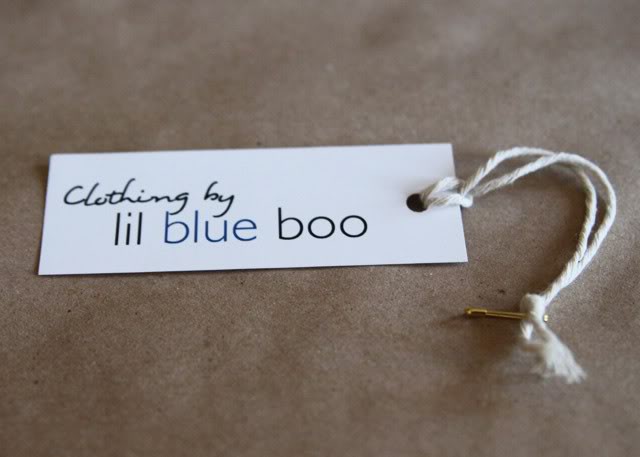
You can also easily make your own hang tags. I use a heavy glossy cardstock and have Mr. LBB print them at work on his laser printer. (I’m scared of ink jet for hang tags….the ink will bleed onto the clothing if the tag were to get damp).

I just cut them out with my rotary cutter, punch a hole and add a string! Some people just use a business card for the same idea.
Now when people peek inside your kiddos handmade clothing they’ll know YOU made it!

