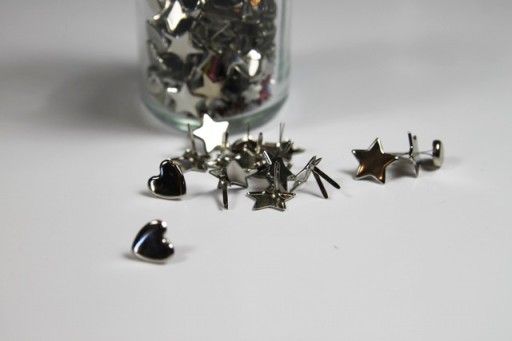
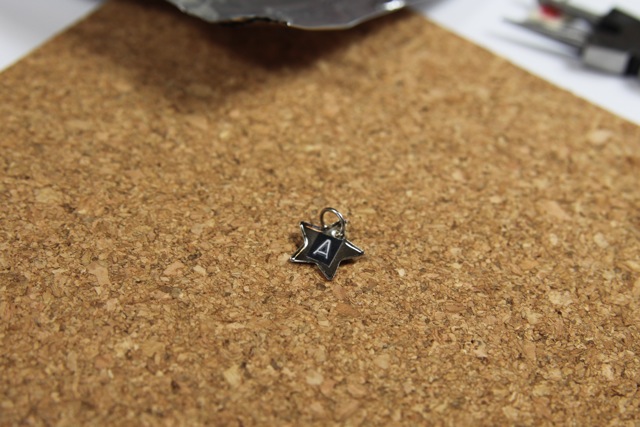
Mother’s Day is coming up and here’s an easy, inexpensive gift idea that can be personalized and special! To make these little charms, I took ordinary metal brads in different shapes…..
…..added different embellishment and then sealed them using embossing powder. All of the items I used can be found at your local craft or scrapbooking store.
Basic materials needed:
Embossing powder
Metal brads
Metal jump ring
Step 1: Carefully break off the brad’s prongs by moving them back and forth until they fall off. You can use a nail file to smooth any sharp edges.
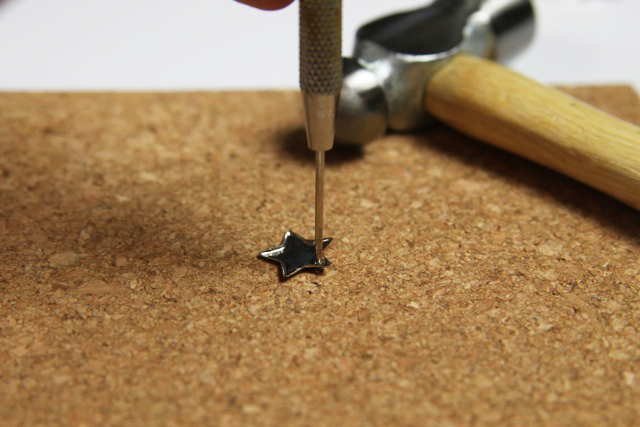
Step 2: Using a small nail or awl, punch a hole in the top where you will insert a jump ring.
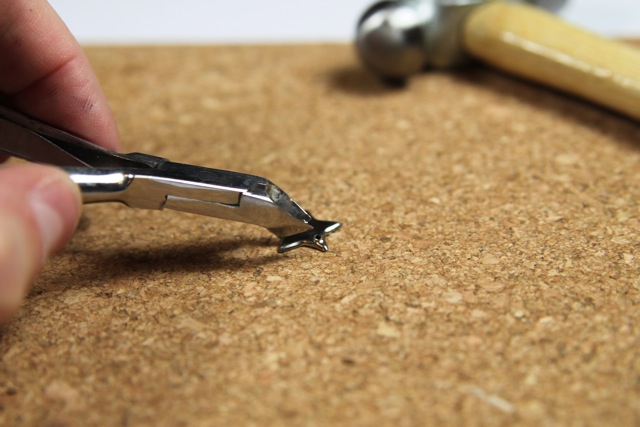
Use nail clippers to cut off any sharp edges from where the hole was created.
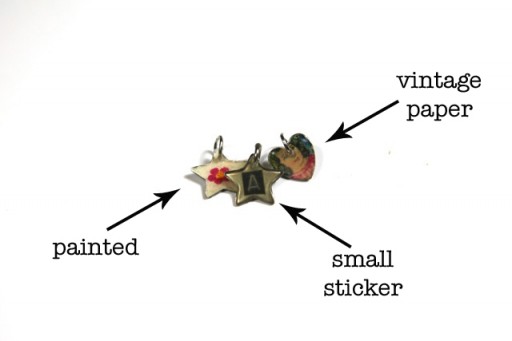
Step 4: Decorate the inside of the brad. There are a gazillion possibilities here….
Paint a tiny design:
Apply a small sticker, rhinestone or other embellishment:
Or….paste an extra small photo or picture to the back (I used nail nippers to trim the edges):
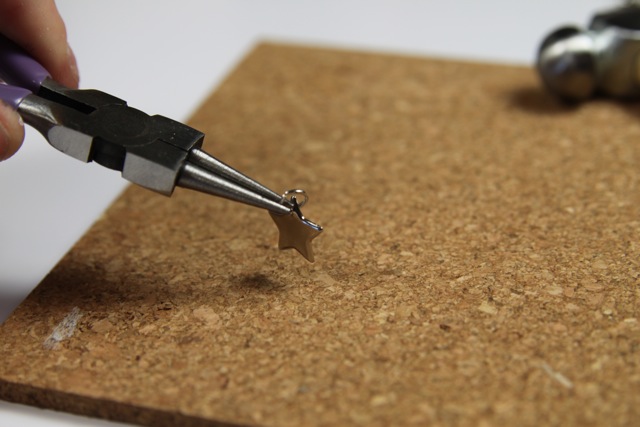
Step 5: Add a jump ring to the charm.
Step 6: Flatten out a piece of tin foil to use as a tray that can be placed in the oven. You’ll need embossing powder for this step.
Cut a small strip of paper to use as a little “spoon” and fill the brad with powder:
Carefully place the tinfoil tray into a toaster oven or oven (350 degrees). Watch as the embossing powder slowly melts into a smooth clear covering. Take out of the oven to cool.
If the clear melted covering is a little uneven you can hold the charm carefully and reheat it with a heat gun or blowdryer until it levels out. Use a nail file to carefully smooth the edges if needed.
Finished charms!
I love how they look when they are all bunched together as eclectic charms! What will you decorate yours with?

