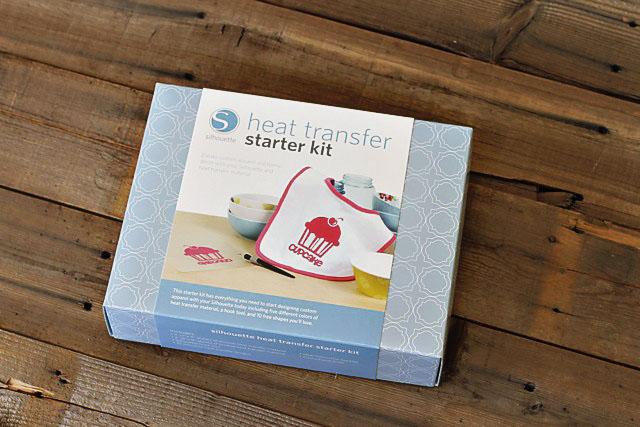
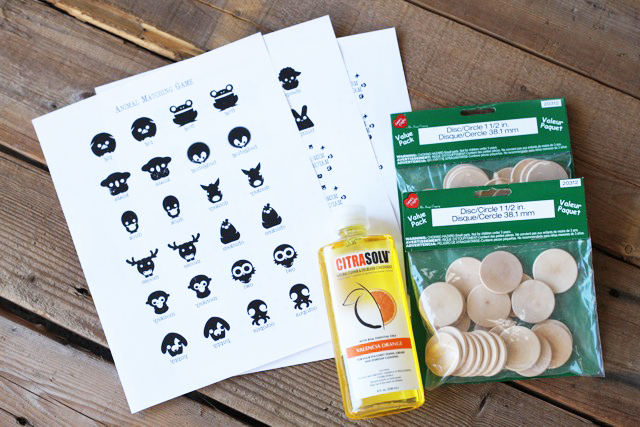
Have you tried out Silhouette’s heat transfer material yet? It’s a super easy way to add some decoration to a piece of clothing! I started out with the heat transfer starter kit which has heat transfer paper samples, a pick tool and a package of template downloads:
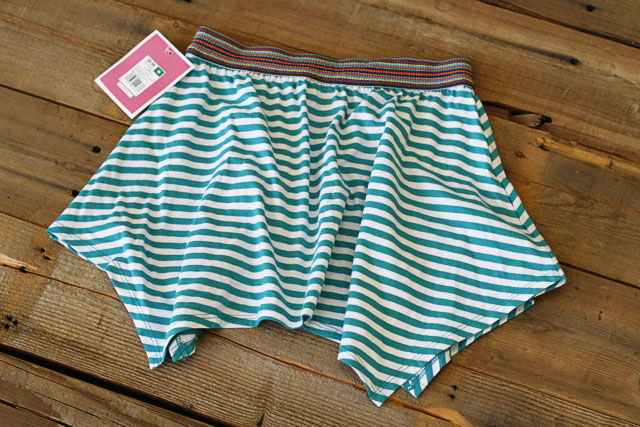
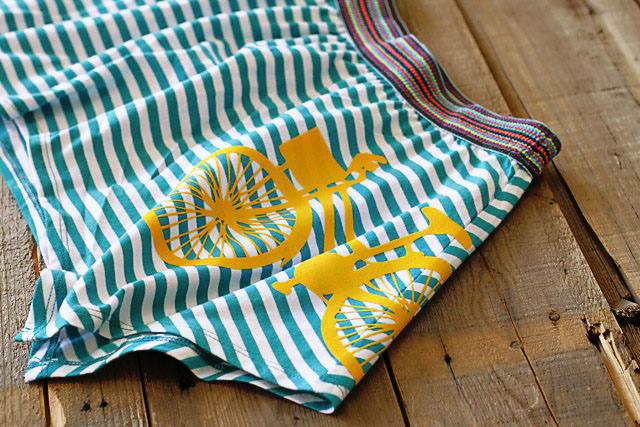
I decided to spruce up this cute little skirt that I bought for Boo. Boo chose the free bicycle graphic that comes with the starter kit.
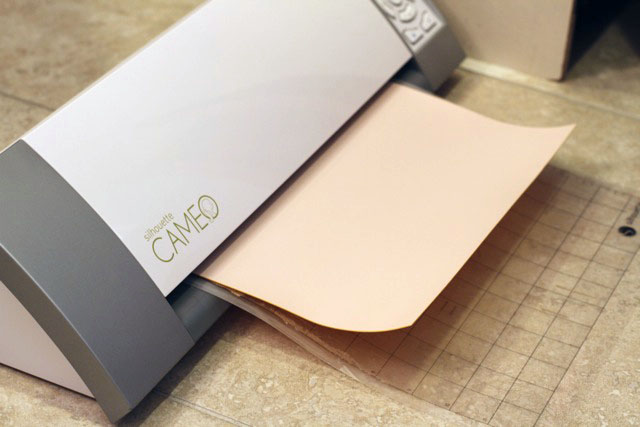
If you are doing an image with text make sure to mirror it on the screen so that the text looks backwards. Insert the the heat transfer material into the Silhouette with the clear plastic side on the bottom. You don’t need to use the cutting mat….although it doesn’t hurt either. Make sure to select “flocked” or “smooth” transfer material in the menu before cutting. The clear side of the transfer should be face down.
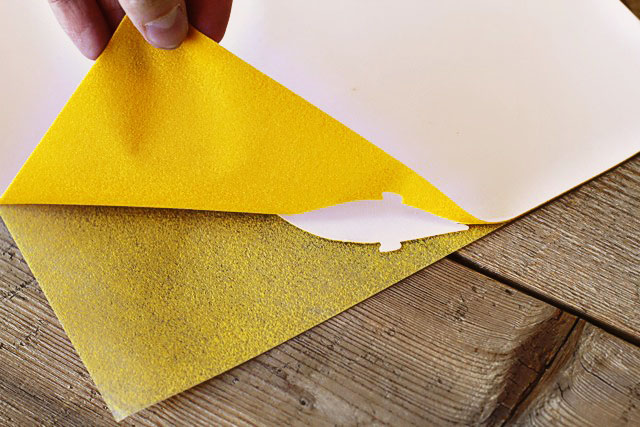
Once the image has been cut, peel off all the negative space from the clear backing:
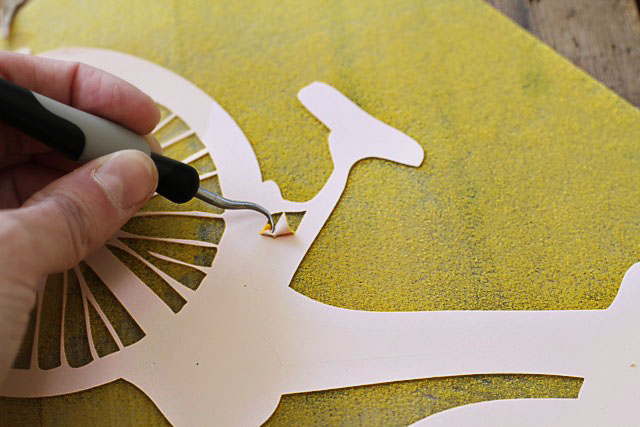
Use the pick tool to pull off small pieces.
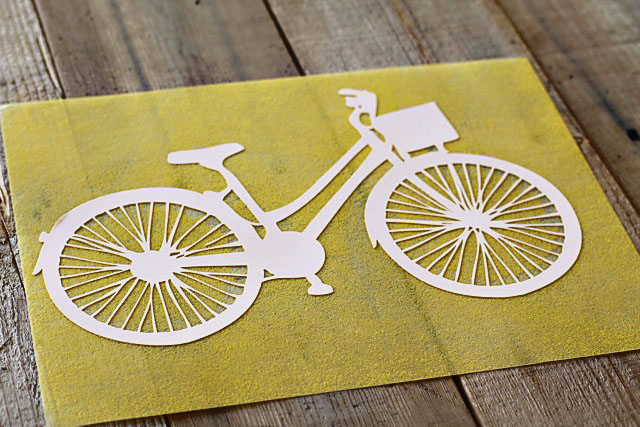
The finished cut out:
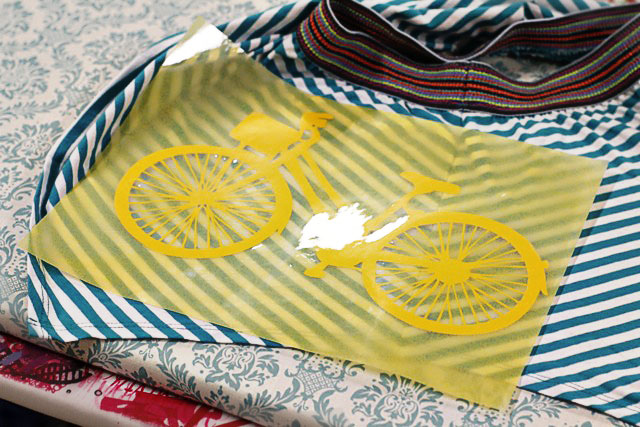
Place the design face down on the surface you want to iron it onto. I placed it on the side of the skirt so it would wrap around:
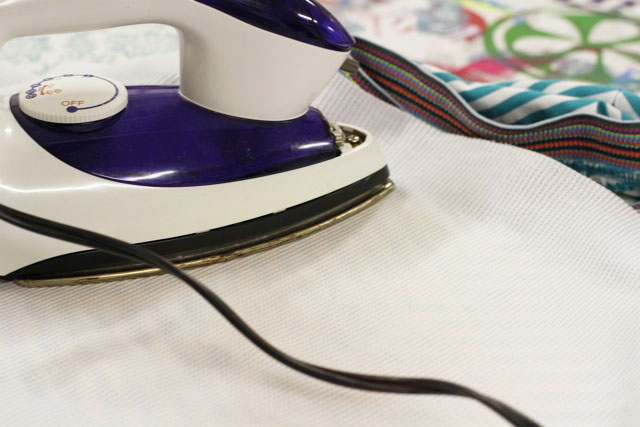
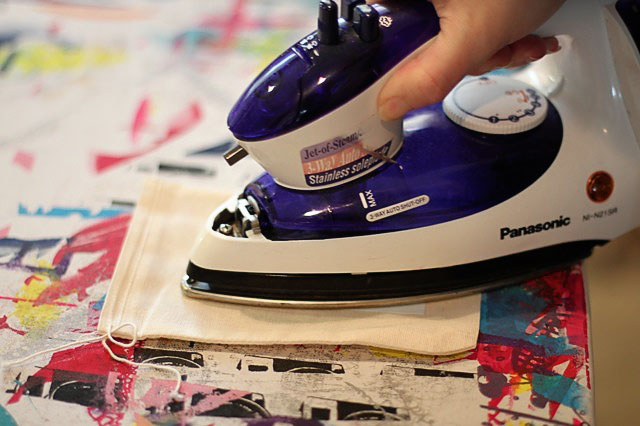
Place a cloth over the design and place a heated iron on top of it (cotton setting). Press firmly for 45 to 60 seconds.
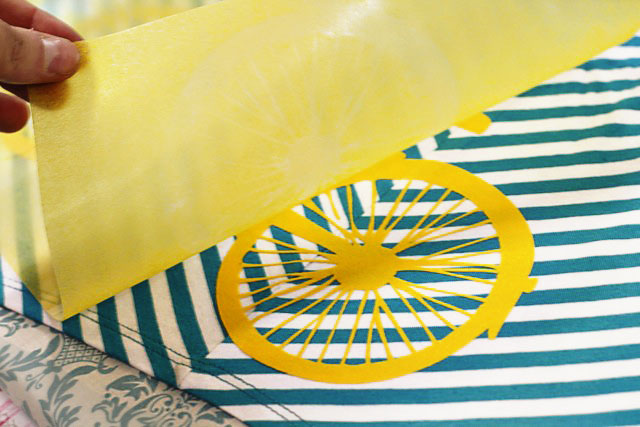
Gently peel up the clear transfer sheet. The transfer should be adhered to your surface now. If the transfer still sticks to the clear sheet, replace the cloth and iron again making sure to apply more pressure:
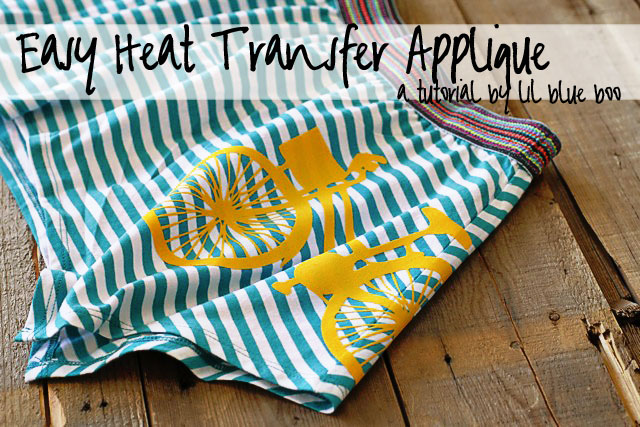
An easy heat transfer applique!
Click here to see other projects I’ve done with the Silhouette Machine!

