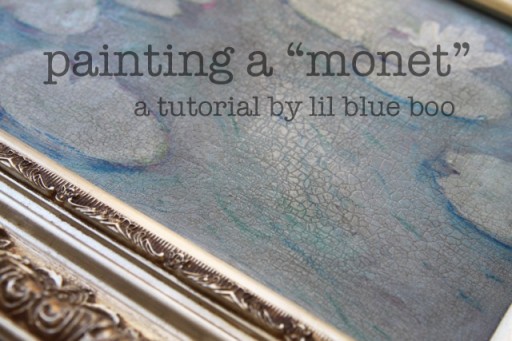
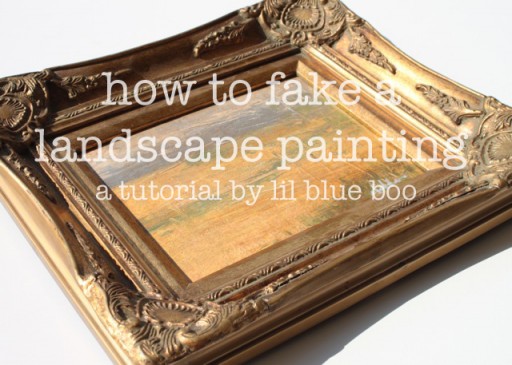
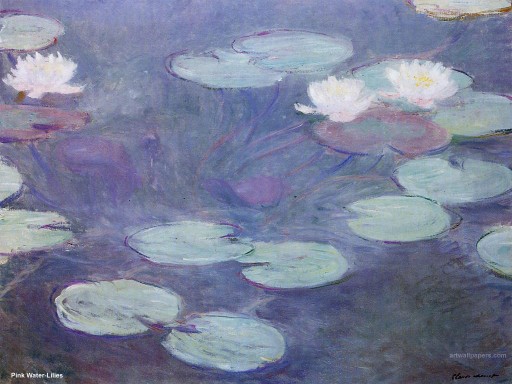
I love painting small pieces of artwork. They are quick, easy and a great way to decorate bare walls. The painting in this tutorial is inspired by one of Monet’s water lily paintings:
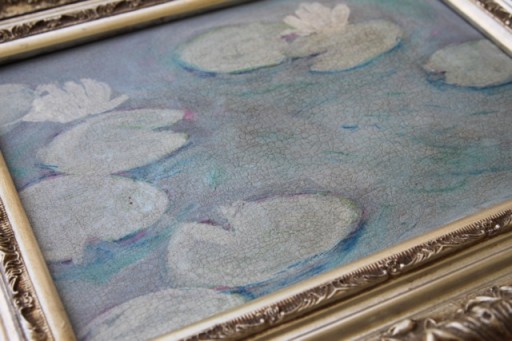
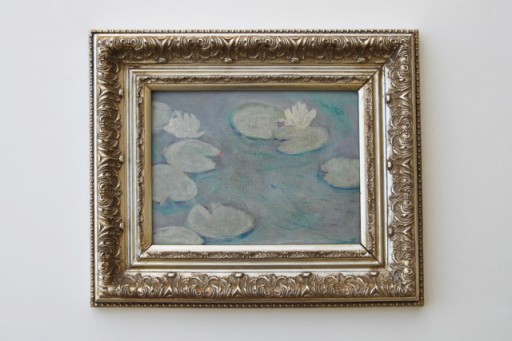
The finished “inspired” painting….it took about an hour from start to finish:
Materials needed:
Note: all of these materials can be found at most craft and hobby stores
9″ x 12″ Gessobord (or primed hardboard)
Acrylic craft paints (purple, white, mint green and slate blue)
Water soluble crayons (blue and green)
2-step crackle glaze
Willow or vine charcoal
**The key to a quick painting is to use your non-dominant hand. You will lose some control over your painting ability and the painting strokes will look better….promise!**
I broke this painting down into easy steps:
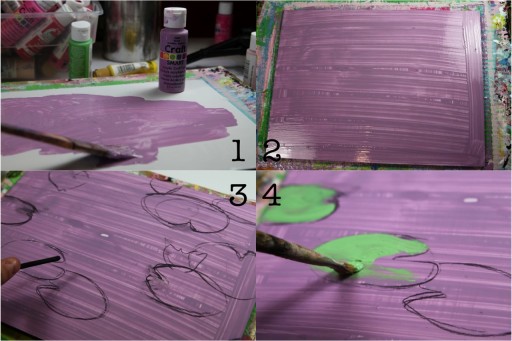
Step 1 & 2: Cover a piece of 9×12″ hardboard with purple acrylic paint. Work in long strokes….the coverage does not have to be perfect.
Step 3: Using willow charcoal (this can be painted over unlike pencil or graphite) draw out some circular water lily shapes.
Step 4: Using a mint green and a dry paint brush fill in the water lilies as best you can…..don’t try too hard to get it perfect….leaving some bare spots is preferred.
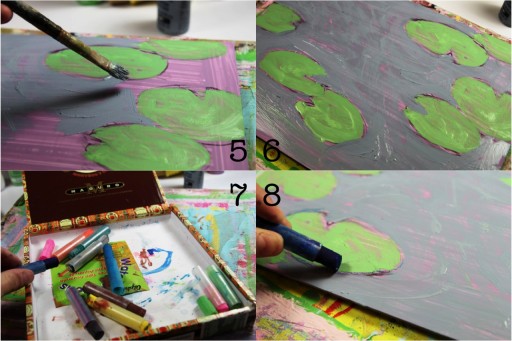
Step 5 & 6: Mix a blue-gray color and fill in the larger areas. Again, the uneven coverage of paint is preferred and using a dry brush will help get this effect.
Step 7 & 8: Using a blue water crayon (water soluble)….outline the areas of the water lilies focusing mostly on the bottom edges.
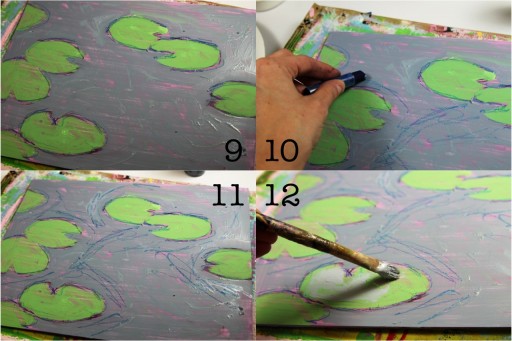
Step 9: The outlines of the water lilies.
Step 10 & 11: Using the water crayons draw some sweeping strokes around some of the water lilies.
Step 12: Mix a slightly later shade of the blue-gray that was used for the water and use it to fill the water lilies using an uneven coverage.
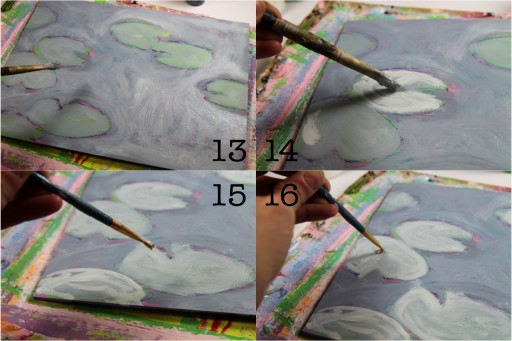
Step 13: Using the same color, fill in the rest of the water again.
Step 14: Mix white into the blue-gray color to lighten it and fill in the water lilies again to lighten them up. Uneven coverage will allow hints of the colors underneath to show through.
Step 15 & 16: Using the same color, switch to a smaller brush and some water, sketch the circular shapes of the water lilies to add some texture.
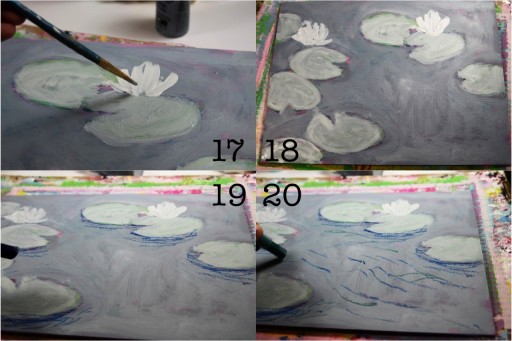
Step 17 & 18: Using a mostly white, paint in a few water lily flowers using a few thick vertical strokes.
Step 19: Sketch shadows underneath the water lilies using a blue water crayon.
Step 20: Sketch “water current” using blue and green water crayons.
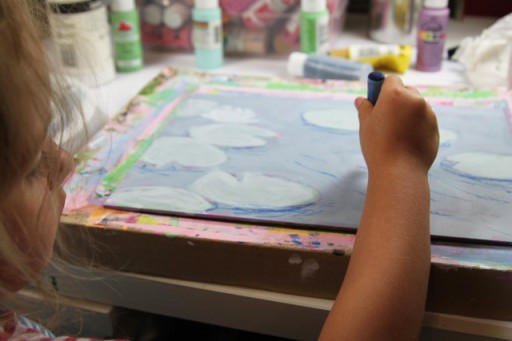
I let Boo draw most of the water current…..if a toddler can do it, you can too…..so no “I can’t paint” excuses!
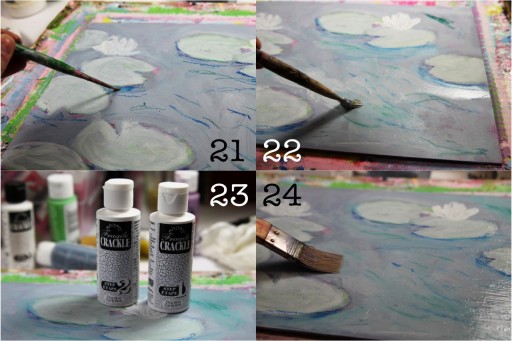
Step 21: Using a damp brush, blur the blue crayon shadows.
Step 22: Using the same shade of blue-gray for the water as before, paint over the “water current” sketchings lightly.
Step 23: Let the painting dry thoroughly and shake up your 2 step crackle paint to get ready for the next step.
Step 24: Apply the 2 step crackle finish and let dry.
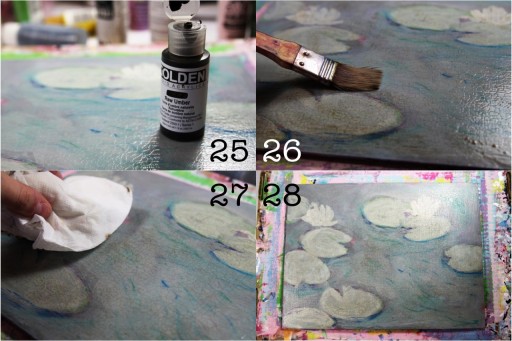
Step 25 & 26: Once the crackle glaze has dried, mix a watery brown color (I prefer Golden Liquid Acrylics) and apply to the painting .
Step 27: Use a rag or paper towel to remove excess glaze.
Step 28: Let painting dry thoroughly.
A finished Monet-inspired painting!
Here are a few other painting tutorials I’ve done…..check them out if you get a chance!

