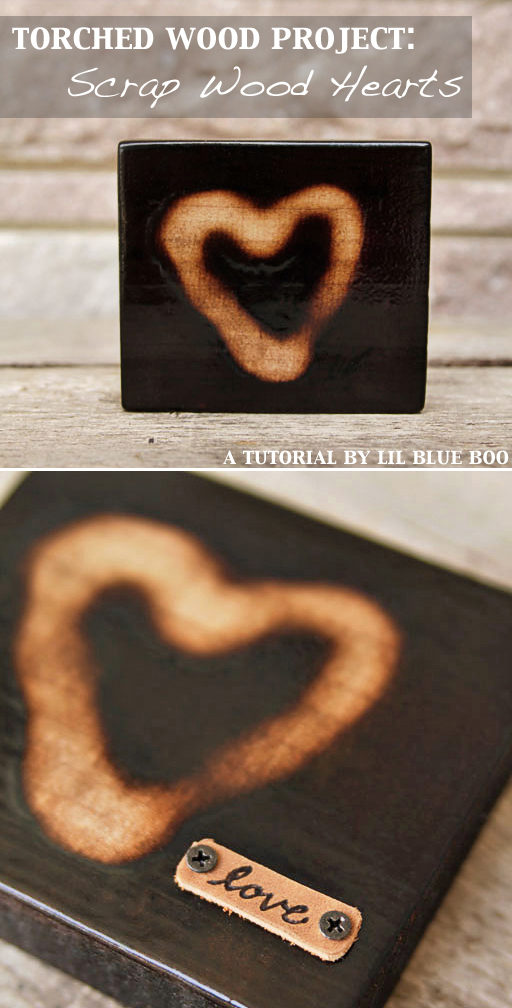
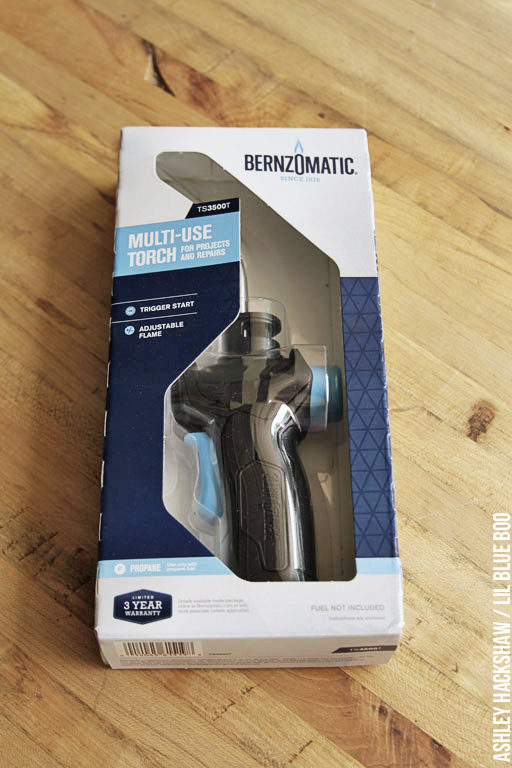
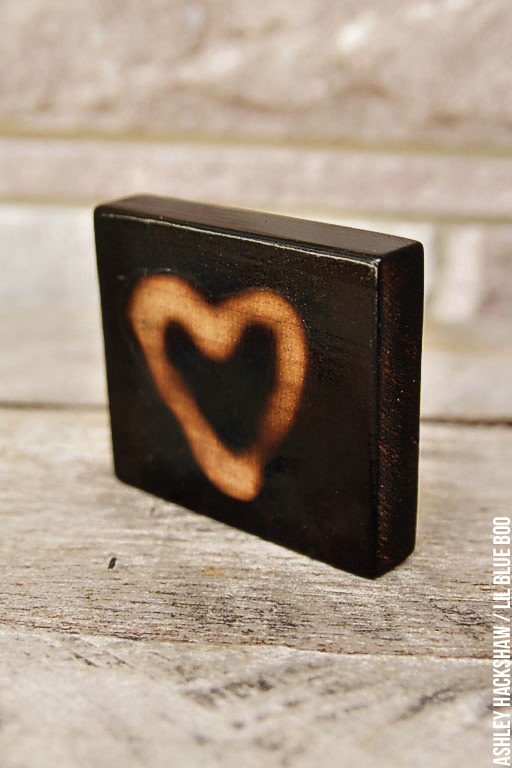
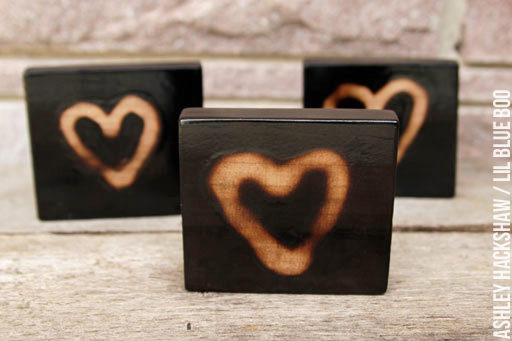
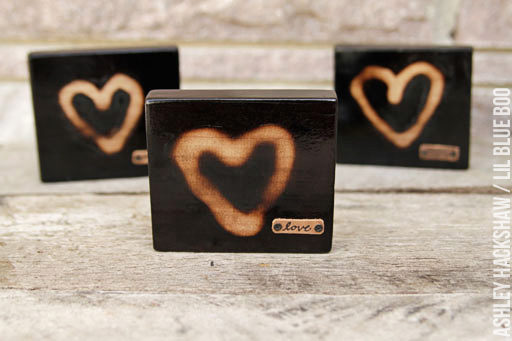
I recently had the chance to review the new Bernzomatic TS3500 torch and for a torched wood project I made these scrap wood hearts! They were so easy to make in an assembly line of multiples:
I had a chance to review the new Bernzomatic TS3500 torch:
I use torches for many different DIY projects around the house. You might have seen the aged galvanized ornaments I made last year:
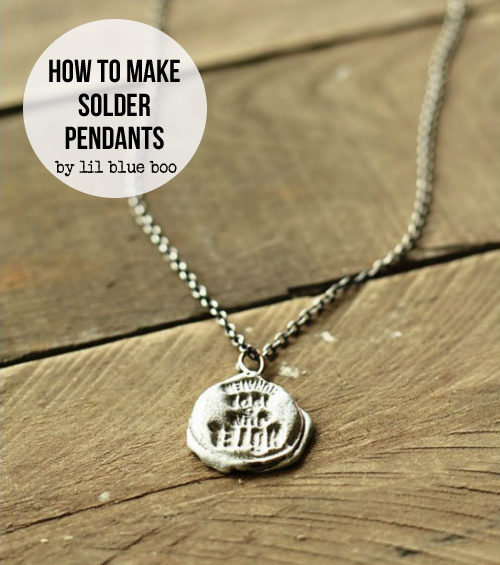
One of my favorite torch projects from the vault is How to Make Solder Pendants:
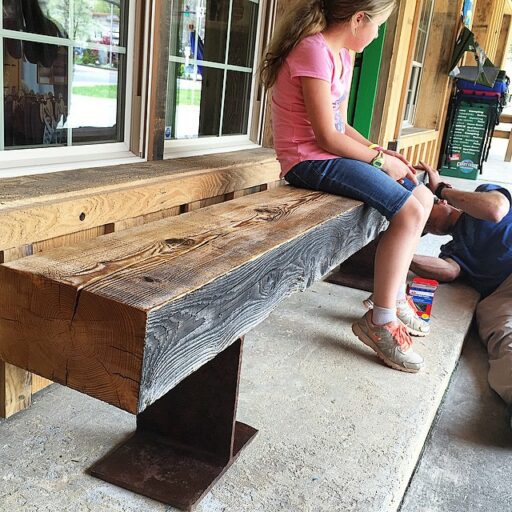
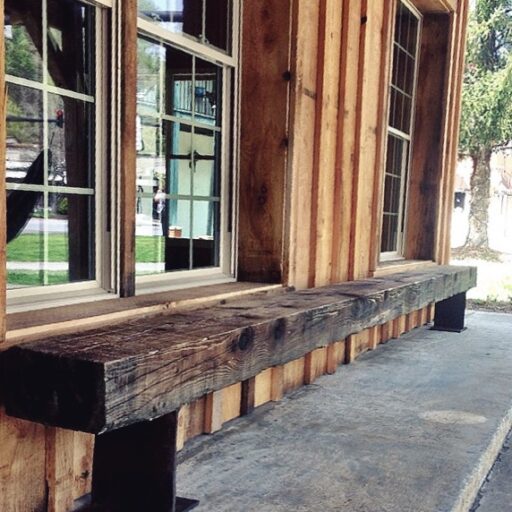
One of the most often see uses of the Bernzomatic torch is the aging of wood. Just look at how easy it is to age a piece of new wood by applying the torch flame:
I used my new Bernzomatic TS3500 torch to age wood as well. With all of our DIY projects around here I always have an abundance of scrap wood laying around and I wanted to come up with a use for them.
Torched Wood Project – Scrap Wood Hearts:
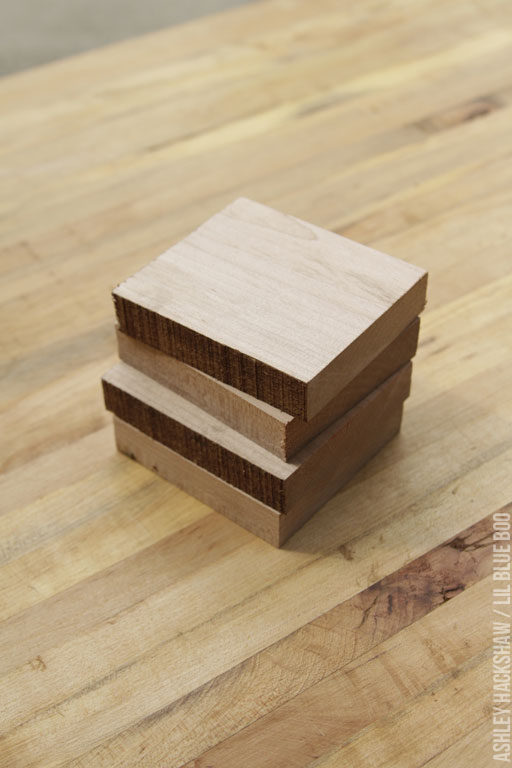
Step 1: I collected a small pile of maple scraps leftover from the farmhouse subfloor we’ve been working on:
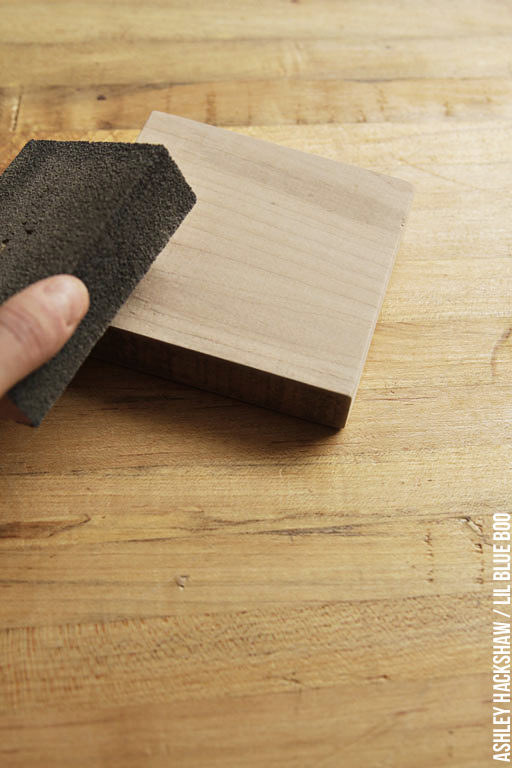
Step 2: I used a sanding block to sand the edges of the wood to make them slightly rounded:
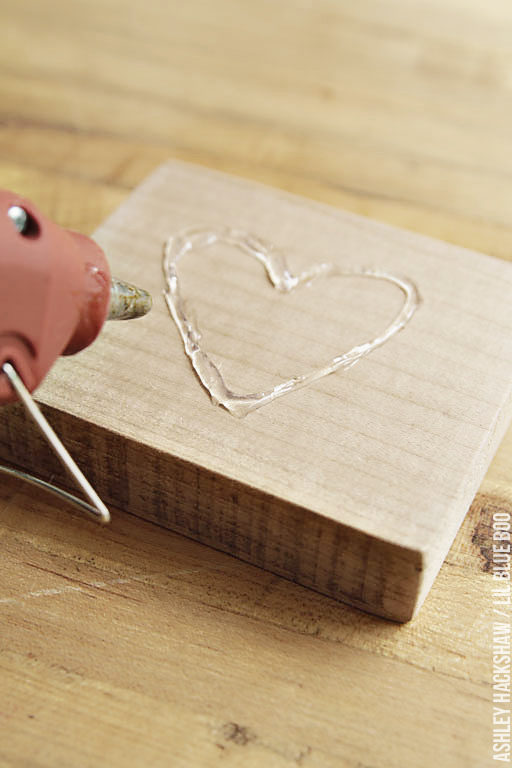
Step 3: I knew I wanted to create a mask of some sort that would block the flame of the torch in certain areas and I experimented with quite a few different materials and the best result was from of all things a hot glue gun! I used a hot glue gun (using an everyday craft glue stick) to apply a heart shape to the wood:
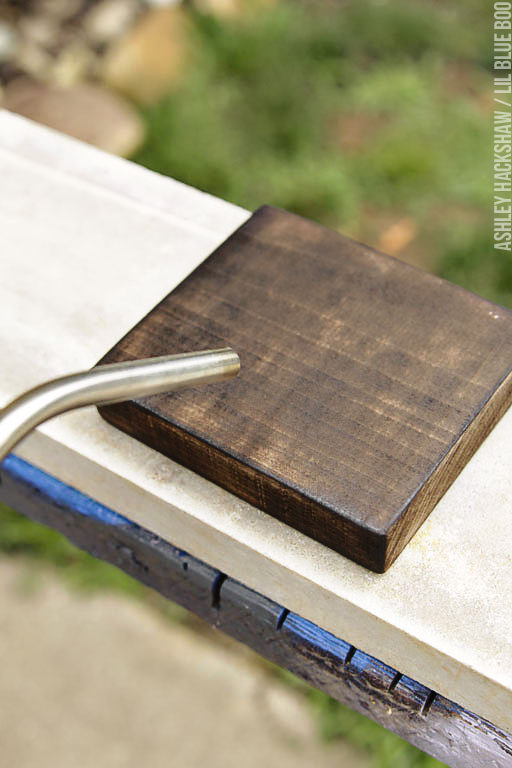
Step 4: Then I had a chance to test out the torch. I didn’t think there would be much difference from the previous models I’ve used but I was pleasantly surprised. The trigger start is much more intuitive for me (i.e. squeeze to ignite) and the ergonomic handle is much more comfortable for longer sessions of use:
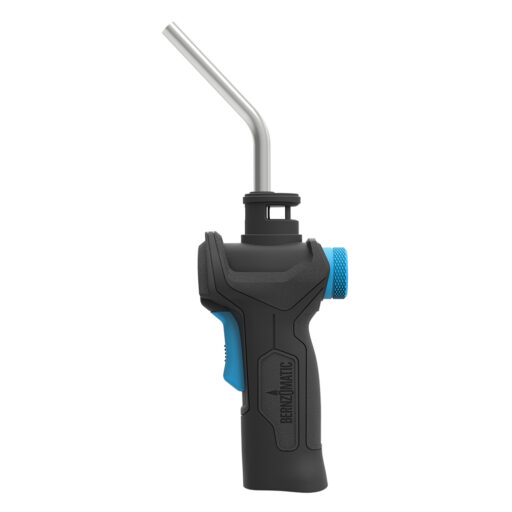
The other thing I like is that there is a wide degree of flame strength that is easily adjusted using the knob (and there is an arrow guide to make adjusting simple). The Bernzomatic TS3500 is the perfect torch for the DIYer to tackle a variety of projects. To start the project I had the flame on full strength and I easily burned the entire back of the maple:
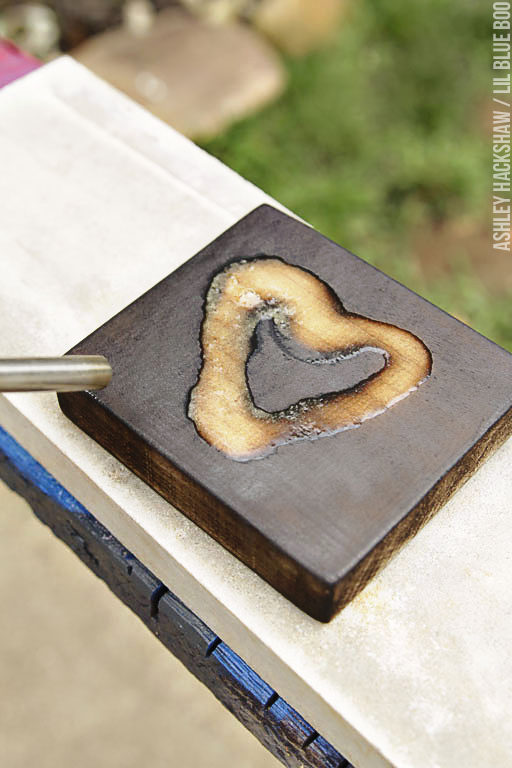
Step 5: When the wood was cool to the touch I turned the piece over and started on the front. I burned the corners of the wood first and then moved into the center where the glue heart was located. I turned down the flame to medium and the glue melted almost immediately but completely protected the wood from being torched leaving a heart shape behind:
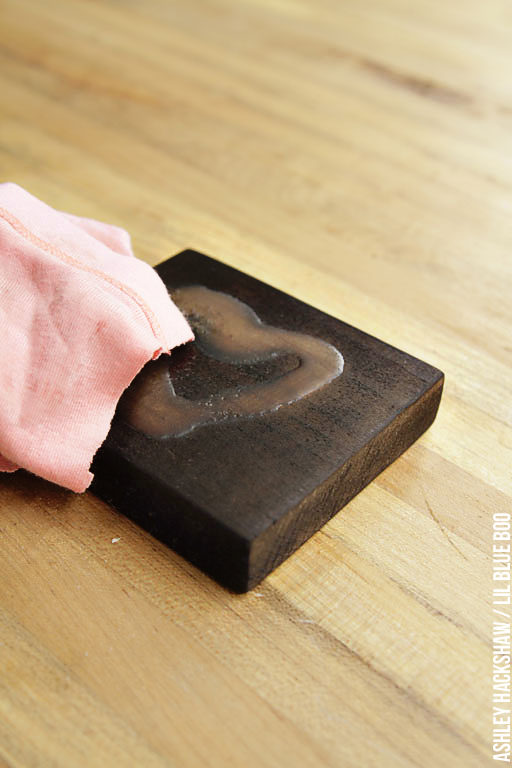
Step 6: I waited until the wood was cool again and before removing the glue I used a slightly damp rag to remove any loose charcoal dust from the wood:
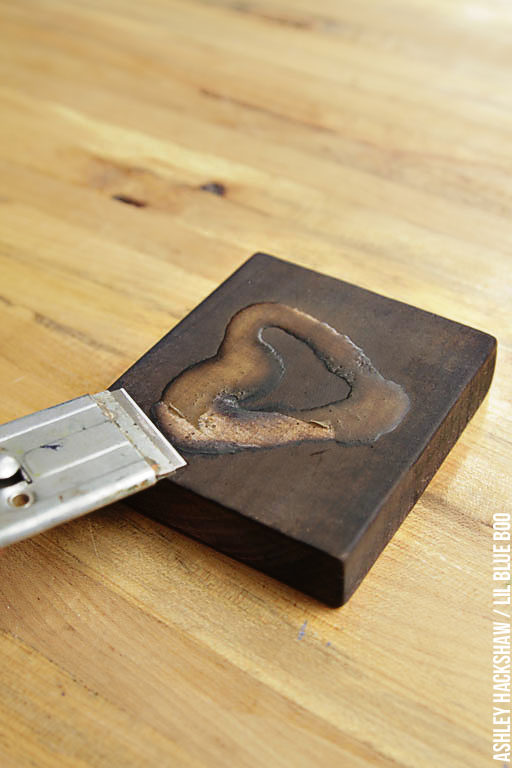
Step 7: Next I carefully used a razor scraper to peel the glue off of the wood. It was easiest to lift areas of glue off with the scraper and then just pull the glue off by hand. I lightly scraped the wood once the glue was peeled off to remove most of the residue:
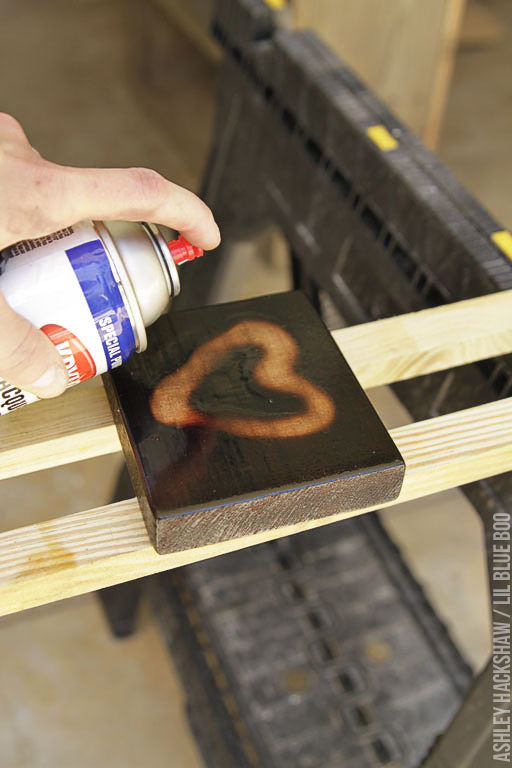
Step 8: Then I sprayed the wood with several coats of clear furniture lacquer which results in a hard, glossy finish:
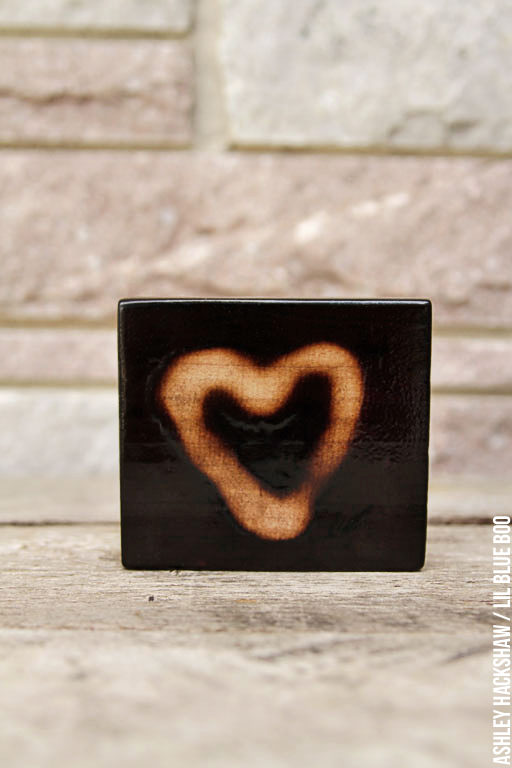
The finished block:
I love how smooth and glossy it turned out:
These would make great little gifts and can be set on a table or apply picture hardware to the back for wall hanging:
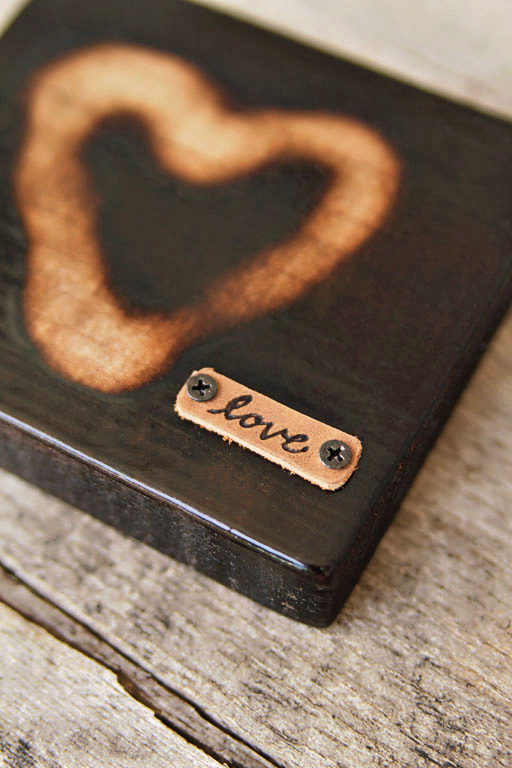
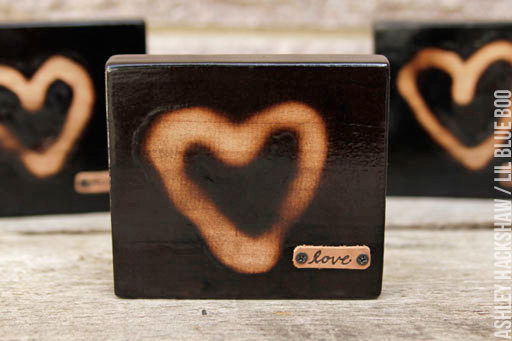
Optional Step: Another addition that can be added are these little scrap leather tags which were just made using a small wood burning torch and screwed onto the wood:
The finished blocks:
I think they look really cool!
Have you finished a torched wood project recently? I’d love to know! I find torches so useful even outside of my DIY projects. Last winter I used my torch to melt the water in the concrete water bath that the chickens drink out of and a few winters ago I had to use it to heat the water in our condensate line to get the heat going in the house. I’ve even used it to remove paint from old metal hinges and other hardware.
A big thanks to Bernzomatic for letting me test out their new torch! Make sure to check out all the cool DIY projects that Bernzomatic has on their website here.

