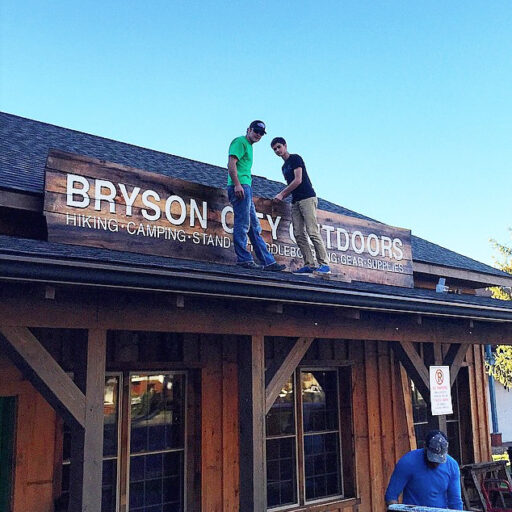
Bryson City Outdoors has been open for business now for 2 months! I still can’t believe how fast the renovation went. (You can read about the full recycle-heavy green renovation here). Here’s the sign going up (made by our friends Liz and AJ from reclaimed wood):
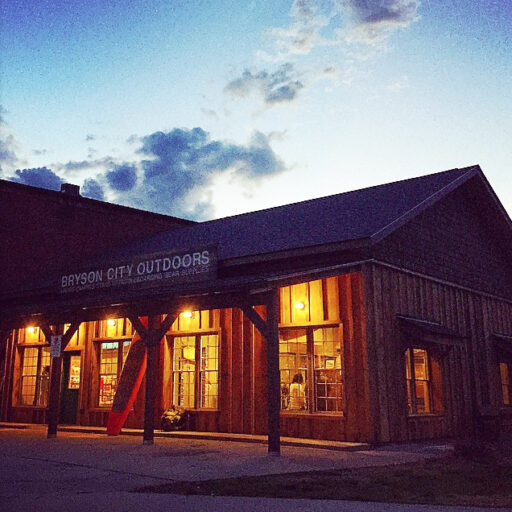
And March 31 we had a preview party for a small group of friends and family:
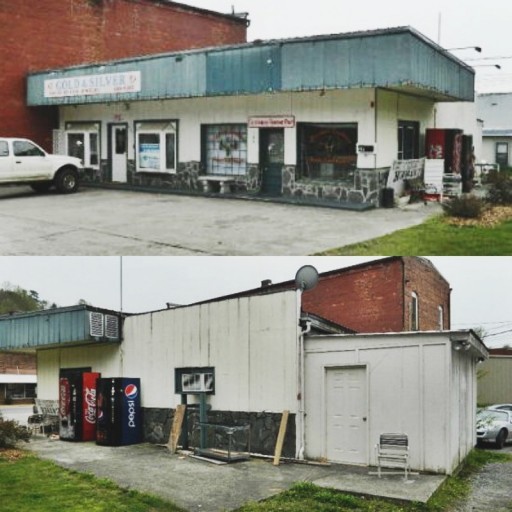
And this is what the building looked like before the renovation:
Yikes. I’m not sure anyone had even notice the building before…and it’s at the corner of Main Street and Everett! It had been patched together for years and years as a tire shop, pawn shop, real estate office, and leather shop and maybe even a few other things. We found so many signs in the building it was crazy.
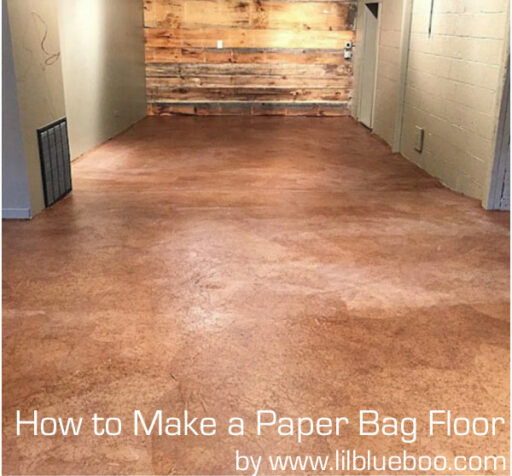
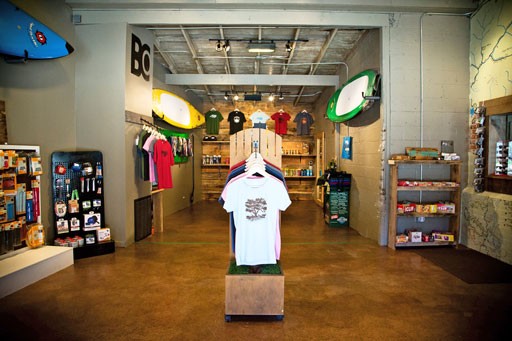
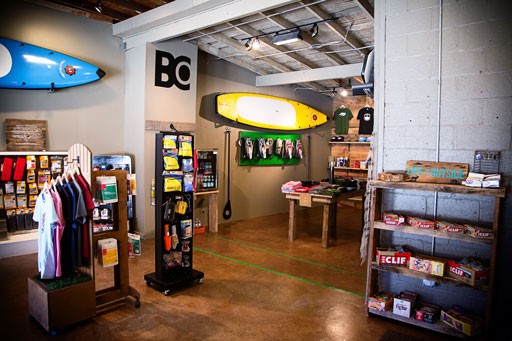
As a result the floor was a mismatch of concrete, outdoor carpeting, and various levels. Brett decided to try a paper bag floor in the bathroom last winter to see how it would turn out. It worked so well that the guys decided to go with a paper floor throughout the entire store. Here are a few photos that my friend Sarah Mattingly took that show the finished store interior:
The green tape marks the ADA ramp:
The retail store gets a lot of traffic as you can imagine and the floor has held up extremely well. Funny that it looks like more like an expensive concrete finish than paper! The great part about the paper floor is that if it shows wear in a few areas it can be easily patched.
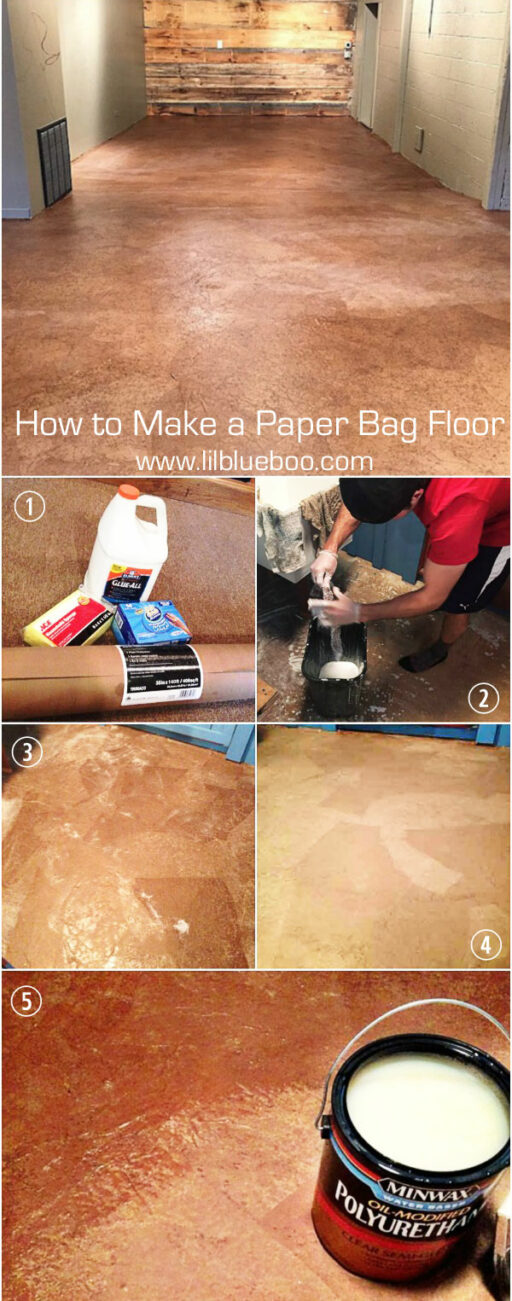
Here’s the quick tutorial:
Step 1. Gather Materials
A large roll of contractors paper or paper grocery bags
Elmer’s Glue-All by the gallon
Floor-grade polyurethane (Oil-modified Minwax)
A large bucket for mixing
Plastic gloves
Step 2. Mix the glue and water at a 50/50 ratio in the bucket. Tear (or cut depending on what look you are going for) the paper into large pieces. For a mottled look like Bryson City Outdoors crumple up each piece. Dip each piece into the glue mixture until fully saturated and then lay into place on the floor. Make sure to smooth out any air bubbles.
Step 3. Continue the process until the floor is completely covered.
Step 4. Allow the floor completely dry. This may take a full 24 hours or more depending on what climate you live in.
Step 5. For the final protective coat, use a paint roller with a light nap and roll on the floor-grade polyurethane. Make sure to have adequate ventilation for this step! Allow this coat to completely dry and then your floor is finished!
A great way to cover up super hideous tile or a bare concrete floor. I think the total cost came out to about 60-70 cents per square foot.
There’s a time lapse video of the guys laying part of the floor posted on the blog at Bryson City Outdoors…you can click here or click through below to watch. There are also more detailed directions!
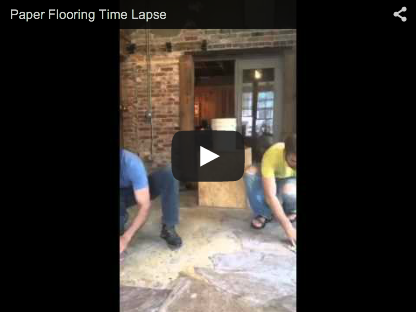
Awesome right? Make sure to stop by and see the store in person if you are in Bryson City, NC but you can also pick up a hat or t-shirt online here! #lifeoutside
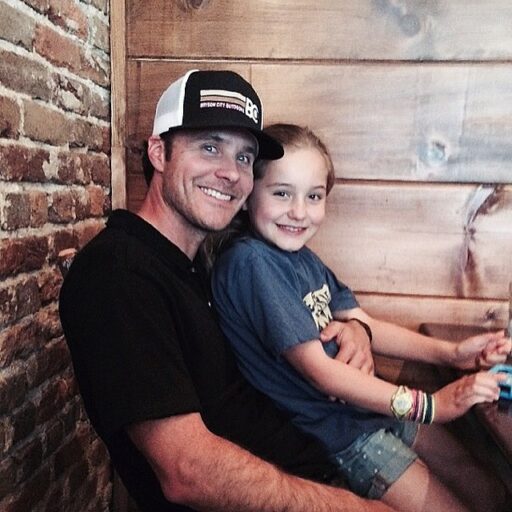
Aren’t these two adorable?

