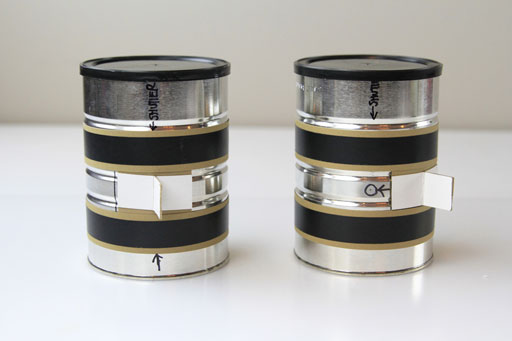
Ok sorry it took me a little while to get to the second post in this series….I took some time off for our vacation. Back to the wide-angle pinhole camera! (click here for the first overview and assembly post ) By now you should have your pinhole camera made and your dark room supplies ordered. It’s time to take some photos! If you are just stumbling on this post you can find the series from start to finish at the below link:
Your pinhole camera is ready to go!
For this type of pinhole camera, instead of 35mm film, you’ll be using B&W photo paper (see the source list at the bottom of the post). I find this much easier and more fun than film. With 35mm film you have to enlarge the negatives….with photo paper you have an instant 5×7 sized negative. There’s one more step to reversing the negative in the darkroom, but you can also scan your negative into your computer and then “invert it” using Photoshop. This is also a great step if you need to tweak contrast or lighting slightly to see your image better.
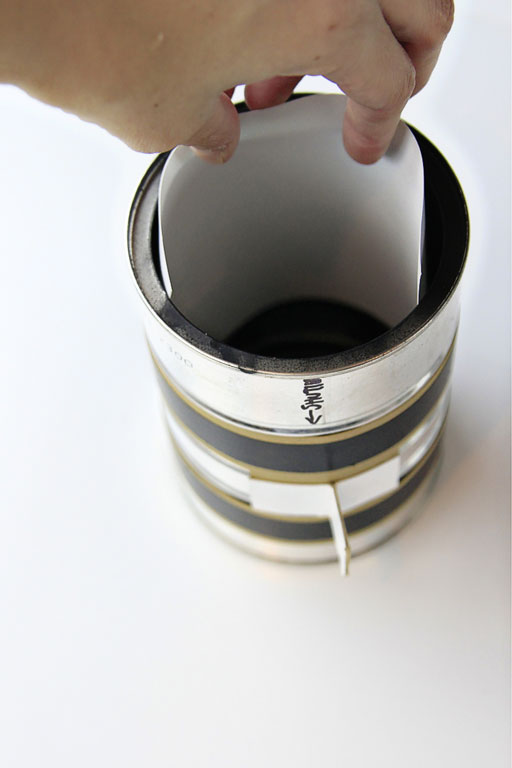
Once you have your B&W photo paper you can load the camera! Make sure not to open your packet of paper until you are in the darkroom or you will expose it. It is LIGHT SENSITIVE. (Note: I’m loading the paper in the light below just so you can see it….but this must be done in the darkroom!)
Take a piece of photo paper and place it into the camera as shown. The slightly glossy/smooth side is the side that is light sensitive. Make sure that side is centered facing the pinhole. (The glossy texture will wash away in the dark room trays.)
Make sure your shutter is closed before leaving the dark room!
The paper works the best in bright sunlight. Take the camera outdoors and set up the camera facing your subject. Open the shutter to allow light to enter the can and expose the image. Then make sure your shutter is CLOSED completely. Don’t open the shutter again until you have the can in the dark room again.
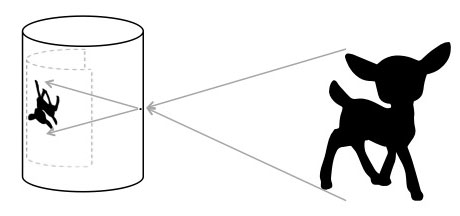
You’ll have to experiment with exposure times as you start out….but then you’ll get a feel for it. (which is why I recommend multiple cameras….number them so that you can keep track of how long you leave the shutter open for later comparison)
Here’s a little chart I made that might help as a starting point for exposure times. [Read more…]

