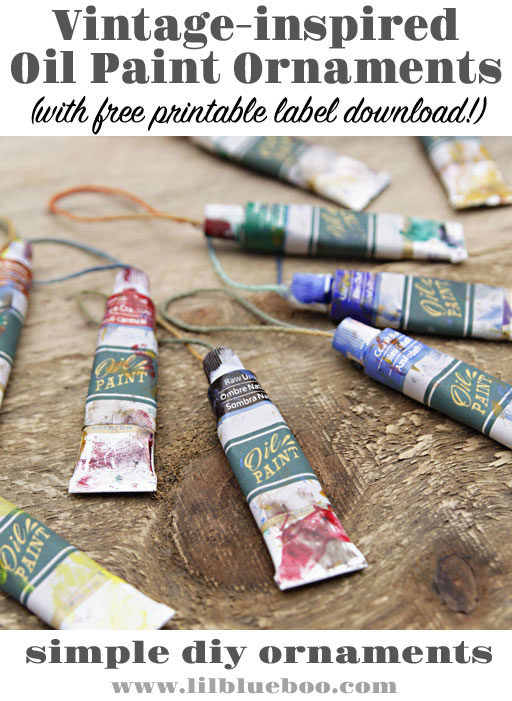
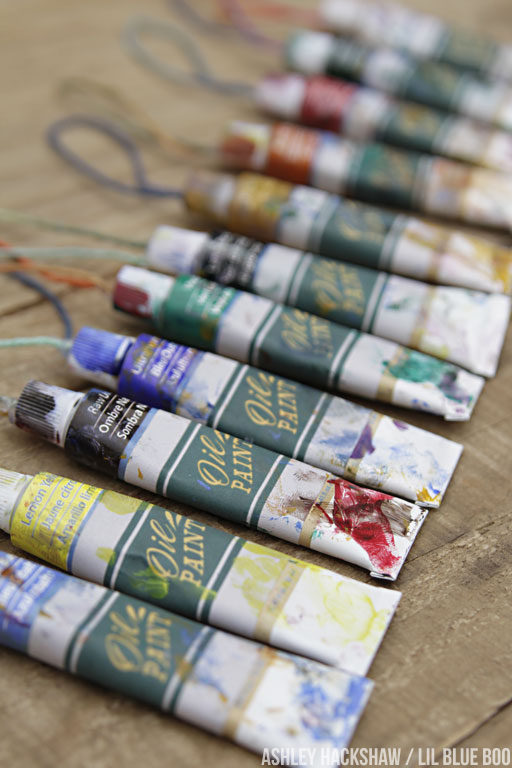
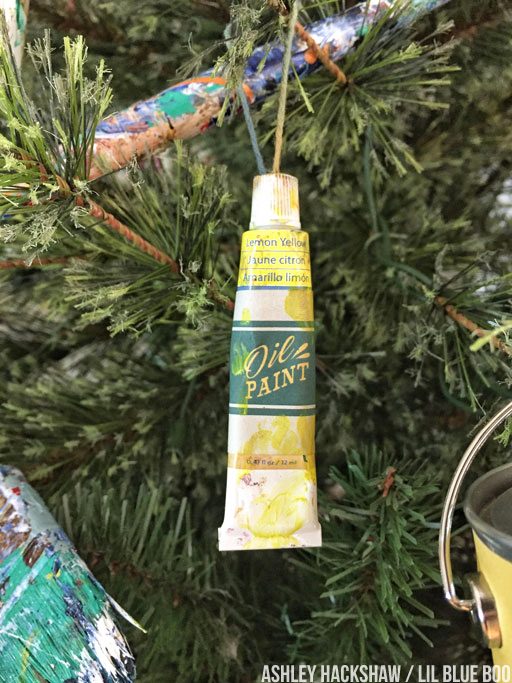
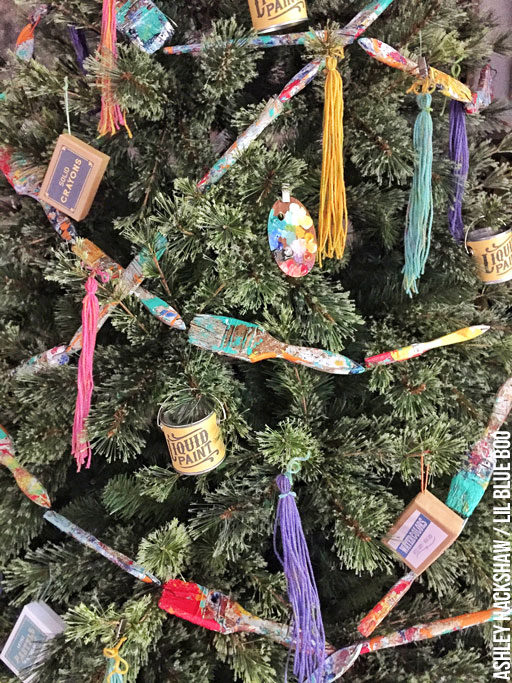
I love all things vintage, especially old art supplies. Another ornament I wanted to make for the tree this year was some form of oil paint tube and these vintage-inspired oil paint ornaments turned out just as I imagined them.
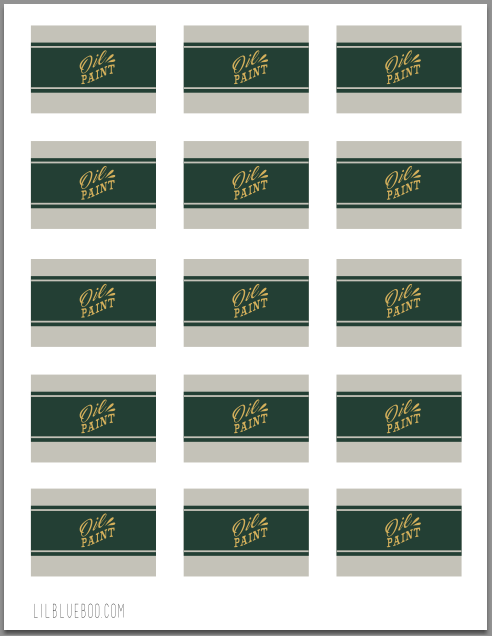
My friend, artist Stephanie Corfee, helped me create the vintage-inspired printable labels:
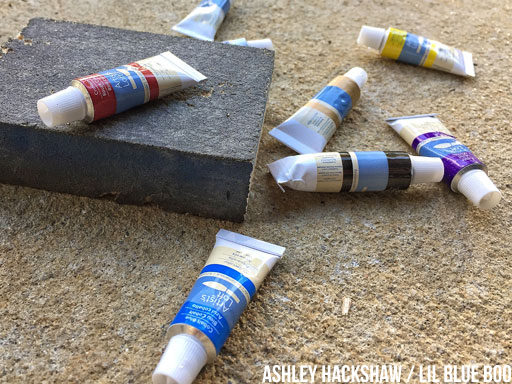
I started with a super-inexpensive pack of acrylic tube paints from Michaels (only $5!). To make them look kind of old I scuffed them up a little using sandpaper:
Then I printed these labels onto 8.5″x11″ white label paper (which is essentially a huge white sticker you can print onto). Click the image to download (or click here) the free PDF that Stephanie created for us: (And please help me thank her by following her amazing work on Instagram!)
I cut out the labels with scissors and wrapped each one around a paint tube. To age them a little more I opened up the each paint tube and dabbed a little paint here and there:
The colorful string was attached to the cap using a hot glue gun:
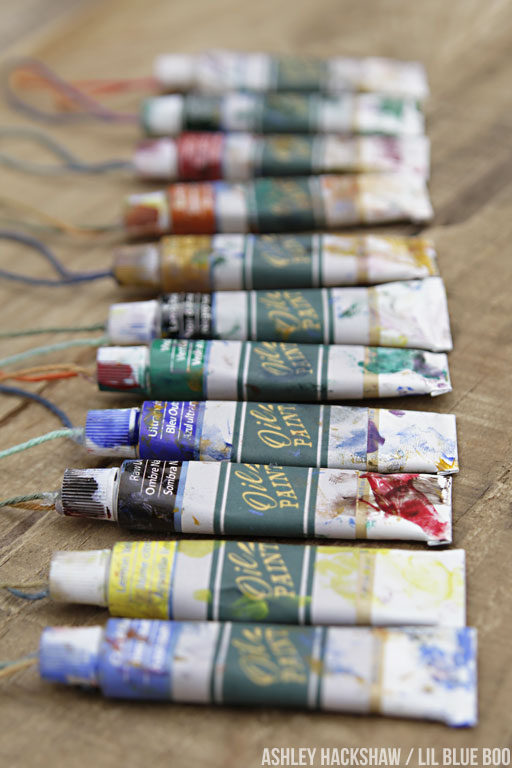
All my vintage art supply dreams have come true (stay tuned for more in the next few days too):
Click here to see the entire art-themed tree here and all the other ornaments I’ve posted so far.

