Last minute Valentine Cards!
Super last minute. I almost forgot that Boo had to take Valentines to school tomorrow! So late afternoon we were printing and cutting and signing but I think they turned out pretty cute!
Thank goodness for the Valentine’s themed Project Run and Play photos I had for this week…..I set up one of the photos in Powerpoint (I just think Powerpoint is super easy for manipulating graphics and text to print):
I printed the image on cardstock and cut it into individual cards:
Using an exacto knife I cut two slits in one side to put Tootsie Pops into:
Boo signed each card herself…..and added “Batman” masks to a few to make them extra special:
Handmade rocks 🙂 and I’m sure the Tootsie Pops are still good from Halloween right?
"Miniaturizing" a Men’s Shirt (A Tutorial)
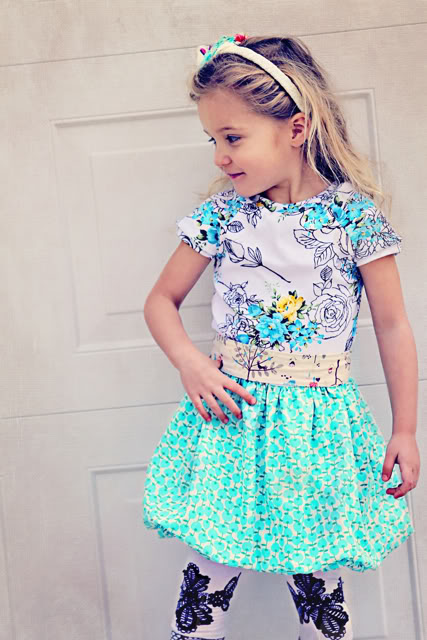
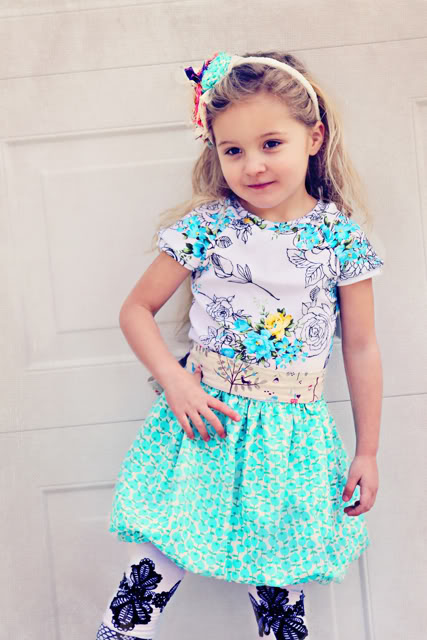
I made this “Annie Hall” inspired outfit for Week 4 Project Run and Play using the material from a men’s shirt and a pinstriped skirt of mine:
It’s fairly easy to re-tailor a men’s shirt to fit a boy or girl:
Updated: I woke up early this morning to find a photo of a shirt that Lisa over at Stuff Mummy Makes had already made using this tutorial and wanted to share since it shows a boy version! So cute!
First I took one of my husband’s old dress shirts:
I marked where the new smaller arm holes would be….
….and cut my new shirt. The width of the shirt will be reduced by where you cut the new arm holes. I checked my shoulder measurements by trying it on a toddler sized dress form:
Note: you can see here that it was slightly too big and I had to cut them down about an inch. I cut the hem based on the dress for as well….so the bottom of the shirt was a few inches below the waist.
To cut the sleeves, I took one sleeve and used one of Boo’s shirts to figure out the length:
I used a disappearing ink pen to trace the arm curve…you will want to add a little “swoop” at the the bottom of the sleeve opening to account for the curve under the armpit:
Here is the first sleeve I cut….you can see that I just cut straight through the cuff:
Note: Make sure to leave the cuff wide enough for the hand to fit through….you’ll be sewing it closed as a “faux” cuff.
I used the first sleeve to cut an identical second sleeve:
I pinned the center of the sleeve first to the main shirt piece:
….and then pinned each side before sewing the sleeve on:
I sewed the sleeves and sides of the shirt closed and finished the seams. I left my shirttails long to they would tuck in easily but if the tails are to be left out you can hem them. Here is the finished shirt with the “high-waisted” pants I made:
Think twice before throwing out those old shirts now! You can make them into something cute for your little one!
- « Previous Page
- 1
- …
- 529
- 530
- 531
- 532
- 533
- …
- 661
- Next Page »