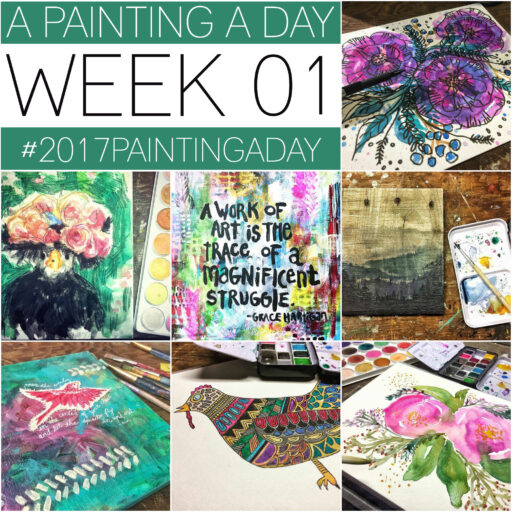
I decided on January 1st to try and paint at least one painting a day this year. I’ve never lasted more than two weeks on a 365 project but I hope to make this one last! I think if I post a roundup of all seven here each week maybe that will help keep me accountable. I’m also posting them on Instagram each day here.
Here are all the “daily” paintings I made this week:
A mixed media painting with a quote:
“A Work of Art” (Sold)
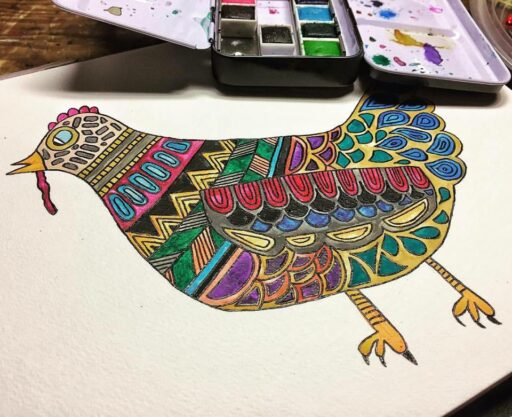
A collaboration with Boo. She drew the chicken for me and I painted the designs onto the shape:
“Kaleidoscope Chicken” (Sold)
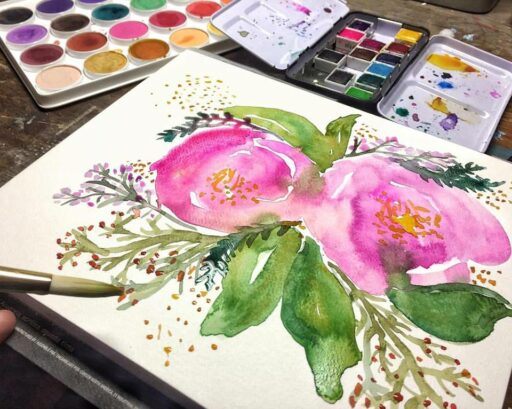
A floral watercolor:
“Peonies” (Sold)
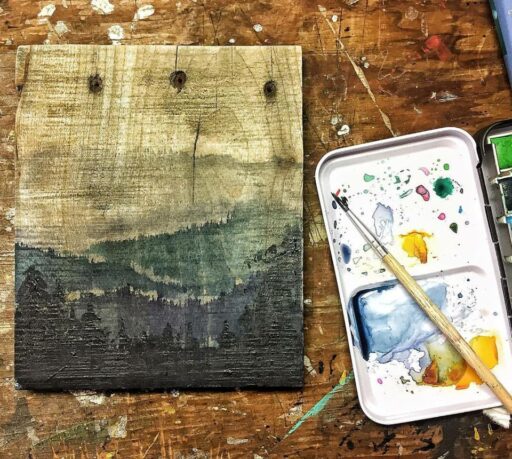
An abstract landscape of the Smoky Mountains. Painting on reclaimed barn wood:
“Smokies” (Sold)
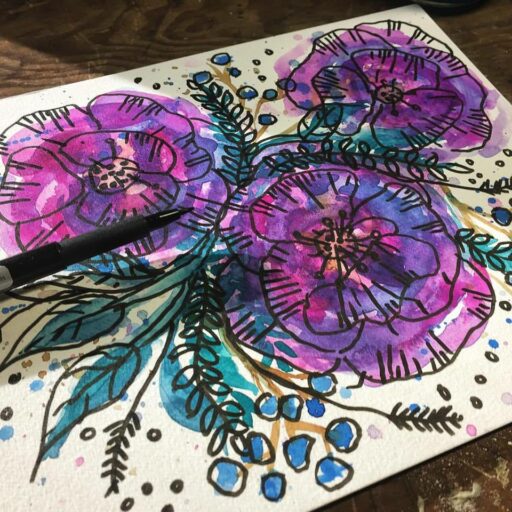
A floral watercolor with a layer of pen illustrated on top:
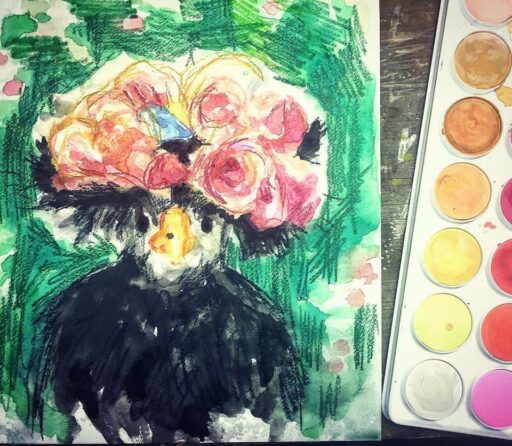
A watercolor and colored pencil rendition of Foshizzle as Frida Kahlo:
“Fo as Frida” (Sold)
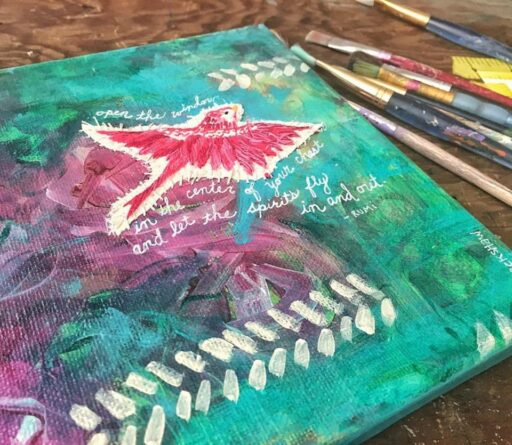
An acrylic painting with vintage embroidery stitched on:
“Open the Window” (Sold)
Every few days I’ll be listing some of the paintings in my Etsy shop along with other work I’m working on simultaneously. I’m always complaining to myself that I can’t find time to paint but I’m determined this year. When I’m painting I’m at my happiest!
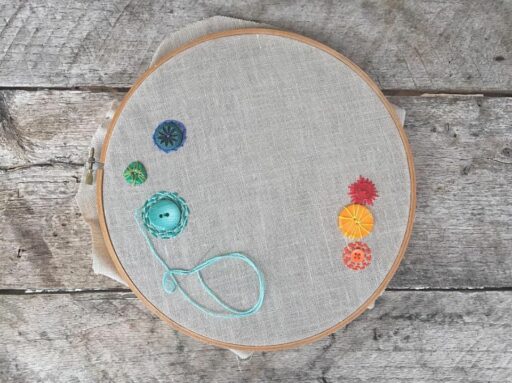
I also started this other project inspired by Hannah Claire Somerville…a stitch a day for an entire day. Instead of an embroidery stitch though I thought I’d add a button or a bead to this fabric and see what it looks like once it’s filled. Here’s what it looked like yesterday (since I haven’t added my button for the day yet).
It’s never too late to start a yearly project! You only have just one week to catch up with the stitching or button!

