These are two matching outfits I made for Sienna’s twin friends who turned 3 this weekend.

The skirts I made using the Evelyn Apron Skirt pattern (without the apron). You can get the ePattern at You Can Make This). I used blue and pink owl fabric from Robert Kaufman’s Hot Couturier line (Screen print D#7116). I don’t think they make it anymore but you might be able to find it on the Internet.
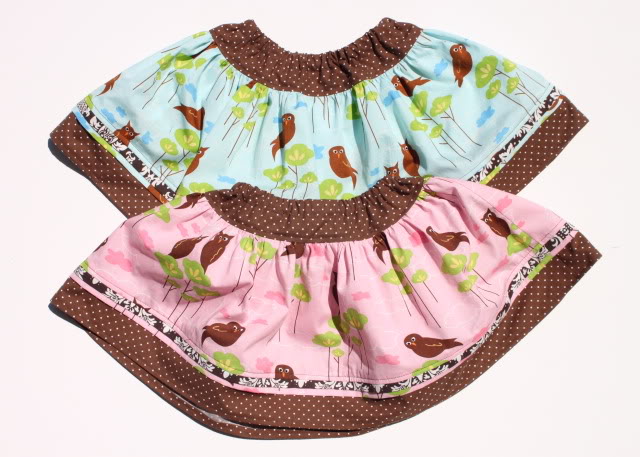
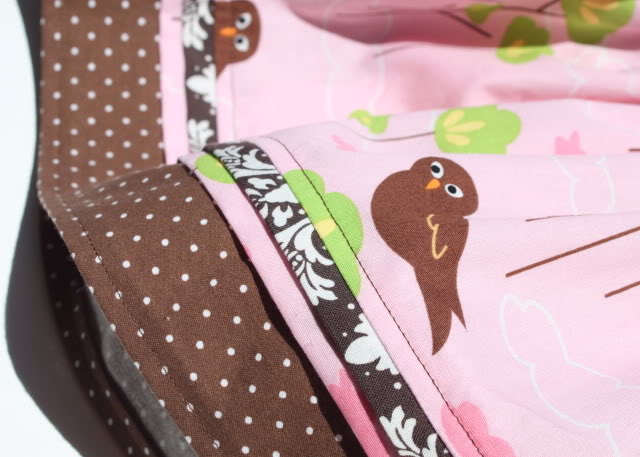
I made one adjustment to the Evelyn Skirt pattern ….added an additional pink accent strip below the dark brown and white one to provide contrast.
I used the “Ultimate Tee” from Target for the applique (great $5 t-shirts with puffed sleeves). I added buttons for the eyes (a little off kilter because I think it makes the owls look sillier), added little bows to make them “girl” owls, and stitched some contrast onto the eye background using green DMC thread.

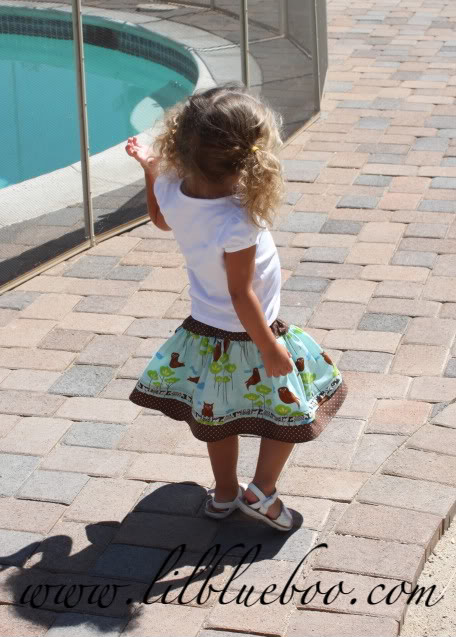
Here is the only photo I could snap of Sienna modeling it…..from the back as she ran from me…..
Here is my owl applique template if you’d like to make one yourself!
LBBOwlApplique*
*Copyright © 2009 by Ashley Hackshaw. All rights reserved. This applique is for personal and home use only.


