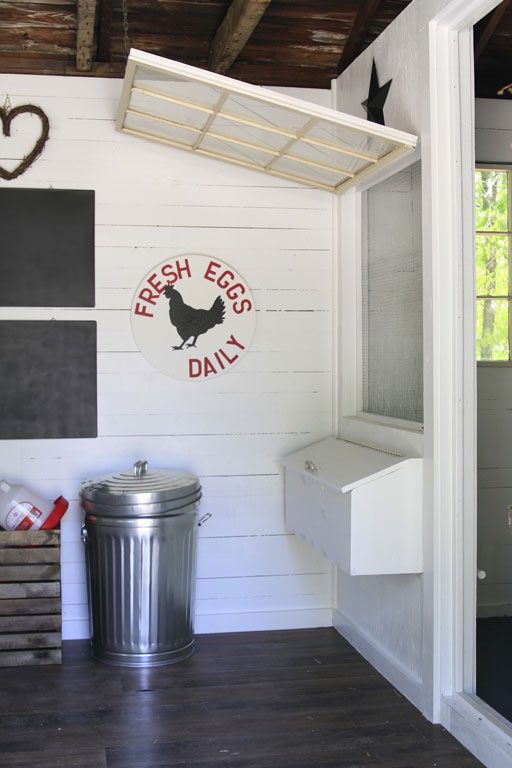
Next up in the chicken coop progress is building nesting boxes! We have seven chicks right now and I’ll be adding a few more at the end of the summer so we’ll probably end up with about ten chickens total. Everything I’ve read over the past few months has said that you need one nesting box for every three or four chickens. What do they use nesting boxes for? Laying eggs hopefully! So, the chickens will share these nesting boxes…happily laying their eggs in a few months. I love all the chicken coop designs where you can access the eggs from outside the coop so we went with a set of nesting boxes that can be opened from the inside of the potting shed:
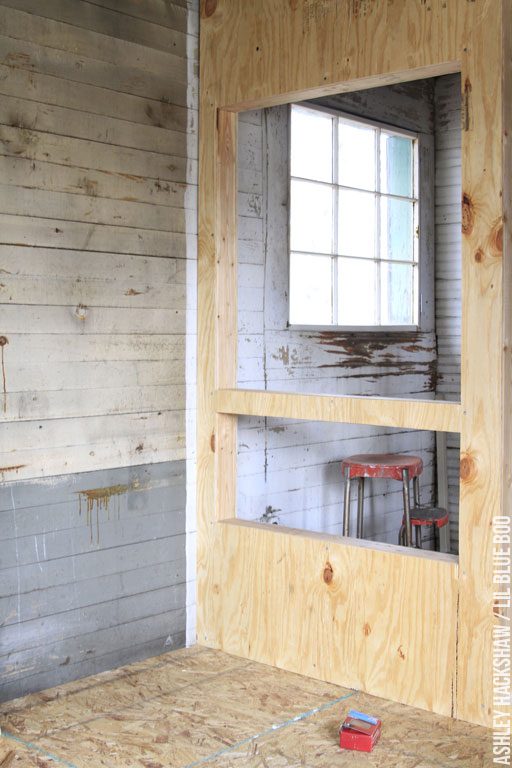
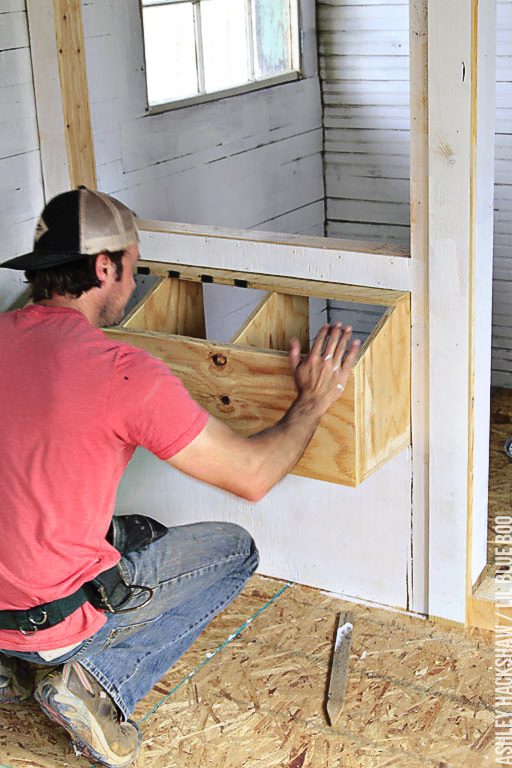
When we built the wall to divide the depot Brett framed out a hole for the nesting boxes. It’s 18″ off the ground so that they won’t just hang out in it and also lower than the roosts we made on the other side which I’ll show you later.
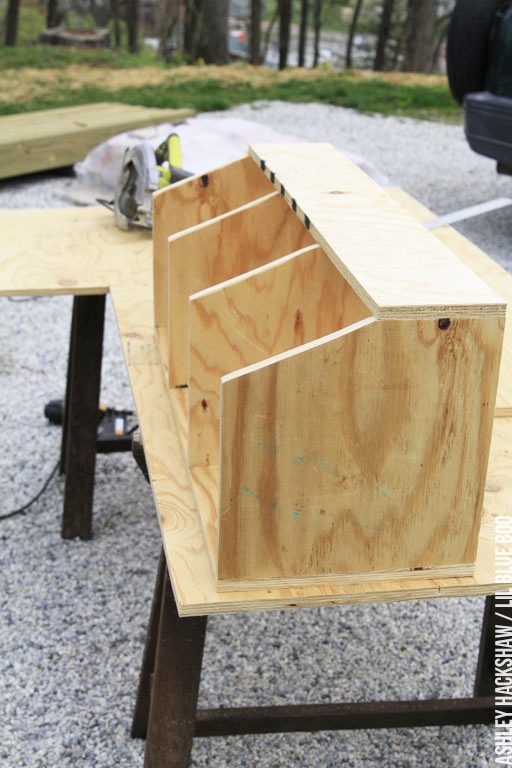
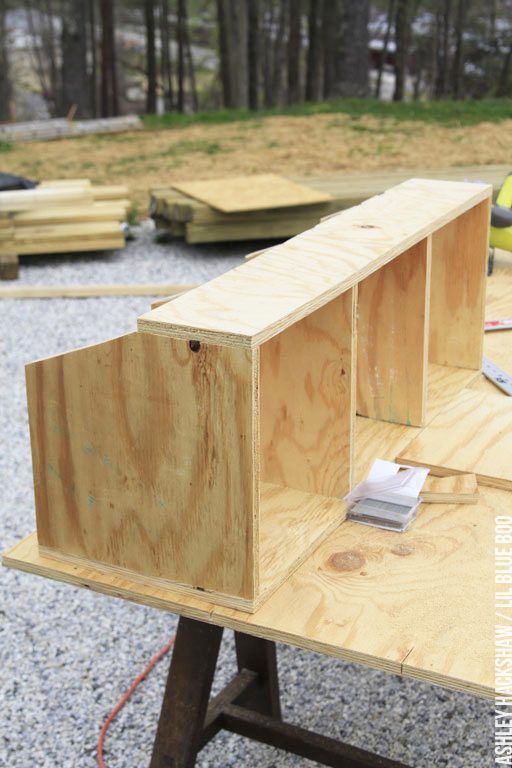
The nesting boxes were made from plywood:
The overall dimensions were 36″ long, 14″ high, 14″ deep. This makes each nesting box about 11″ x 12″, a good size for Bantam chickens which are a little smaller than standard sized chickens.
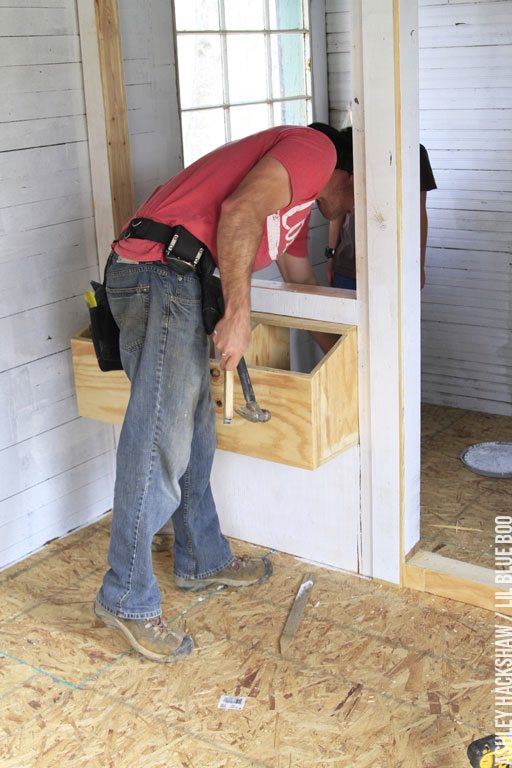
The moment of truth as Brett inserted the box into the wall. It fit!
Securing it to the wall:
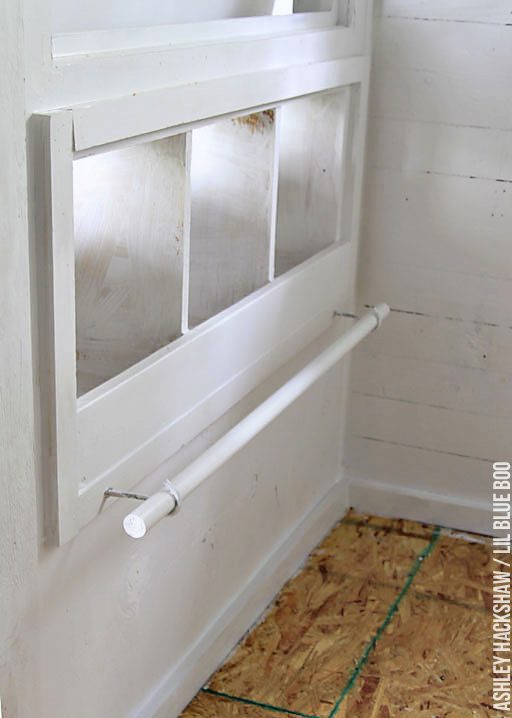
Everything was painted in semi-gloss exterior paint to make for easy cleanup. I made sure it had a few weeks to cure (and have fumes go away) before the chickens had their ribbon cutting ceremony. We added a 1″ dowel to the front of the boxes to make it easy for them to enter:
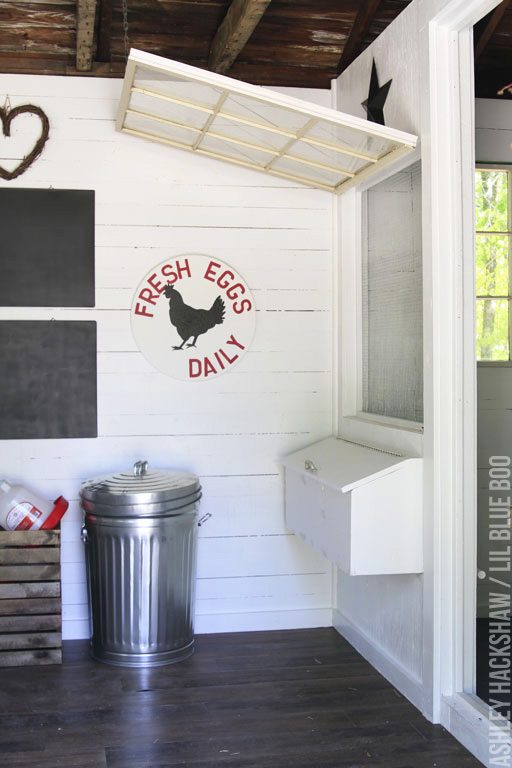
The lid to the box was attached using a piano hinge:
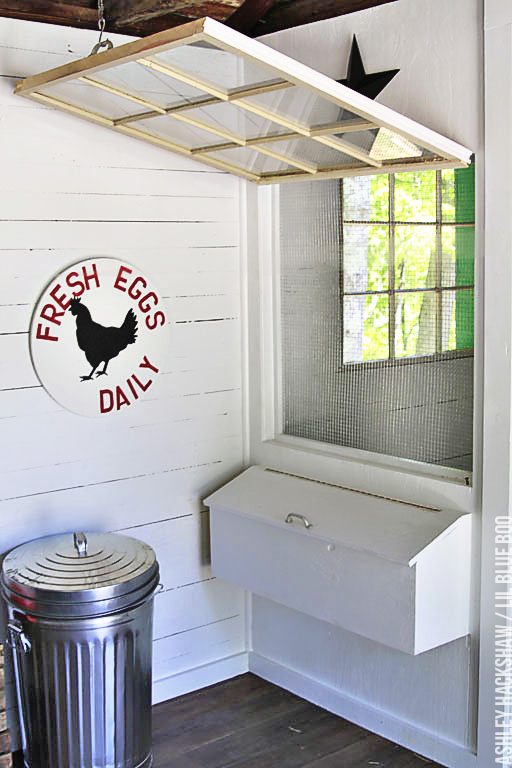
The window was salvaged from my sister’s house when she replace her windows. We added hardware cloth to the opening and the open window is held in place by a chain and s-hook from the ceiling. I wanted the option for as much ventilation as possible during the summer and to be able to close things up a little in the winter:
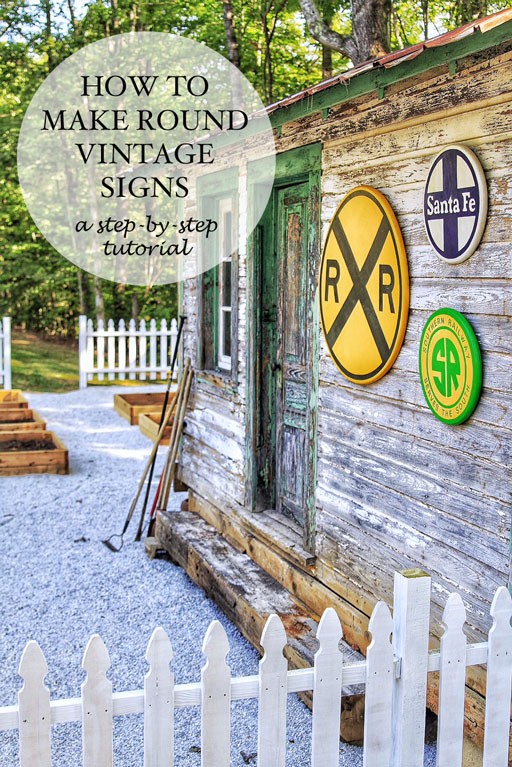
I think I’ll put either hay or shavings in the boxes when it comes time for them to start nesting. You can even buy nesting box herbs. Who knew? I’ve seen boxes with cute little curtains for privacy too. You could go chicken-crazy with coop decorating…I probably have already. The black boards are galvanized metal boards from Michaels and I spray painted them with chalkboard paint. I made the “fresh eggs daily” sign the other day from a round wood table blank. You can find a tutorial for that here or at the image below:
Can’t wait to show you the rest! The chickies spent their first night in the coop last night. It was thundering and lightning all evening and I was so worried I checked on them quite a few times. Every time I peeked in they were just having a ball. Here’s a video of Boo at the ribbon cutting ceremony:
You can read all my posts on chickens here and all about our chicken coop design here. Thanks for reading!
A big thank you to Lowe’s Home Improvement who made much of this project possible!