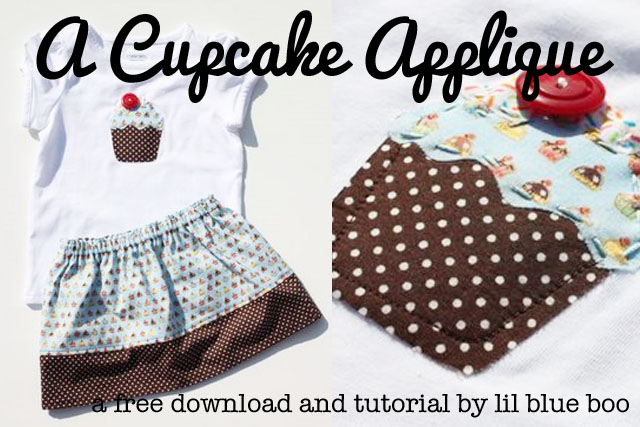
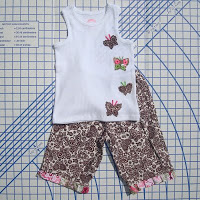
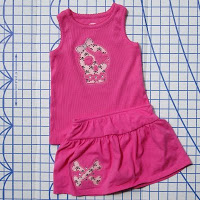
This is a gift for a friend’s daughter who turns 2-years-old today! Sienna and I are off to a fairy tea party to celebrate.
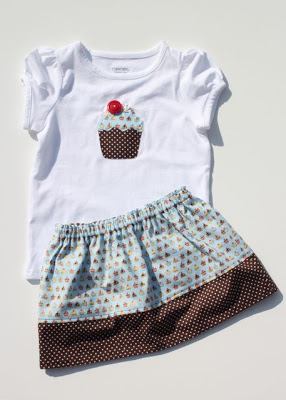
I made the applique shirt with mini cupcake, tiny polka dot and sprinkle fabric. The cherry is a red button. (I’m loving the sprinkle fabric….it says it is exclusively made for Joann’s if you want some!) I used DMC thread to stitch around the icing layer and the sprinkle layer.
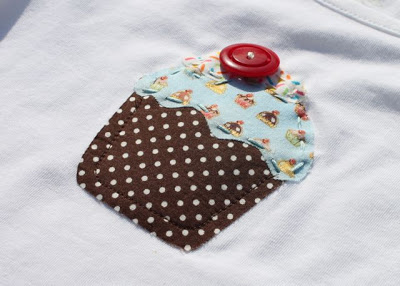
I love this blue mini cupcake fabric by Makower….each pastry has little gold accents.
Update: I had a few requests for my fabric source for this fabric….I got it at Mary Jo’s last summer when I was in NC. If you want to find it, google “Makower Party Time Cupcake Blue” …..a few links came up including this one at Creative Quilts Kits. Check Ebay too. Also, the small brown polka dot (that perfectly accents the brown and white cupcakes) is from Robert Kaufman’s Pimatex Basics line.
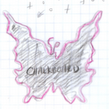
Here is the template I made for the cupcake layers (I know it is simple…. but it might save you some time).
Cupcake Applique*
*Copyright © 2009 by Ashley Hackshaw. All rights reserved. This applique is for personal and home use only. A limited commercial license may be purchased for limited production. Please email me at ashley (at) dc.rr.com for more information. Thank you for respecting my copyright!
I didn’t use a pattern for the skirt. Just a few rectangles. It is for a size 2T and is slightly short so add some length to each if you like them longer.
Main skirt piece: cut 2 rectangles 8″ x 16″
Bottom border piece: cut 2 rectangles 4″ x 16″
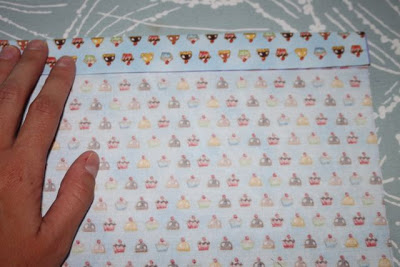
I like to use a disappearing pen to draw a line to help me iron. I drew the first line 3/4″ from the top of the main piece and the second line 2″ down from that one. Fold your edge to the first line, iron, and then fold again to the second line…..
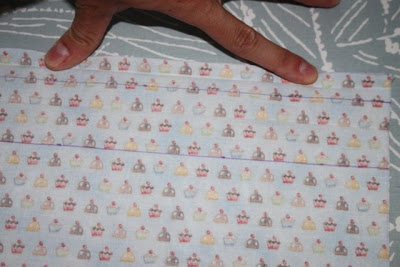
…..and iron. This results in a 1″ casing for your waistband.
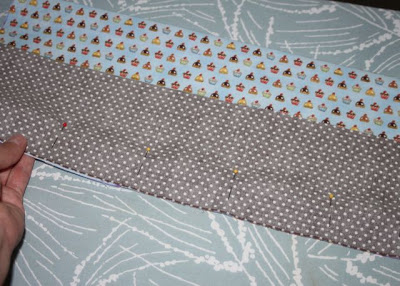
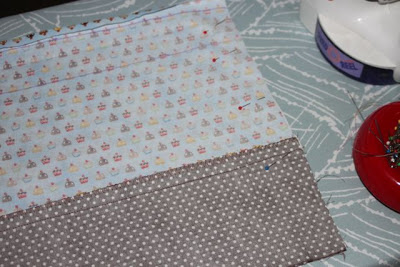
I took the border pieces and pinned them to the bottom of the larger rectangles (right sides together).
Then I sewed these pieces together (use 1/2″ seam so there is enough fabric to topstitch later) and finished the edges.
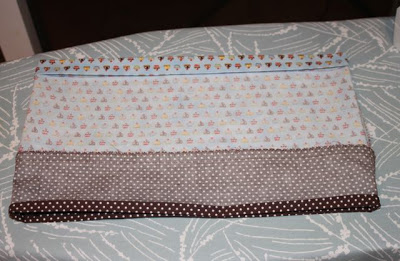
Open up the skirt pieces and iron the seam upward toward the top of the skirt. Place both skirt pieces right sides together and pin the sides together.
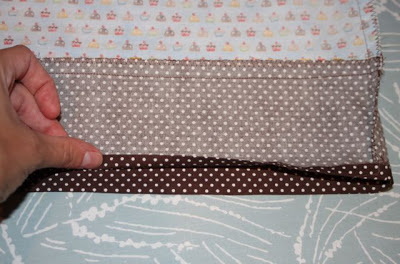
Fold the bottom of the skirt up 1/4″, twice, to form a hem.
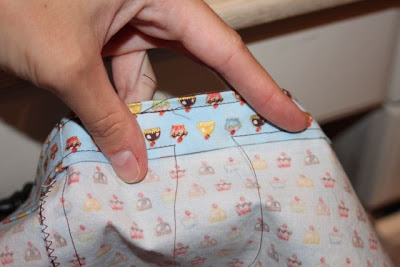
Refold the waistband down using the folds you have already ironed.
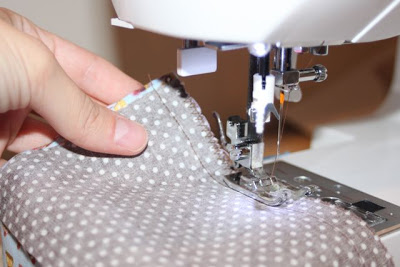
Topstitch the skirt where the main skirt piece meets the bottom border (about an 1/8″ above the border). You will be sewing over the 1/2″ seam you ironed upward earlier. This is a decorative stitch but also stabilizes the skirt where the two fabrics meet. You can also need to sew the hem at this point.
Sew the waistband and leave 1″ for the elastic to be threaded through. Top stitch 1/8″ around the top of the band as well to stabilize the waistband and for decorative purposes.
Thread the elastic through and sew the 1″ gap shut…. you are done!
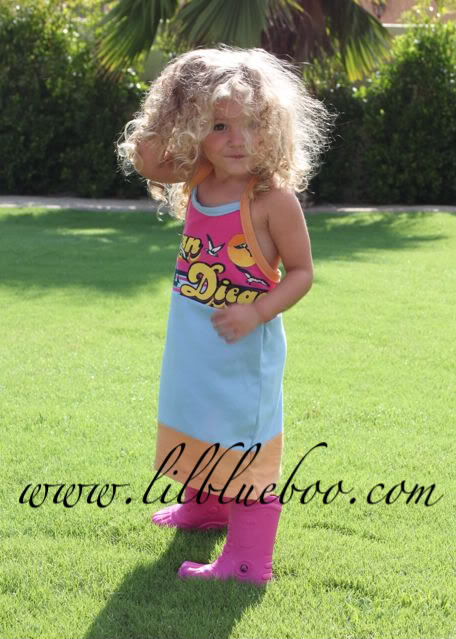
On another note….where did my child get this hair?! Her outfit doesn’t look very “tea partyish” but she runs from me every time she sees me holding the cute little tutu I bought….like mother, like daughter.

