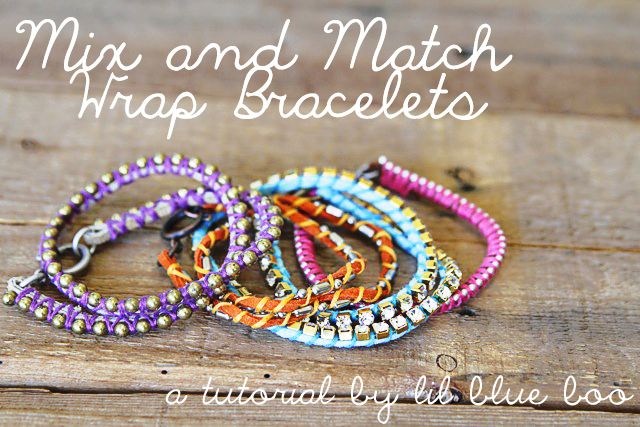
Obviously I’m reinventing the “DIY bracelet” wheel, but I like the way these turned out using different kinds of ball chain (it’s also a much more simplified version of the leather and bead ones from last February). Anyways, I mixed and matched a bunch of different chains, rhinestone strands and chunky clasps to get a funky, layered bohemian look. Make sure to check out the long-short ball chain towards the bottom….it results in a “twist” effect.
Carved Leather Bracelets (A Tutorial)
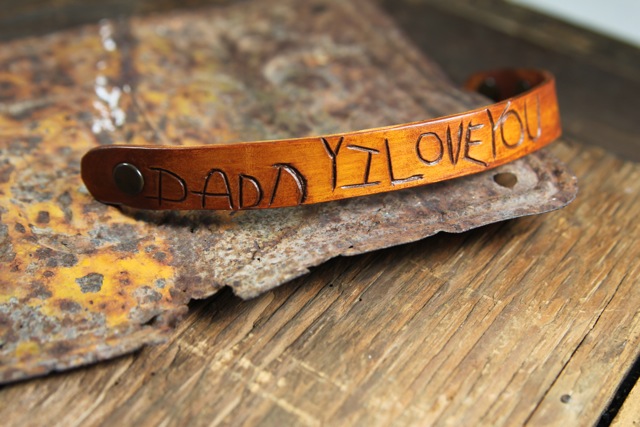
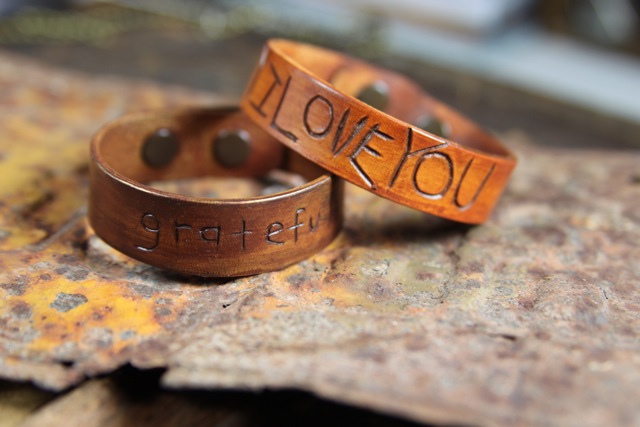
Father’s Day is coming up so Boo and I made Mr. Lil Blue Boo this hand carved bracelet:
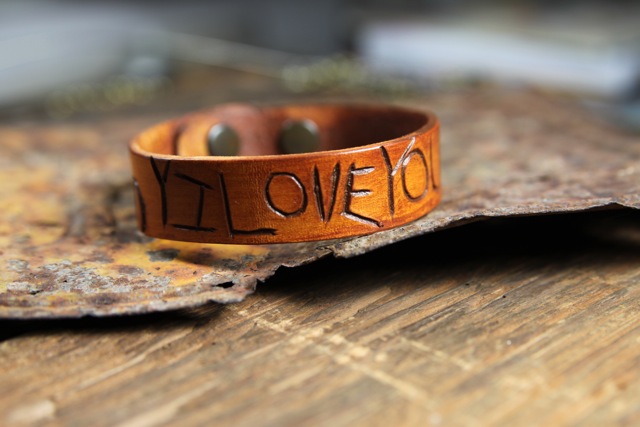
It says “Daddy I Love You” in Boo’s handwriting:
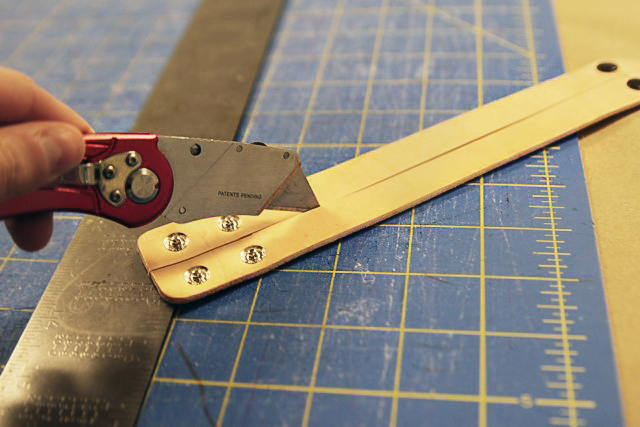
First I started with a basic leather cuff (from Dharma Trading, pre-cut with hardware already attached) and used a razor blade to cut it in half:
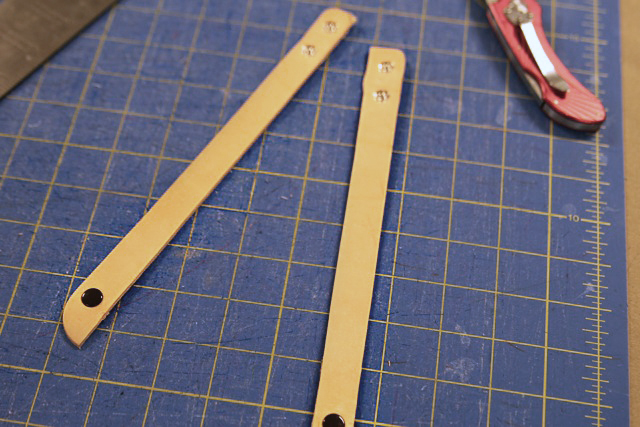
A cuff becomes 2 bracelets!
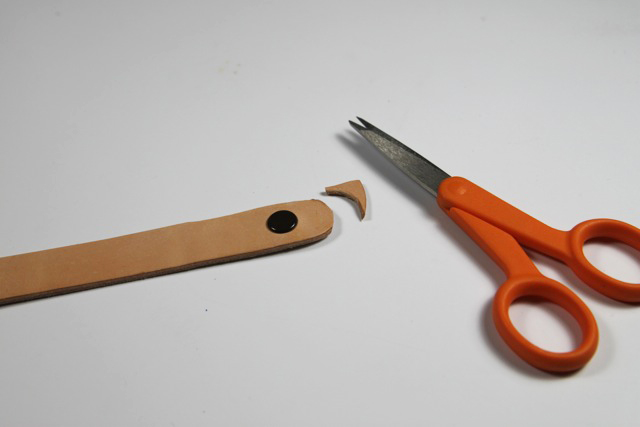
I used small detail scissors to trim the edges to make them symmetrical:
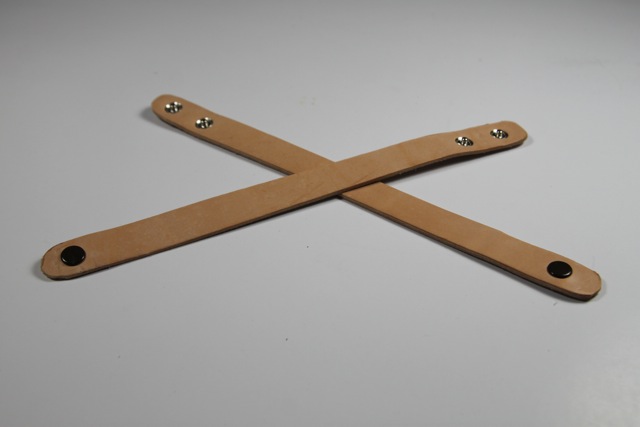
Ready to embellish:
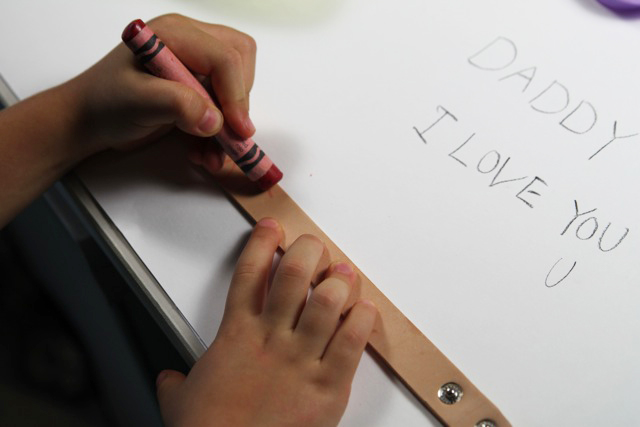
Boo wrote her message to Daddy on the bracelet:
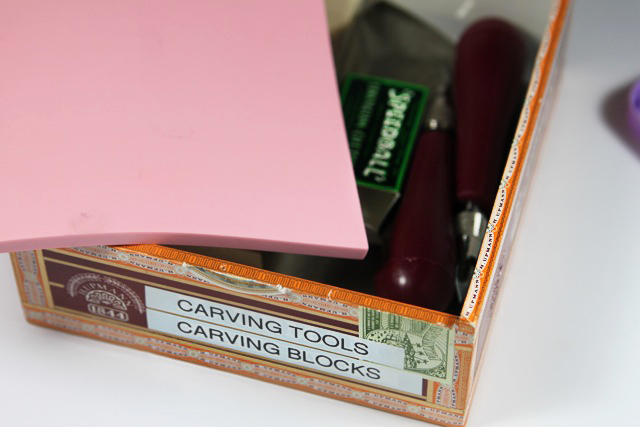
Using a set of basic linoleum cutting tools…..
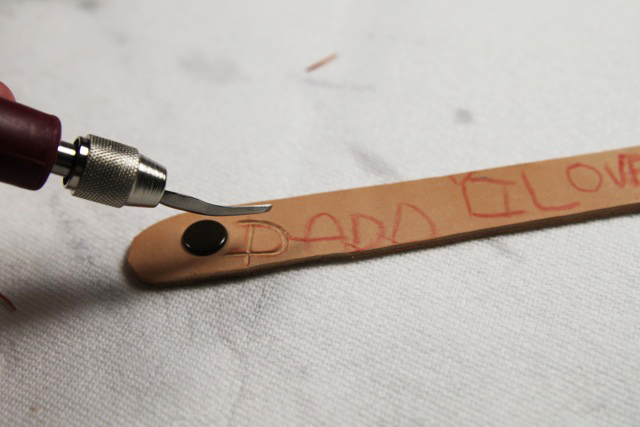
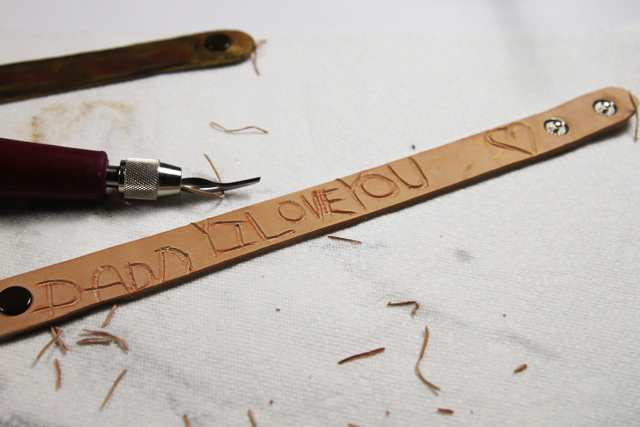
……I carefully carved out the letters:
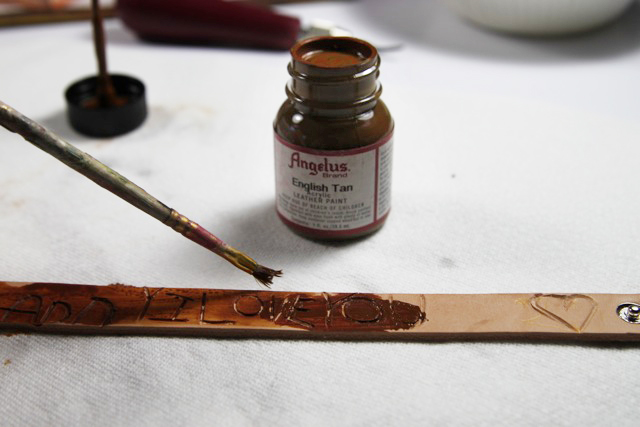
Next I painted the bracelet with basic leather paint (in English Tan) making sure to get a lot of paint down into the carved letters:
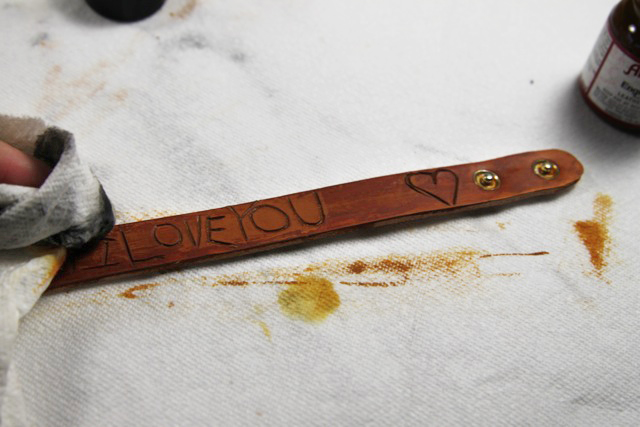
Next I wiped off the paint using a damp cloth so only a thin layer was on the leather.
I painted and wiped it off several times to achieve a distressed look. Then let it dry completely:
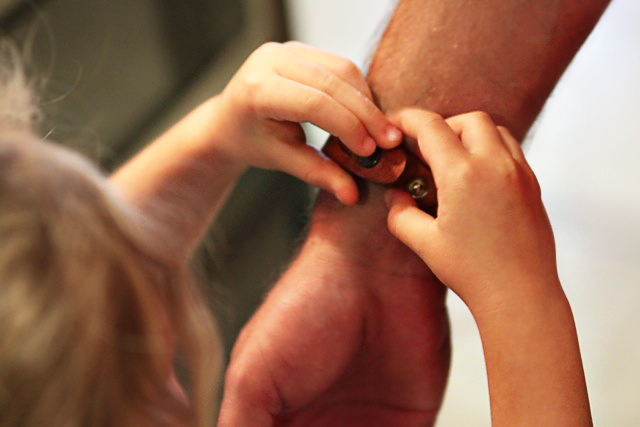
Boo couldn’t keep this secret from Daddy and wanted to give him his bracelet immediately:
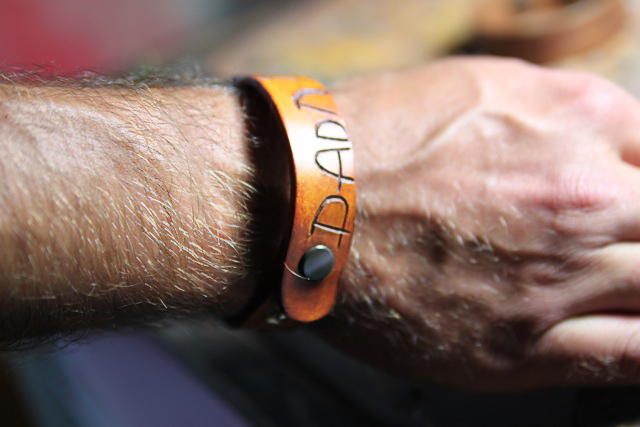
A perfect gift to Daddy from his little girl:
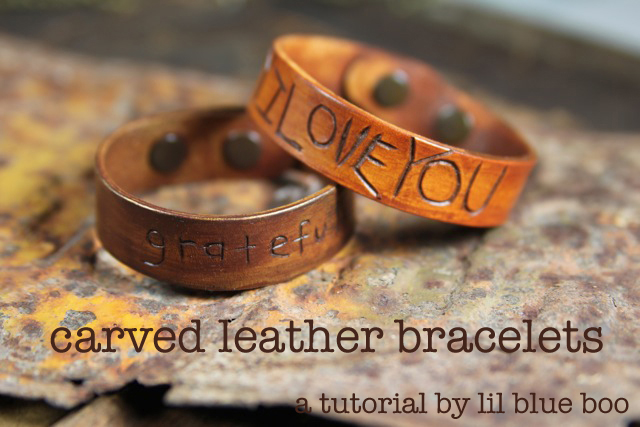
I made the “grateful” bracelet for myself:
What will you write on yours?
-Ashley
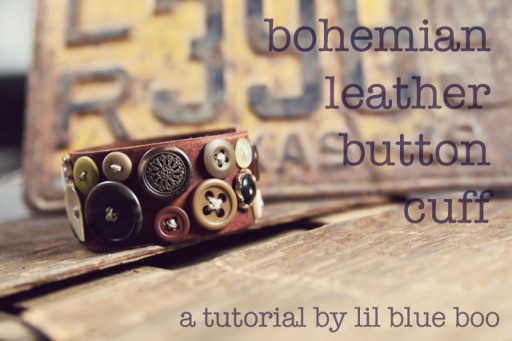
Bohemian Leather Button Cuff (A Tutorial)
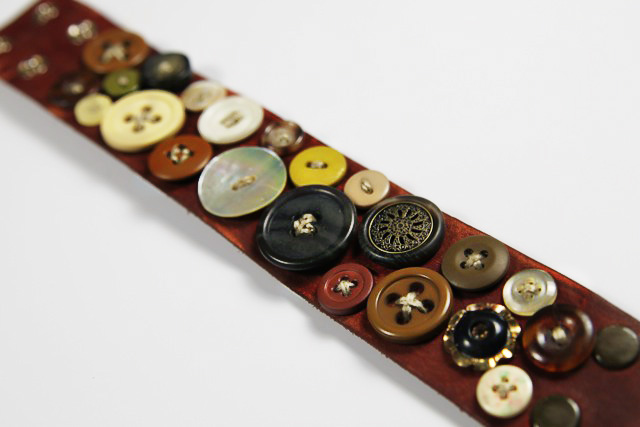
I have jars of buttons all over my studio and I’m always brainstorming different unique ways to use them. I recently ordered some leather cuffs from Dharma Trading and thought the buttons would be a great way to embellish them.
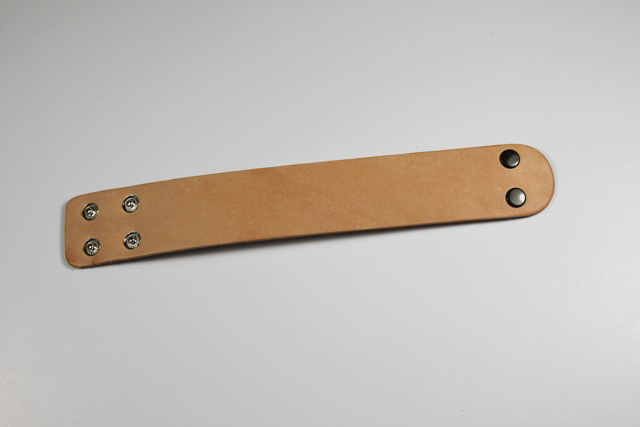
These leather blank cuffs are a great base for a project since the hardware is already attached. The best part is they are really inexpensive and precut!
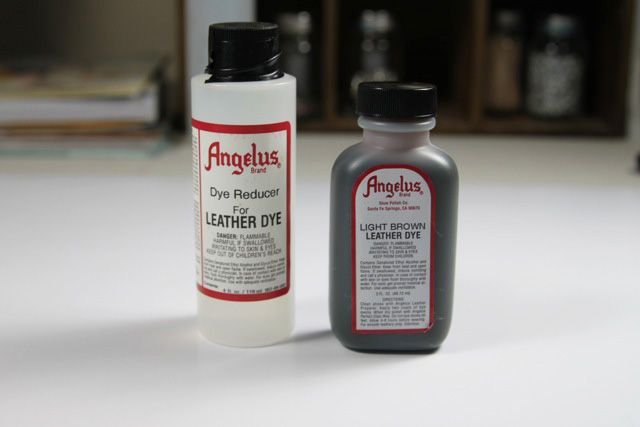
I used Angelus Leather Dye and Dye Reducer to dye the leather:
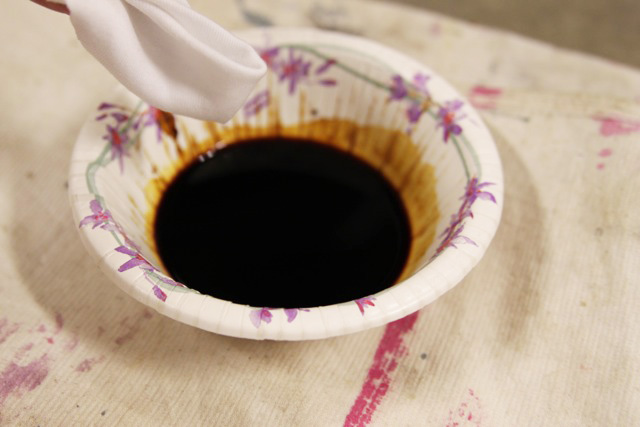
I mixed the leather dye and reducer in a small bowl:
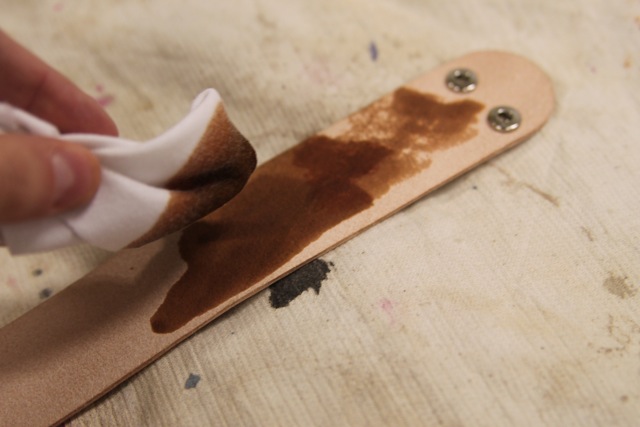
Then I used a cloth to apply it to the the leather. Two coats worked perfectly:
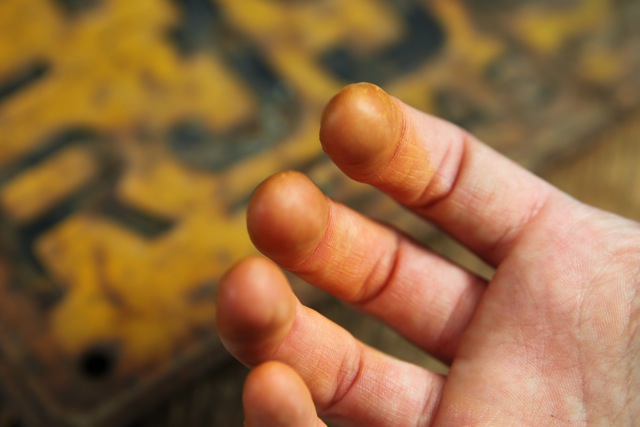
I recommend using gloves when dyeing…..I’m always too impatient, but I don’t mind walking around town with discolored hands.
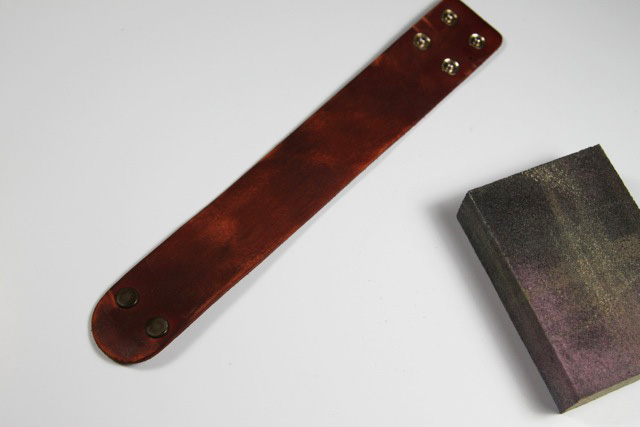
Once the leather was dry I took a sanding block to distress it. If you want it smooth and supple you can add wax or softener and buff it. I left mine plain because I wanted it slightly dry and distressed:
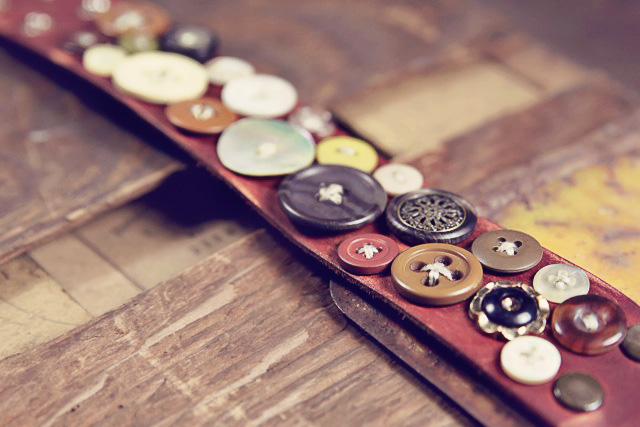
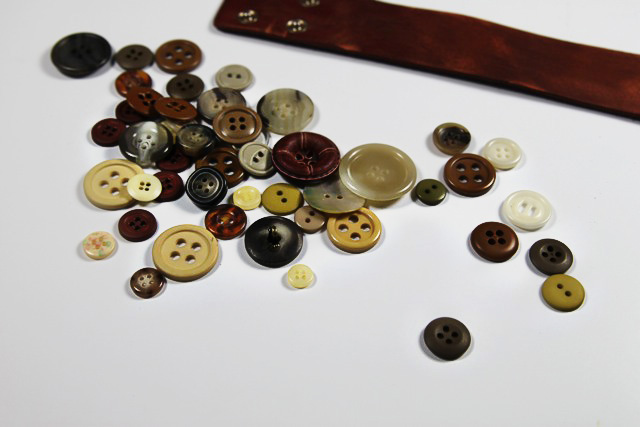
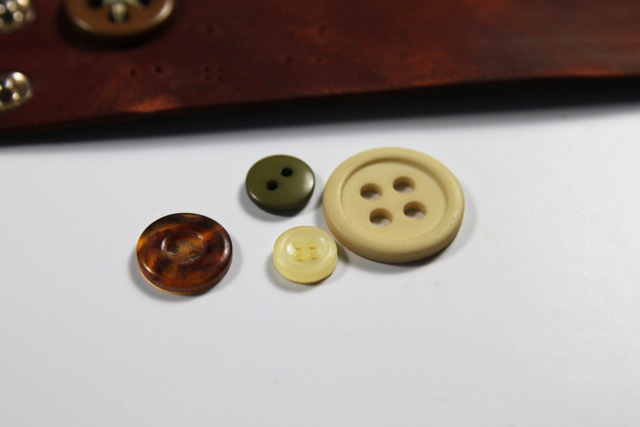
I sorted out a selection of buttons in a tan, brown and muted palette:
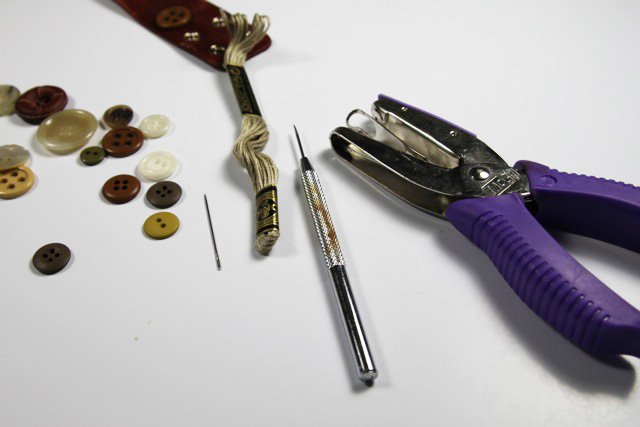
To apply the buttons I used an small 1/16″ scrapbook hole punch, a sharp needle type tool, an embroidery needle and DMC thread:
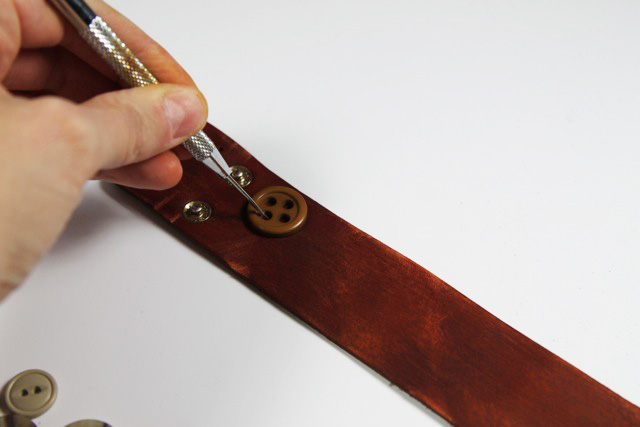
I placed my first button on the cuff and used the sharp tool to mark where I needed to punch holes:
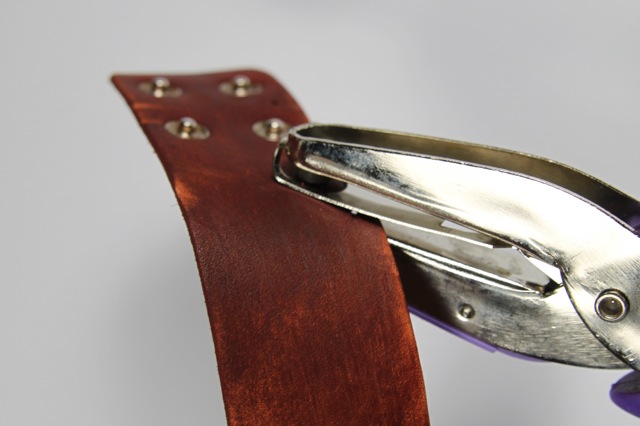
Using a skinny scrapbook punch I punched the small holes using my marks:
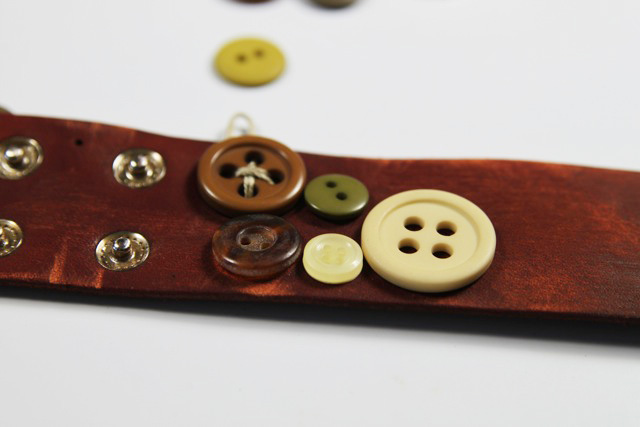
It’s easiest to mark several buttons at once……
……and then move them off the cuff, but keeping them in the same order as you punch your holes:
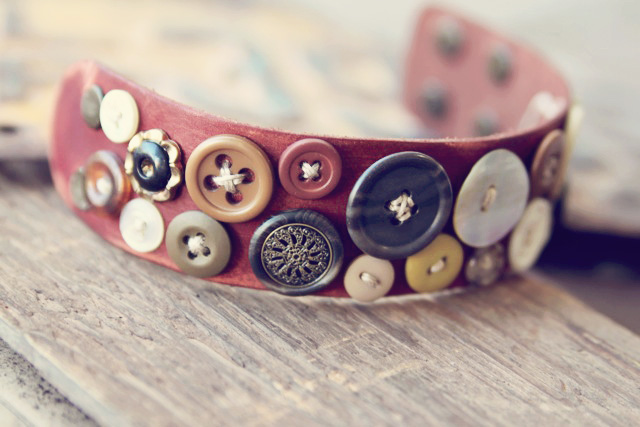
It only took me about an hour to sew all of these buttons on and I love how eclectic and earthy the cuff turned out!
More leather cuff ideas to come soon!

