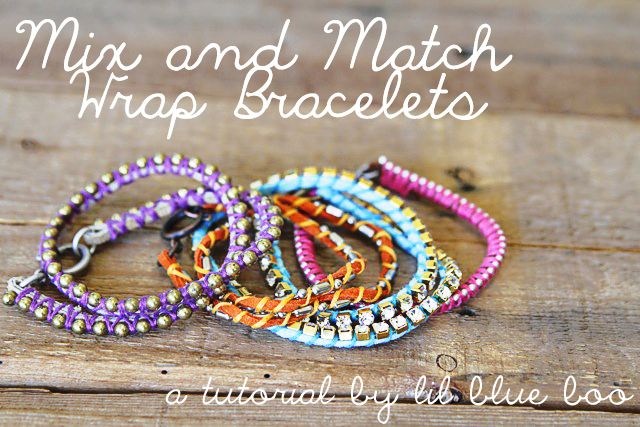
Obviously I’m reinventing the “DIY bracelet” wheel, but I like the way these turned out using different kinds of ball chain (it’s also a much more simplified version of the leather and bead ones from last February). Anyways, I mixed and matched a bunch of different chains, rhinestone strands and chunky clasps to get a funky, layered bohemian look. Make sure to check out the long-short ball chain towards the bottom….it results in a “twist” effect.
Turn a Book into An Art Journal (A Tutorial)
I love making art journals using composition books but old books are another great way to make a journal….and it’s a great way to recycle old books!
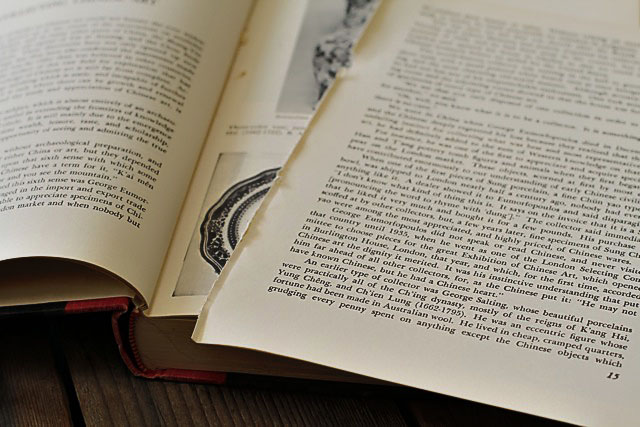
Since I add layers of paint and collage, the first thing I do is thin out the book. If the pages are sewn in I just pull out a few pages from each section….if the pages are glued to the binding I use a razor blade to cut them out.
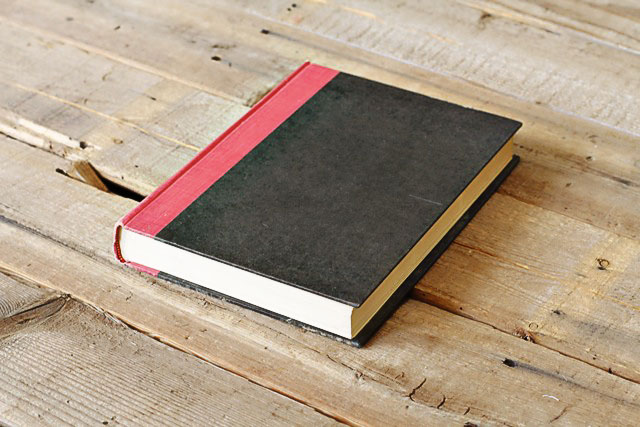
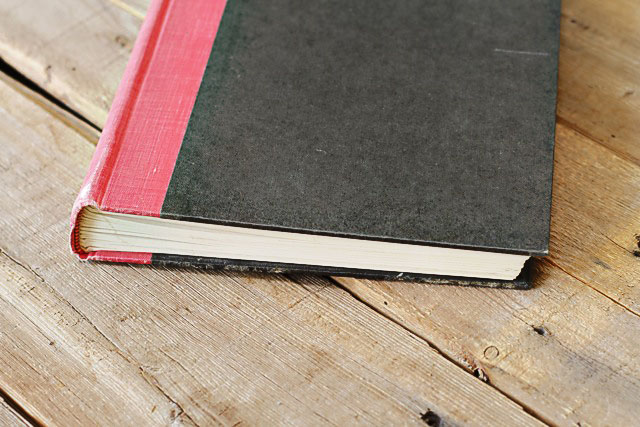
This is the thinned out book:
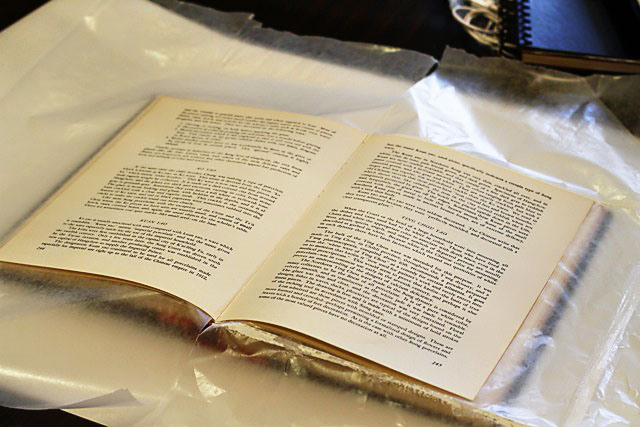
To make the pages I start anywhere in the book and put pieces of wax paper under each page I’ll be working with:
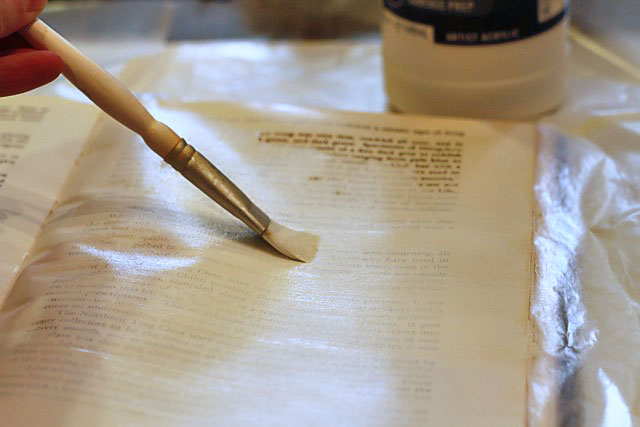
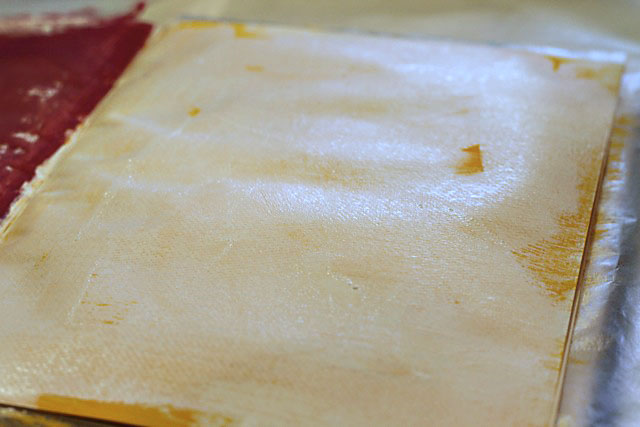
I coat the pages with gesso (a primer you can purchase in the paint section of the craft or art supply store):
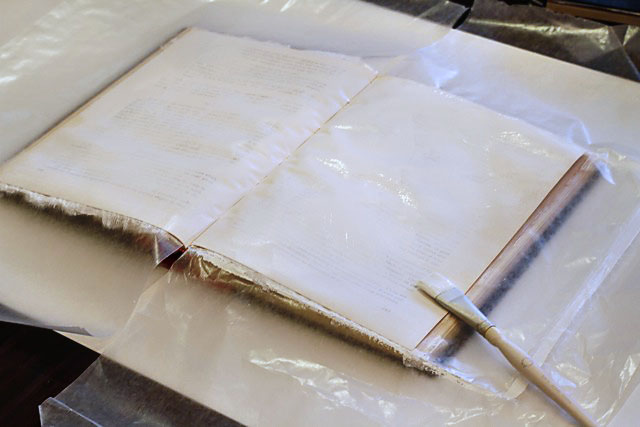
Once both pages have been coated with one of two coats I let them dry:
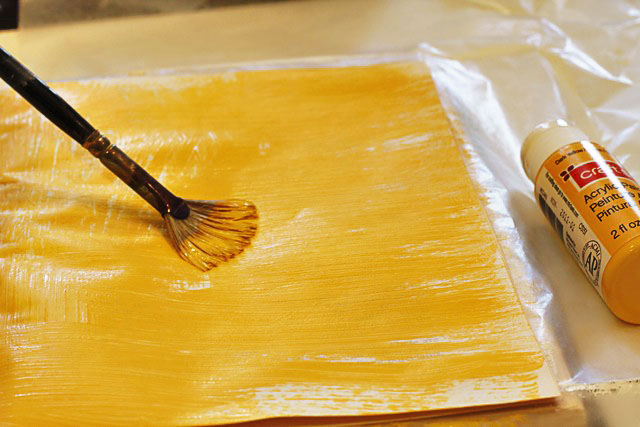
Then I add some color using craft paints:
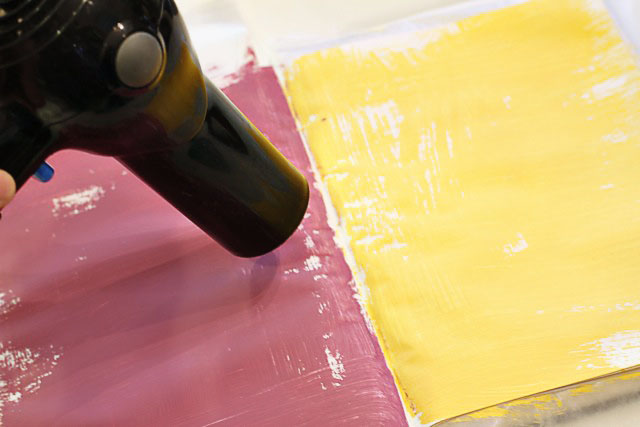
When I am doing a lot of coats I will pull out the hair dryer to speed along the process:
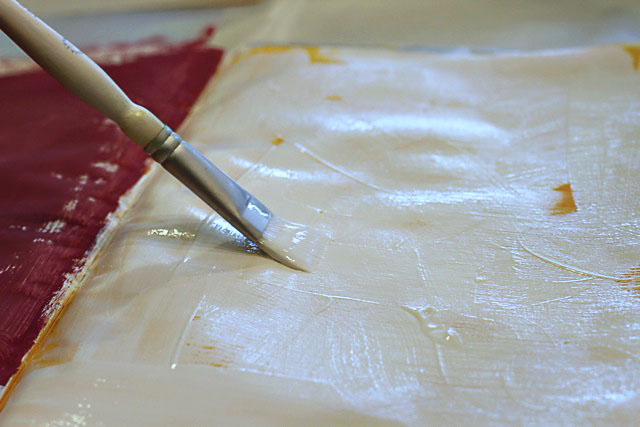
I usually add another coat of gesso…..
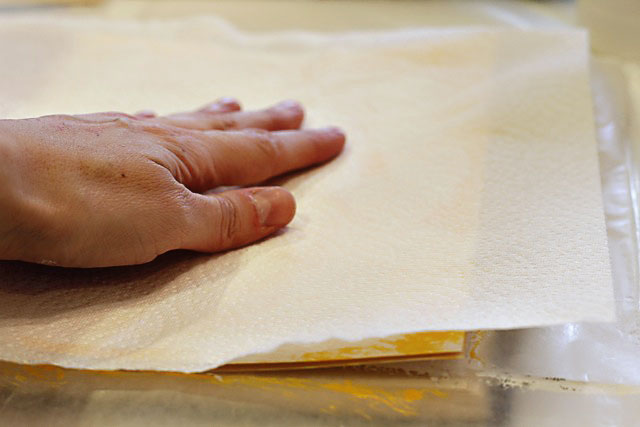
….and before it dries I’ll blot it with a paper towel so that the color will show through:
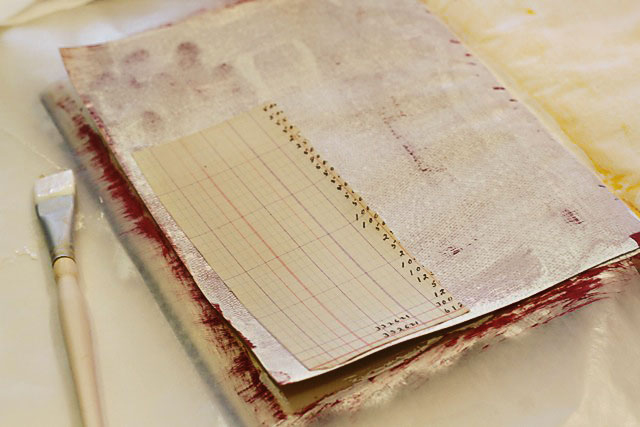
I add bits of old paper to the page using clean medium or mod podge:
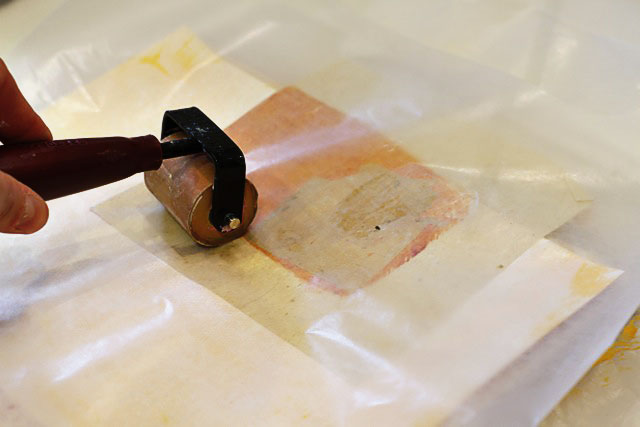
To make sure my collage pieces are flat I use a brayer with some was paper sandwiched in between:
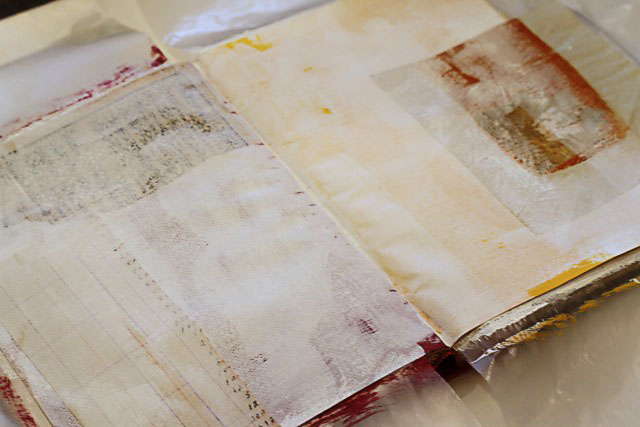
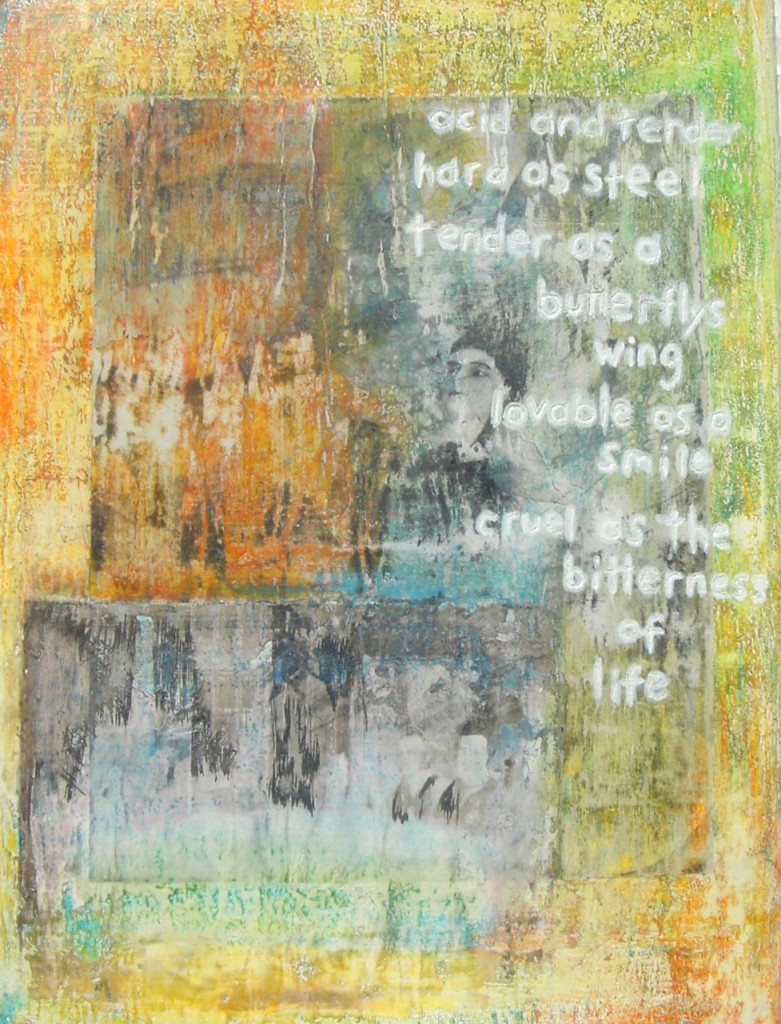
Here’s what the pages look like before I’ve added any text:
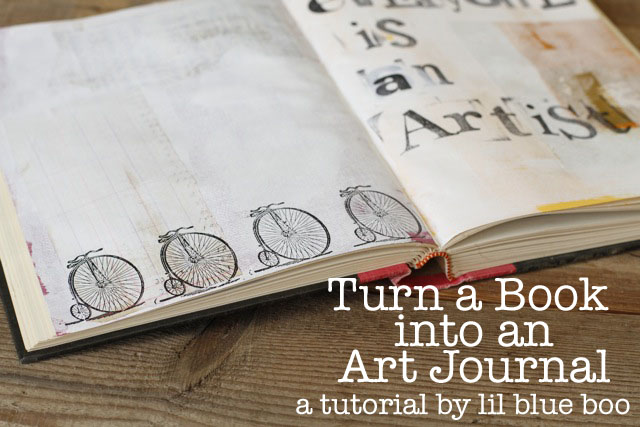
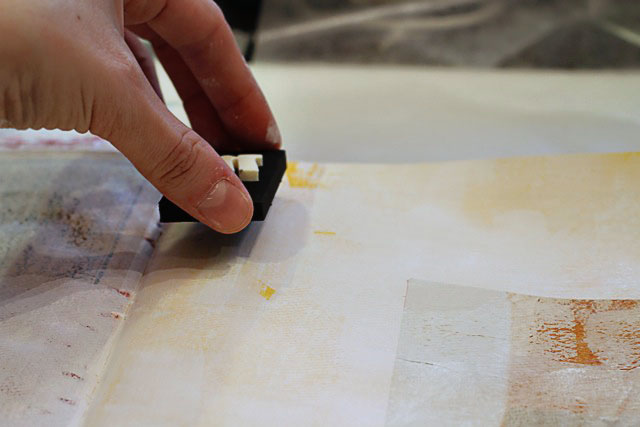
I like to use large font stamps to add some decoration:
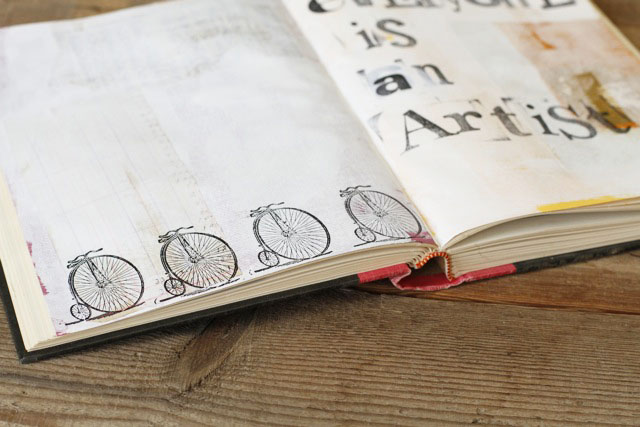
The bicycle stamp was one I found in the dollar bin at Micheal’s:
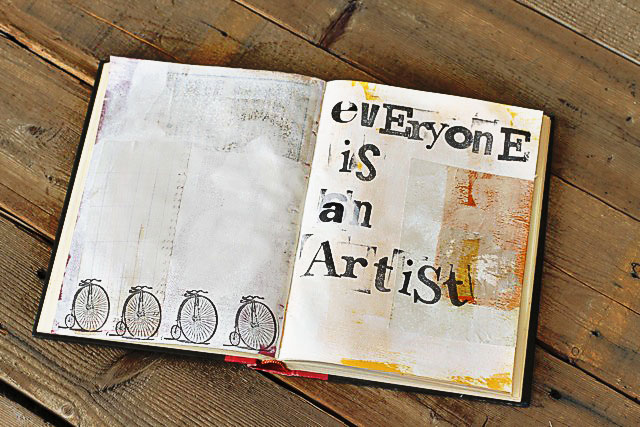
Sometimes I just leave the pages as is….or add journal text later!
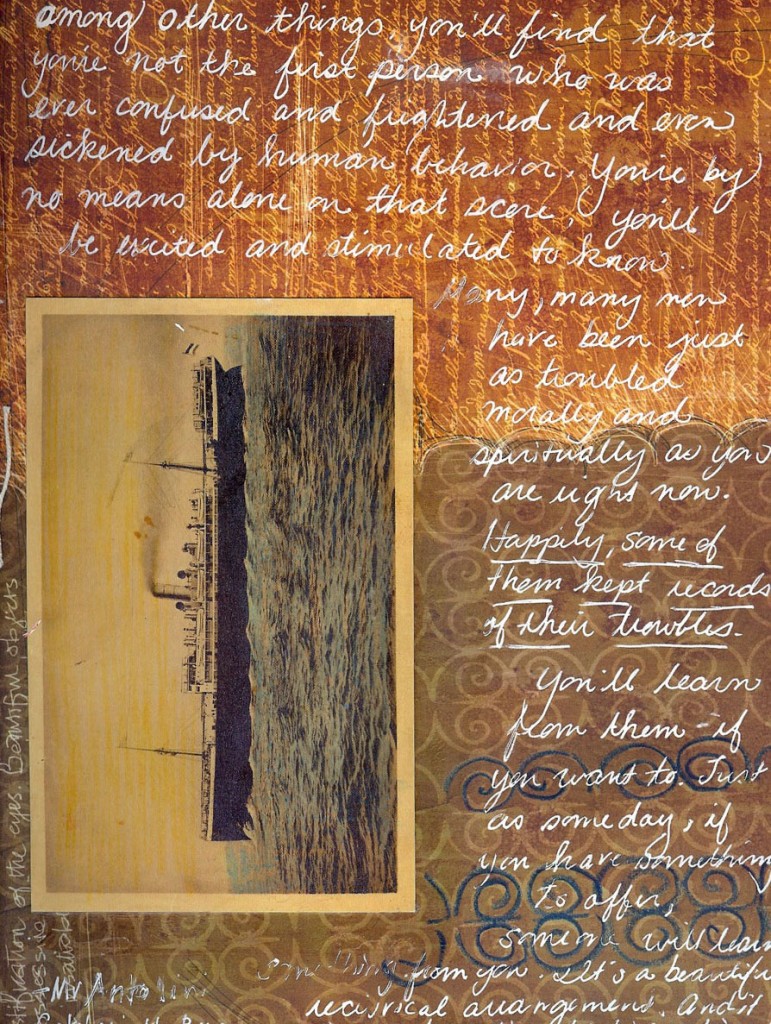
Now a few random pages from my journal…..
Read more journaling posts here!
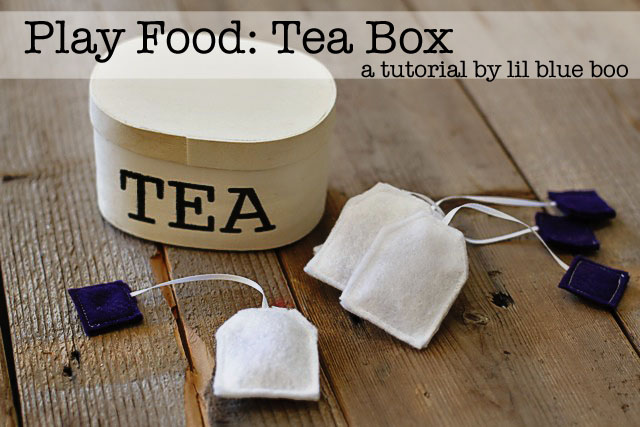
Play Food: Tea Box and Tea Bags
Boo loves to have her own toy version of things we do in the kitchen for her playroom……and recently making tea came up. So today we made some tea bags and a cute little box to store them in. Super simple project!
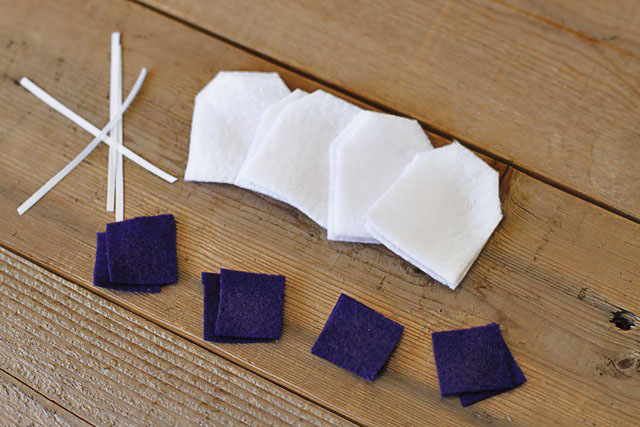
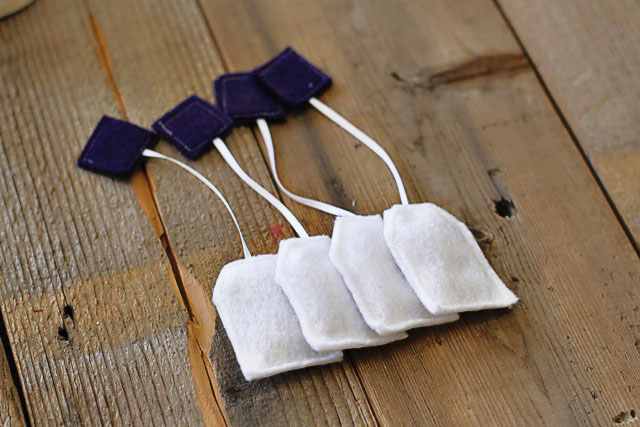
First, I cut out 2 pieces of white felt, 2 pieces of purple felt and 1 pieces of ribbon for each tea bag:
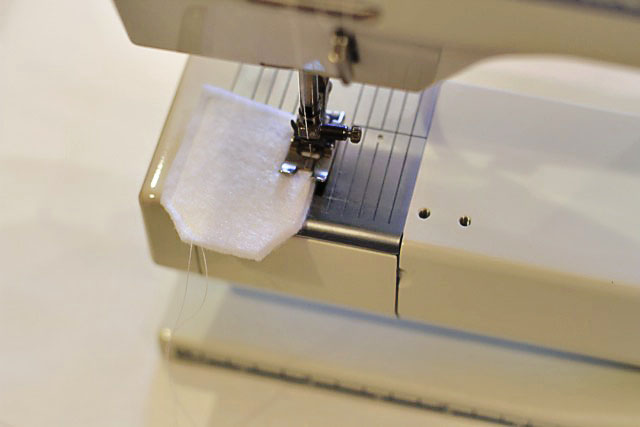
Next, I sew three sides of the tea bag leaving the top open:
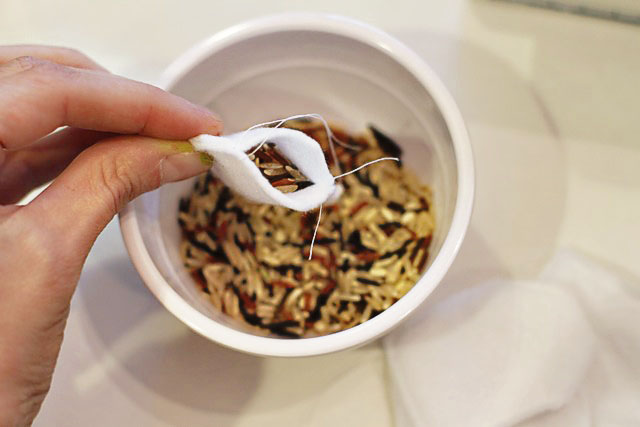
I filled the tea bags with wild rice so that it actually resembled tea in color:
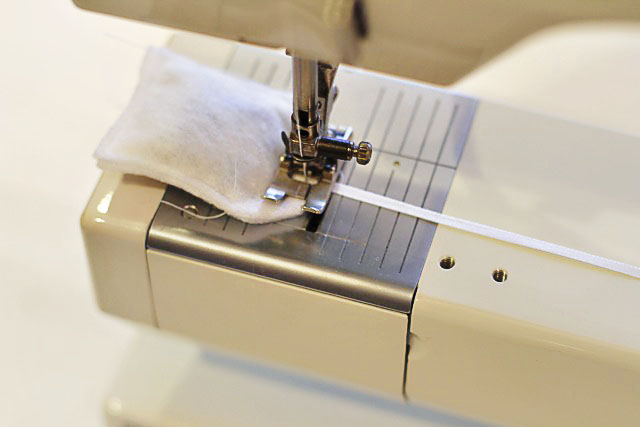
As I sewed the the top of each bag shut, I slipped one end of the piece of ribbon inside:
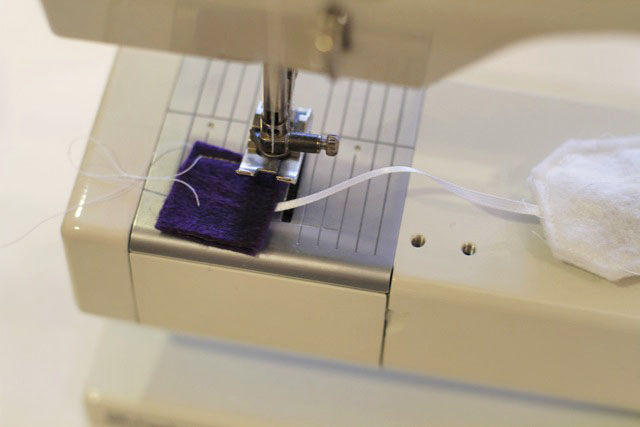
I sewed the top part of the bag together and inserted the other end of the ribbon inside:
Finished tea bags!
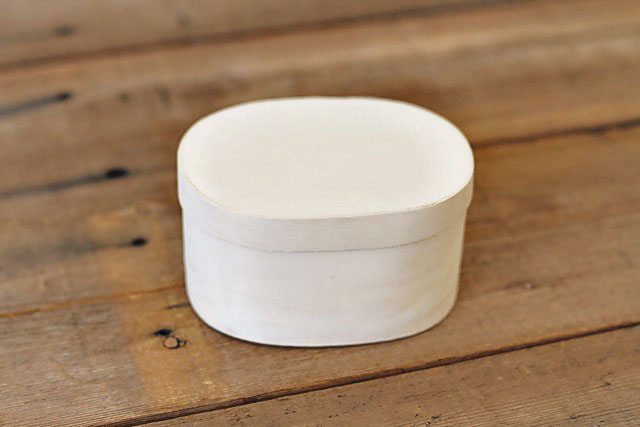
I found this cute little wood box at Micheal’s for $1.00:
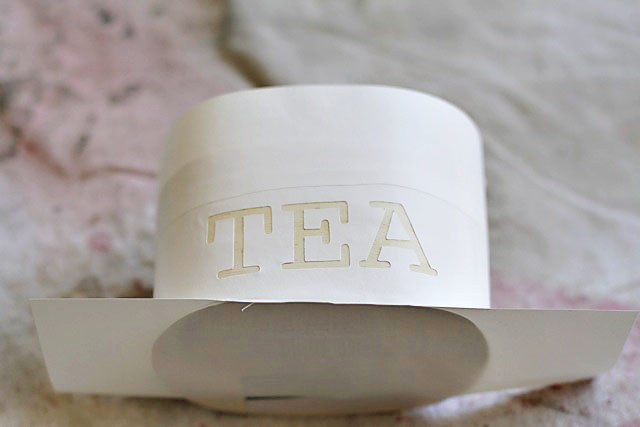
I made a vinyl shelf paper stencil using my Silhouette Machine to say “TEA” and masked out the areas I didn’t want to paint. A little fan of the spray paint over the stencil is all I needed:
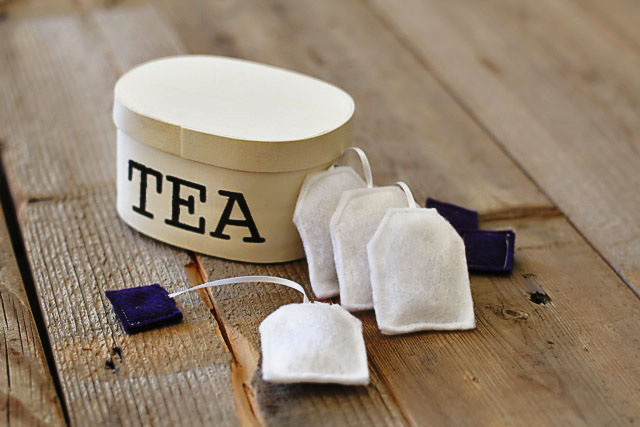
The finished set. I love toys that have their own storage container:
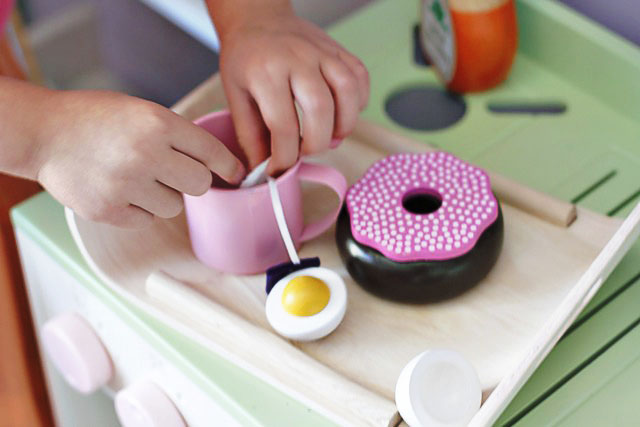
Time for tea!
Check out the entire Project Playroom series by clicking the image below!
- « Previous Page
- 1
- …
- 13
- 14
- 15
- 16
- 17
- …
- 32
- Next Page »

