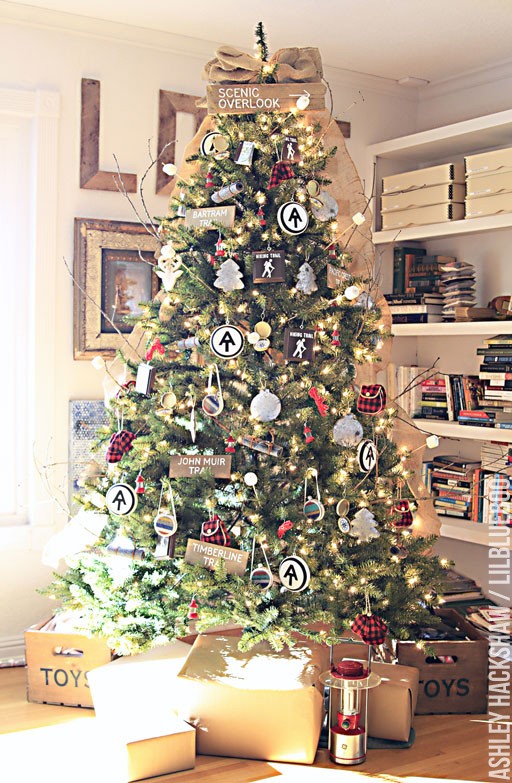
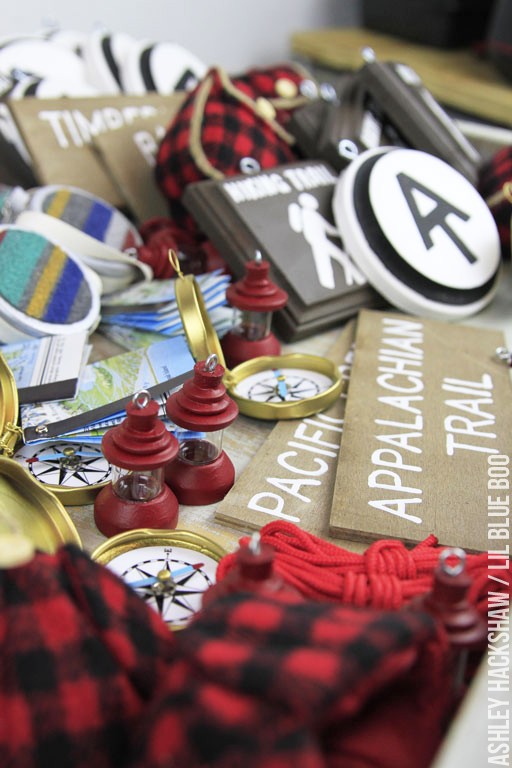
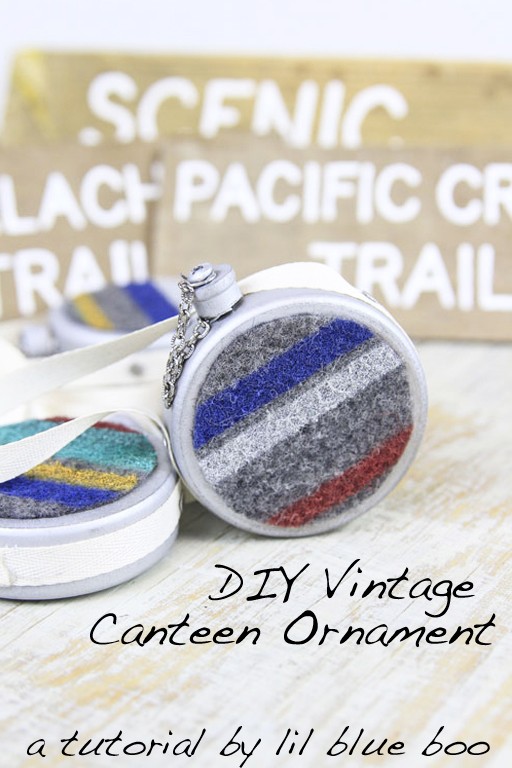
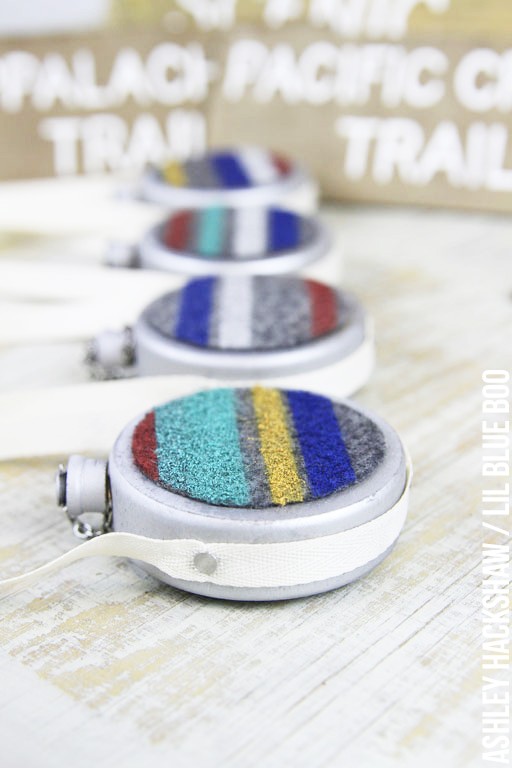
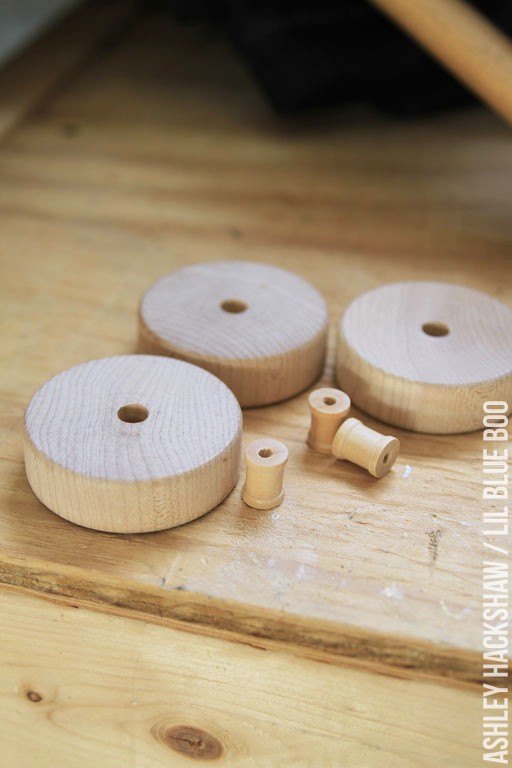
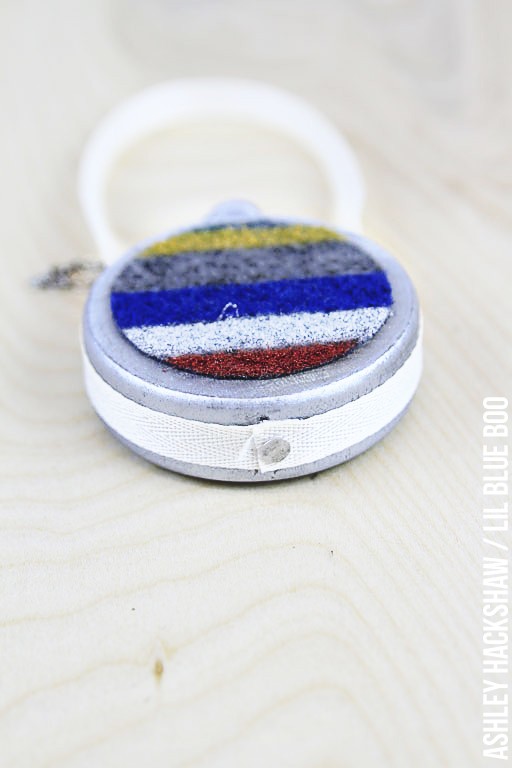
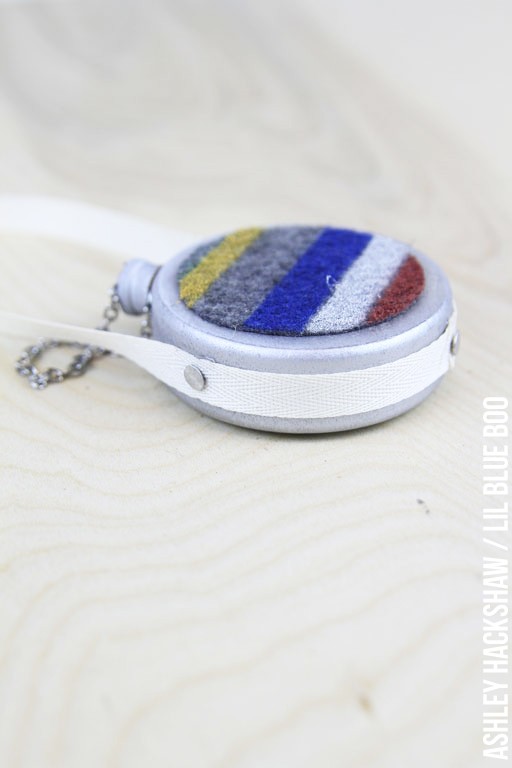
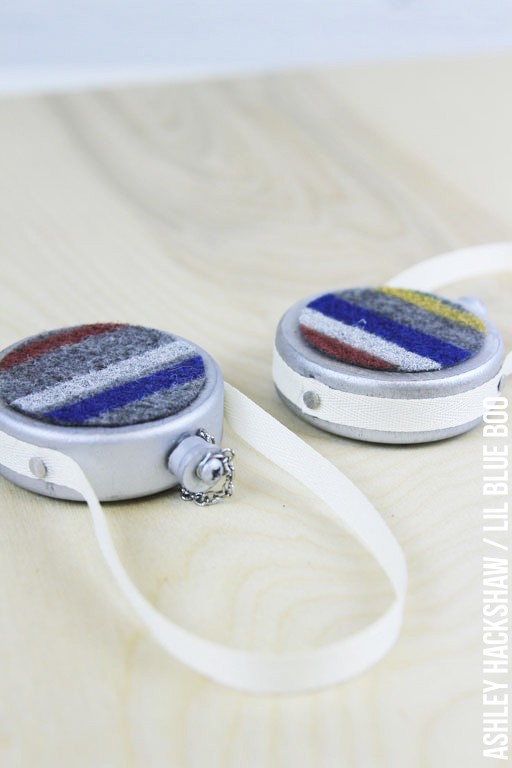
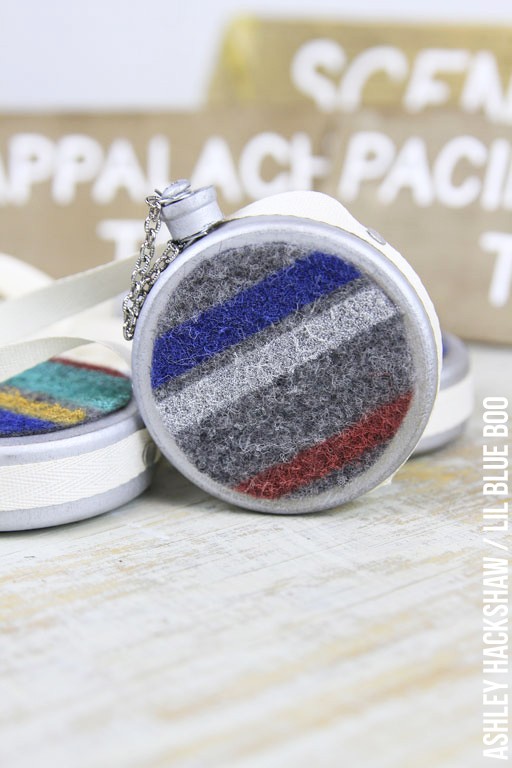
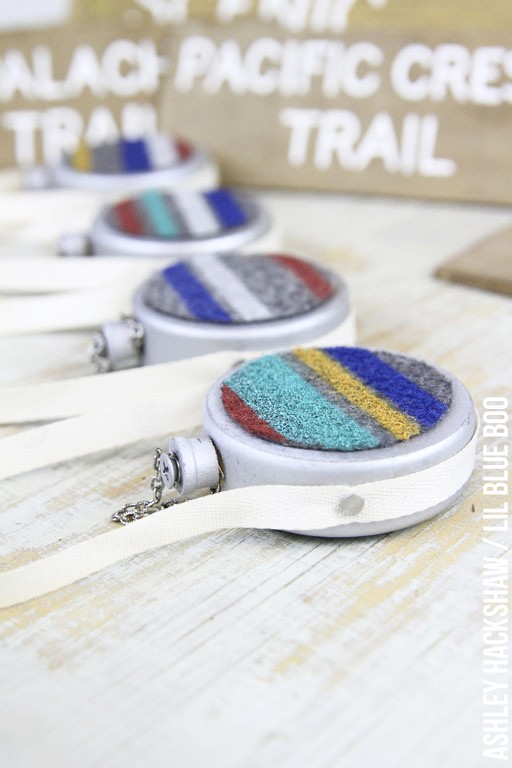
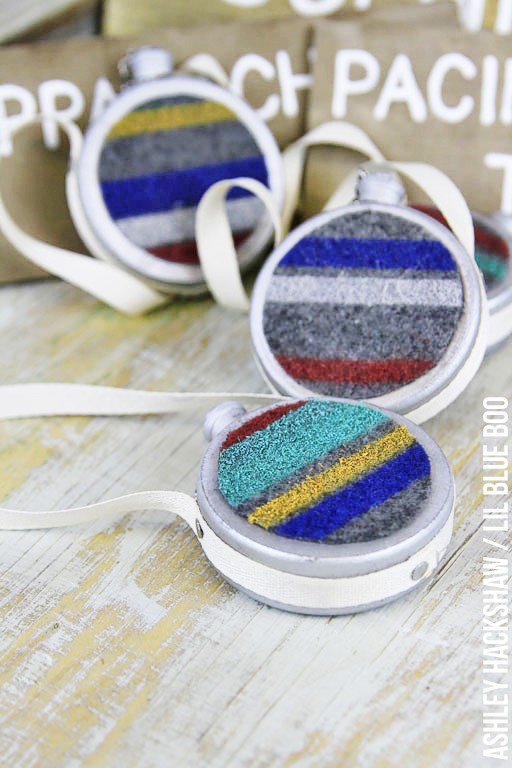
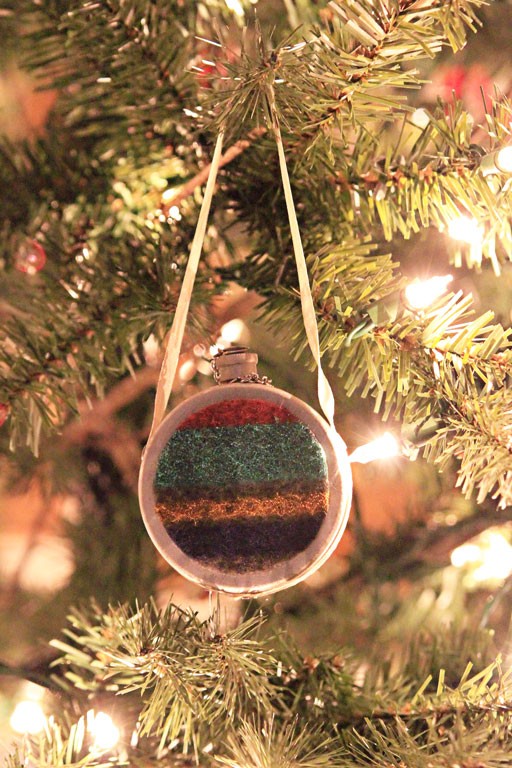
This is a continuation of the big 2015 Dream Tree Reveal for Michaels Stores and my theme for this year: Vintage Camping and Hiking:
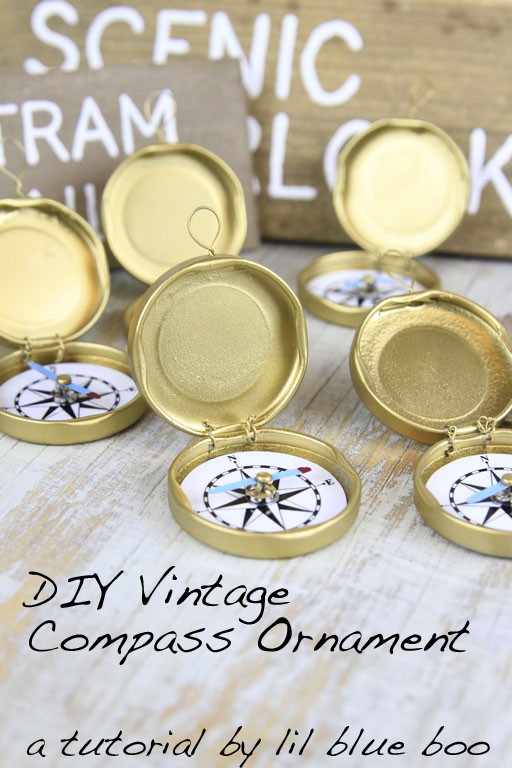
As part of my DIY ornament ideas I decided to go with a vintage compass:
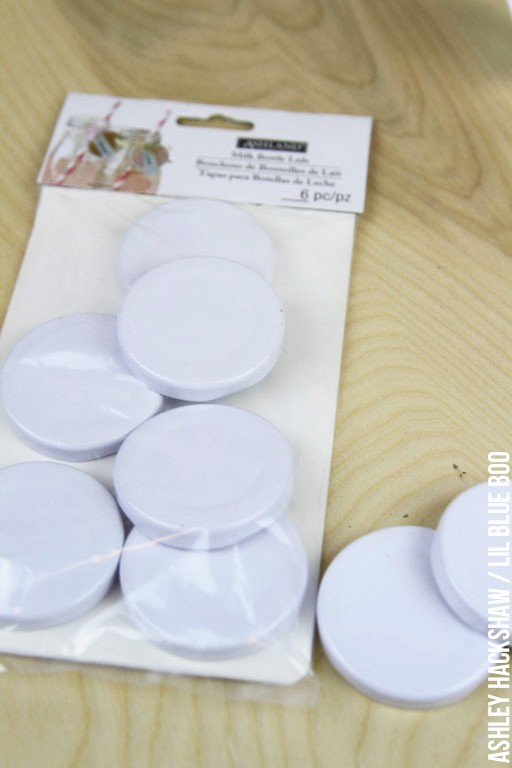
I started out with these milk bottle lids from Michaels:
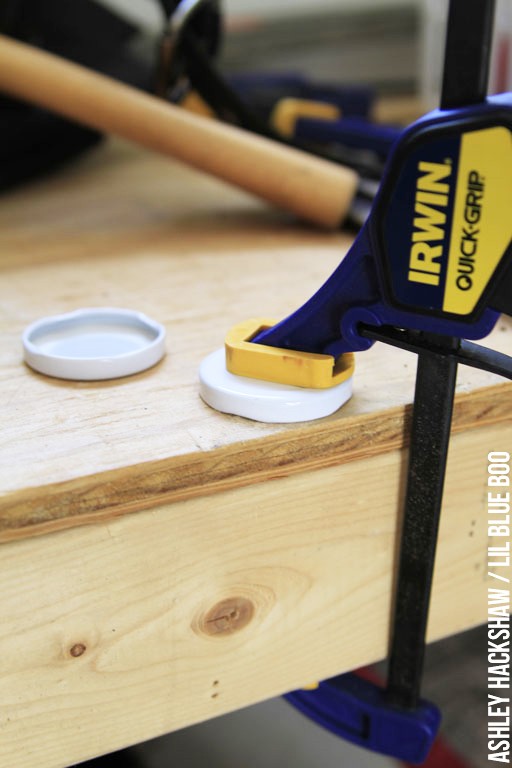
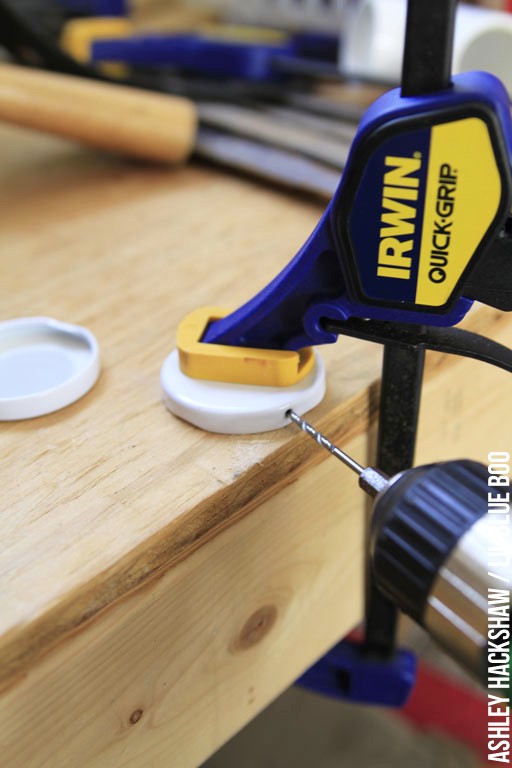
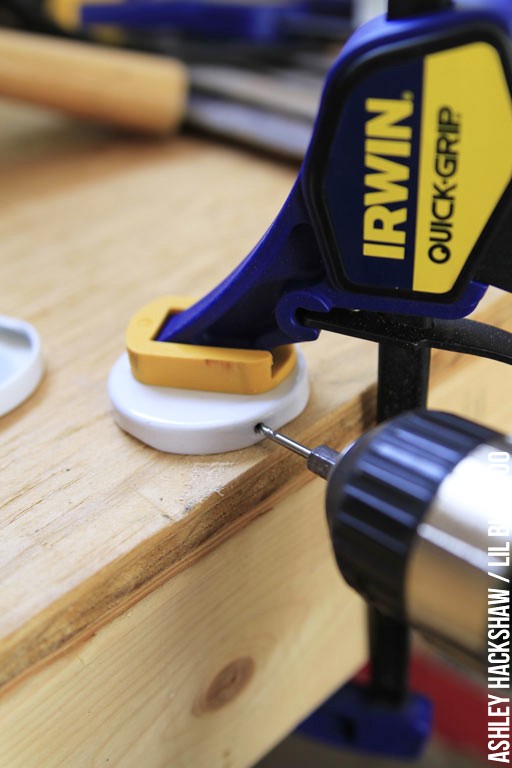
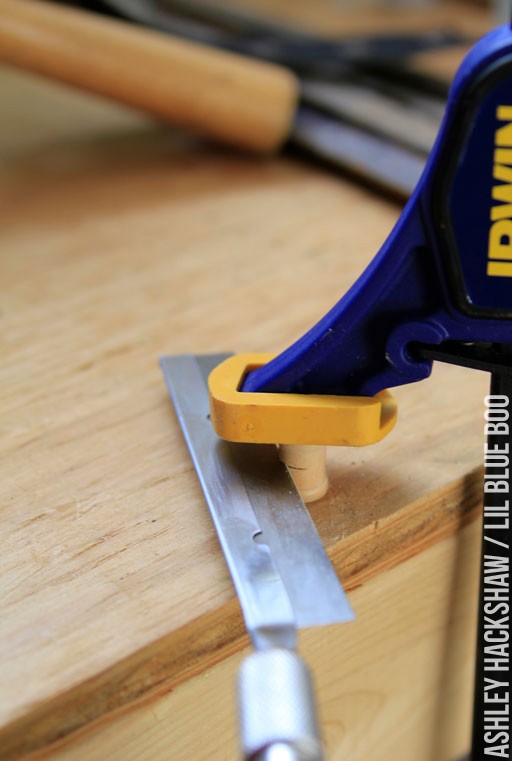
Step 1: I used a quick grip clamp to keep the milk bottle in place to drill holes in them using a small drill bit. You probably don’t even need a drill bit if you can get a nail through easily. I just like using power tools whenever possible.
You will need two lids for each compass. First I drilled a hole in one side where a hook will go for hanging:
When the lids are stacked they should look like this on one side:
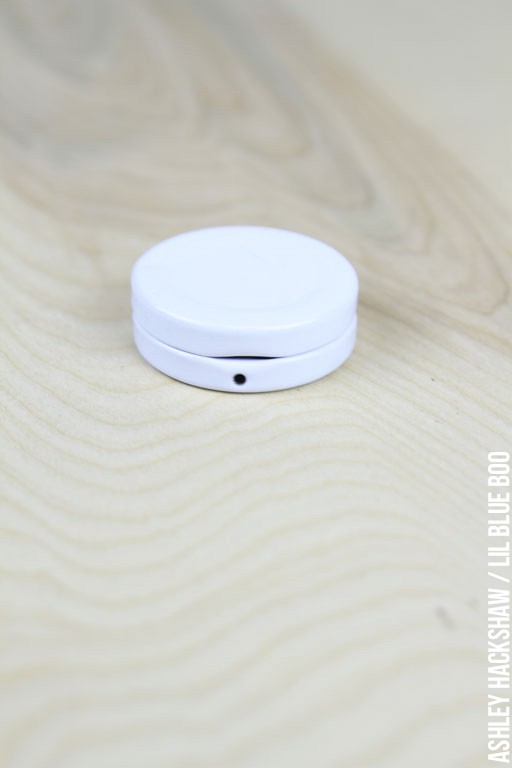
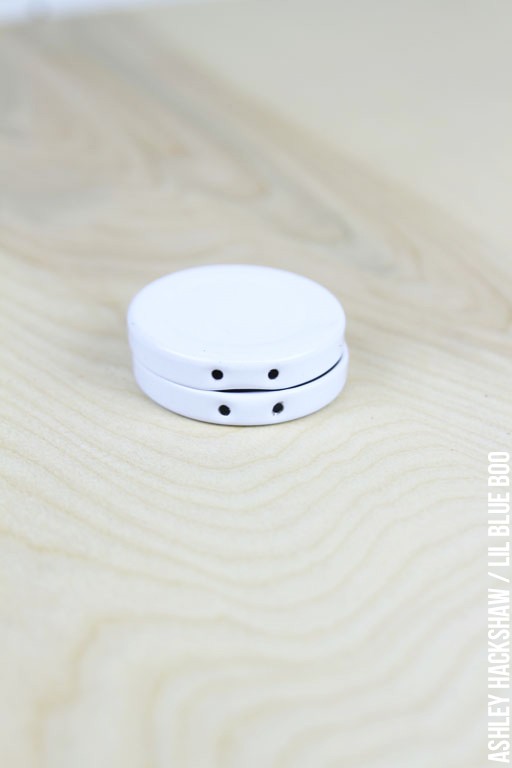
Then I drilled two holes on the other side of the lid, and drilled two holes on the other side of the second lid:
When the lids are stacked they should look like this on the other side:
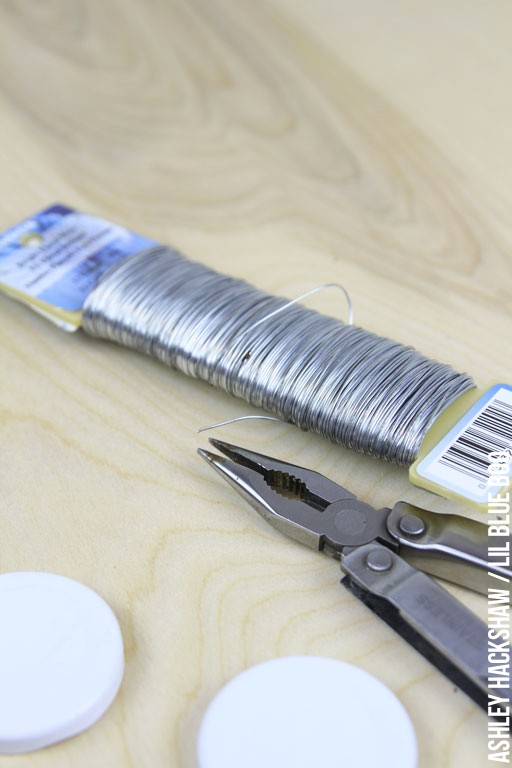
Step 2: You’ll need floral wire and pliers:
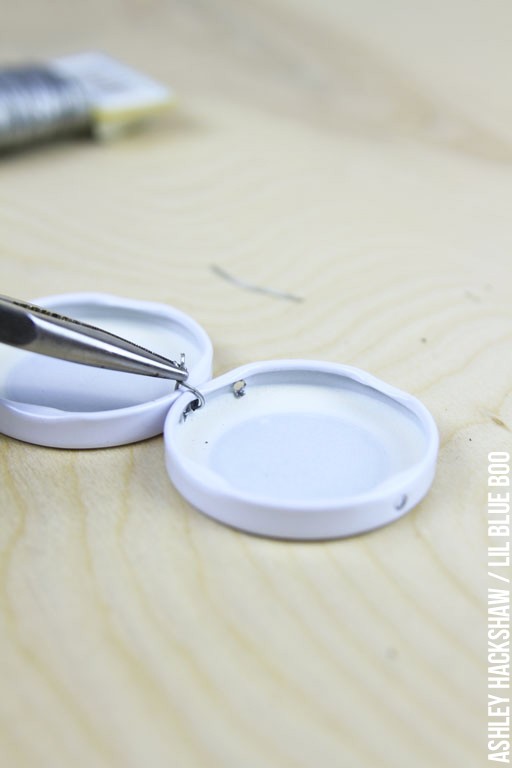
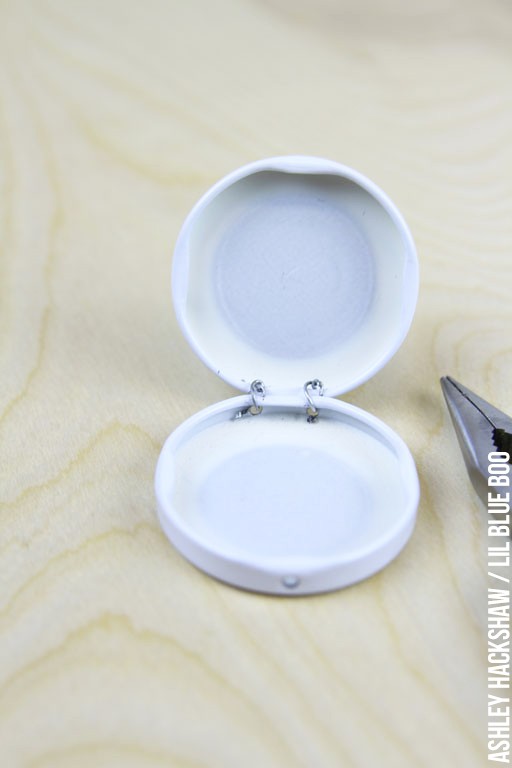
Cut two pieces of wire about 1″ in length and use them to create little loops to attach the two lids as shown:
The loops act as tiny hinges:
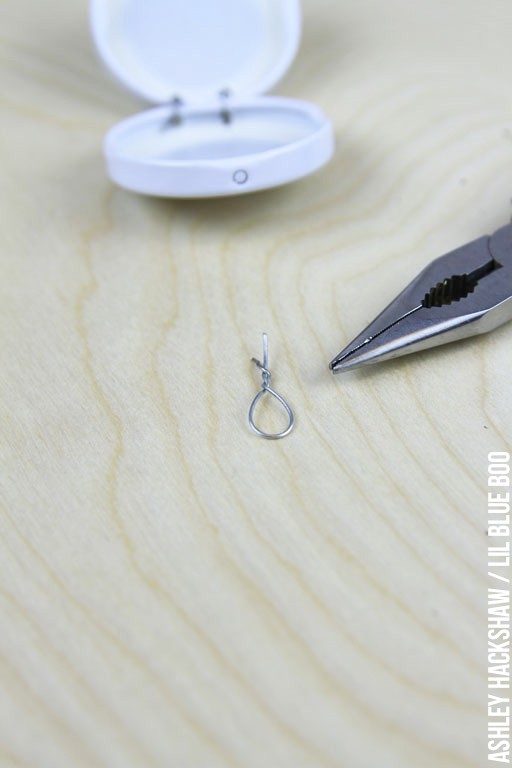
Cut about a 2″ length and twist both ends together to make a loop. This will be the ornament hanger.
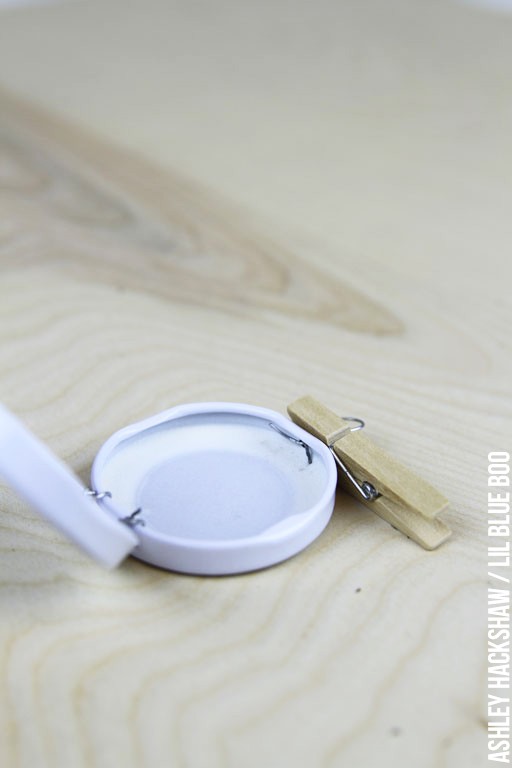
Insert the loop through the single hole in one of the lids. I used a clothespin to create tension so that I could add a drop of glue on the inside to keep it in place while the glue dried:
Step 3: I forgot to take a photo of this step but I used gold metallic spray paint to spray paint each compass.
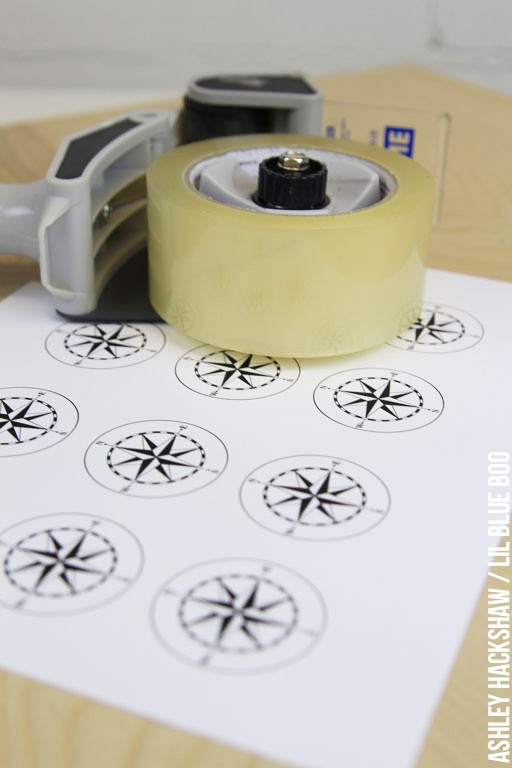
Step 4: I Googled “compass” and about 100 images came up for the inside of a compass. I picked a free one and imported it into Powerpoint where I duplicated it over and over on one sheet. I placed a layer of packing tape on each side to make the compass image glossy and to protect it from moisture:
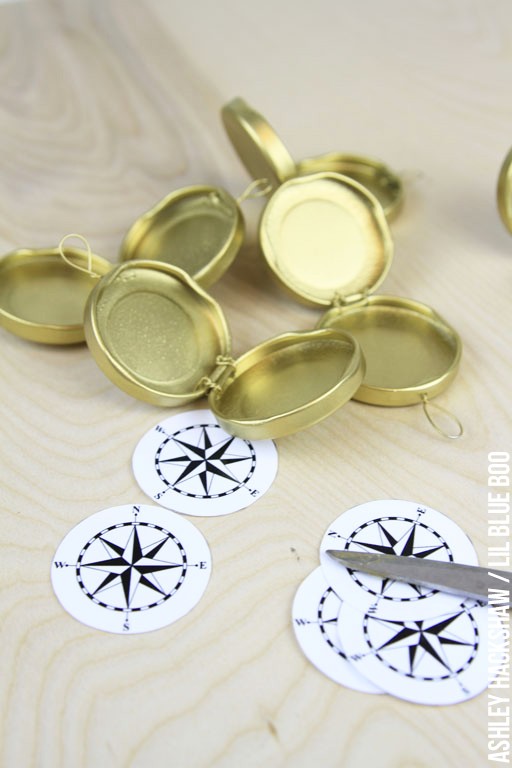
Step 5: I cut out the compass images and glued each one into a lid:
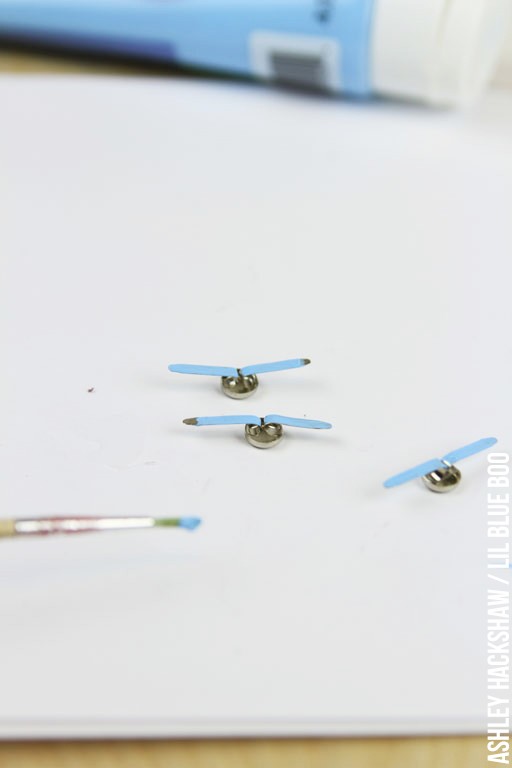
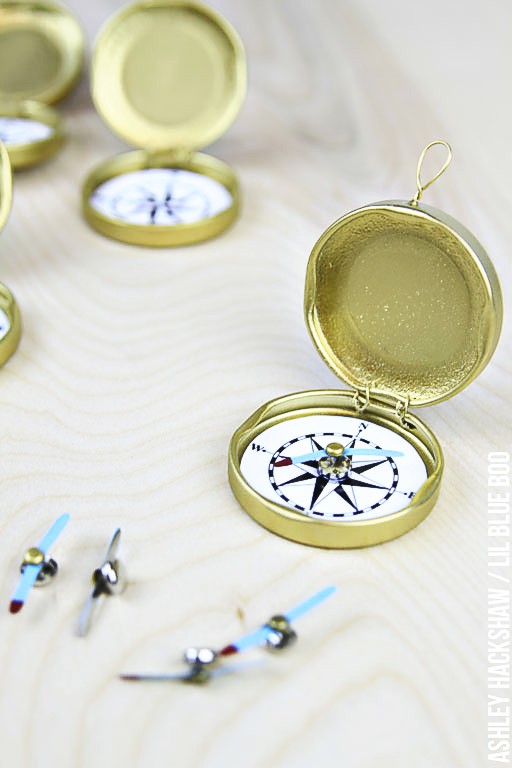
Step 6: For the little needles I used regular old paper brads. I bent them down on either side and dabbed a little paint on them:
Then I glued those in place as well, adding a miniature brass brad in the middle:
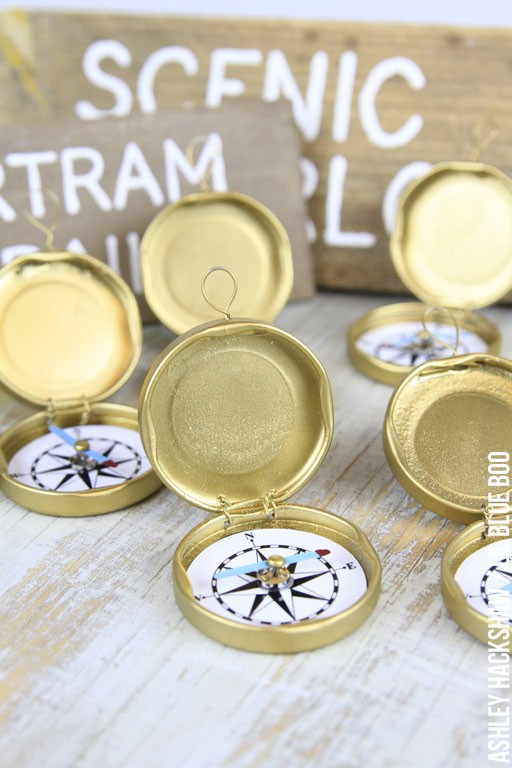
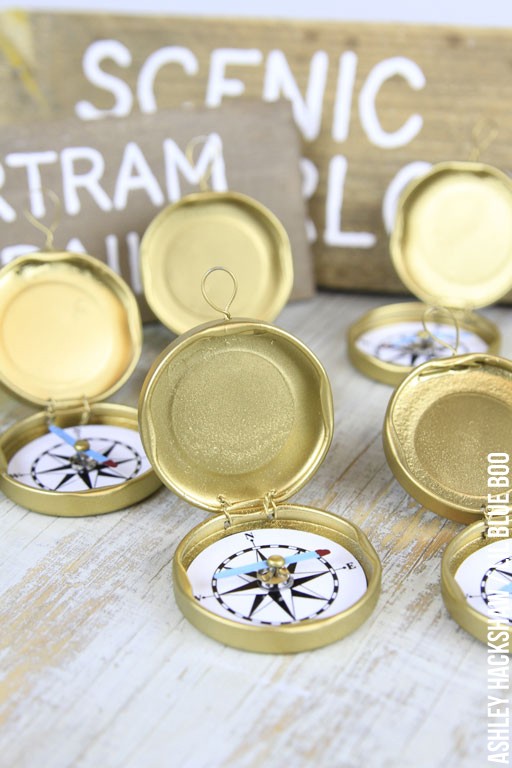
Allow the glue to dry and here are your finished compasses!
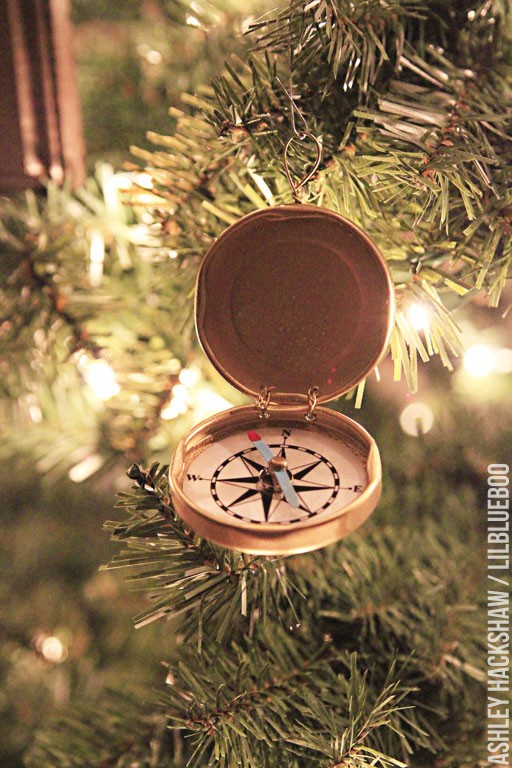
An easy, inexpensive ornament to add to a tree:
More tutorials to come soon on the rest of the ornaments!
You can view all my Christmas related decor posts here! Thanks for reading!

