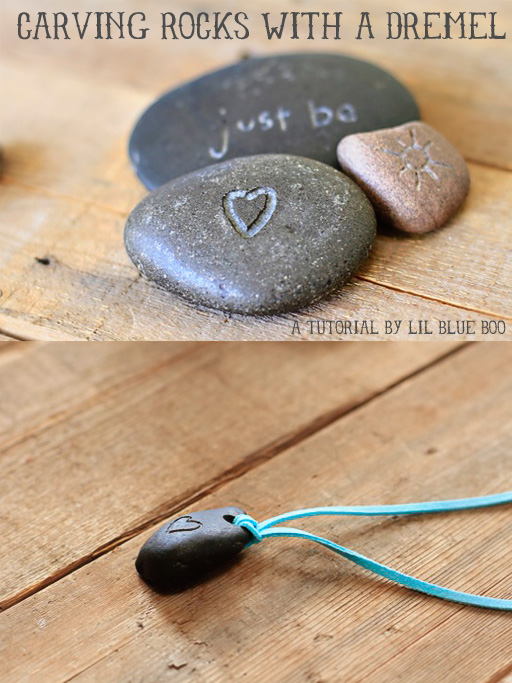
There is something very gratifying about carving into a rock. This project was kind of therapeutic. I was thinking I’d carve some words into rocks and maybe start leaving them around Palm Desert to see if people find them…. [Read more…]
“Spin-spiration” Folk Art (A Tutorial)
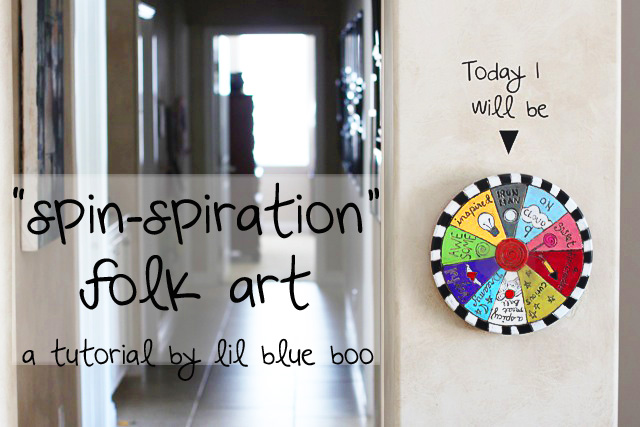
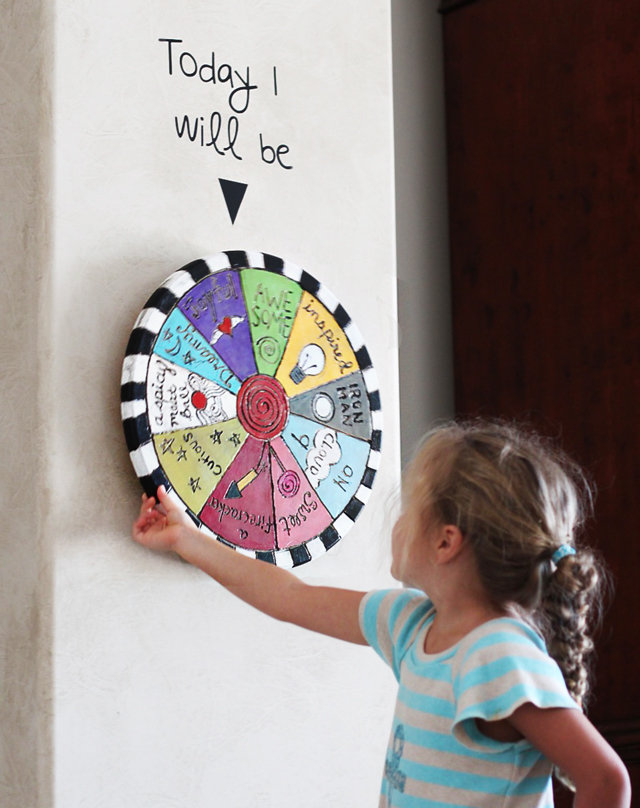
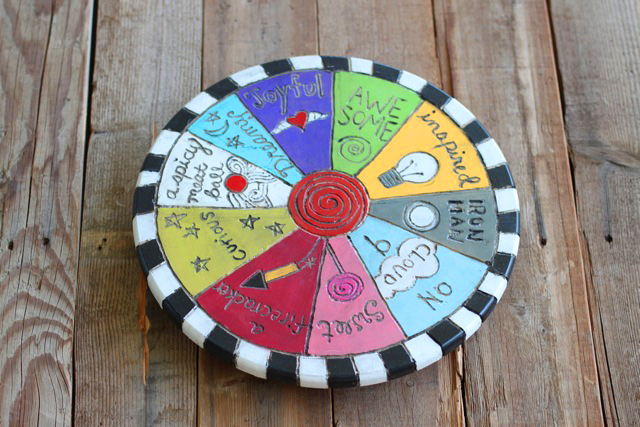
When I first found a used lazy susan at the thrift store, I envisioned making it into a piece of “spin-able” art….but the first one was way to large and heavy to hang safely onto the wall (so it was turned into the wine-barrel lazy susan). I bought a slightly smaller 18″ lazy susan, and made this fun piece of Sticks-inspired art. On the Lil Blue Boo Facebook page I asked people to fill in the blank “I am____” and got some great words and phrases to use (Boo’s contribution was “Iron Man”):
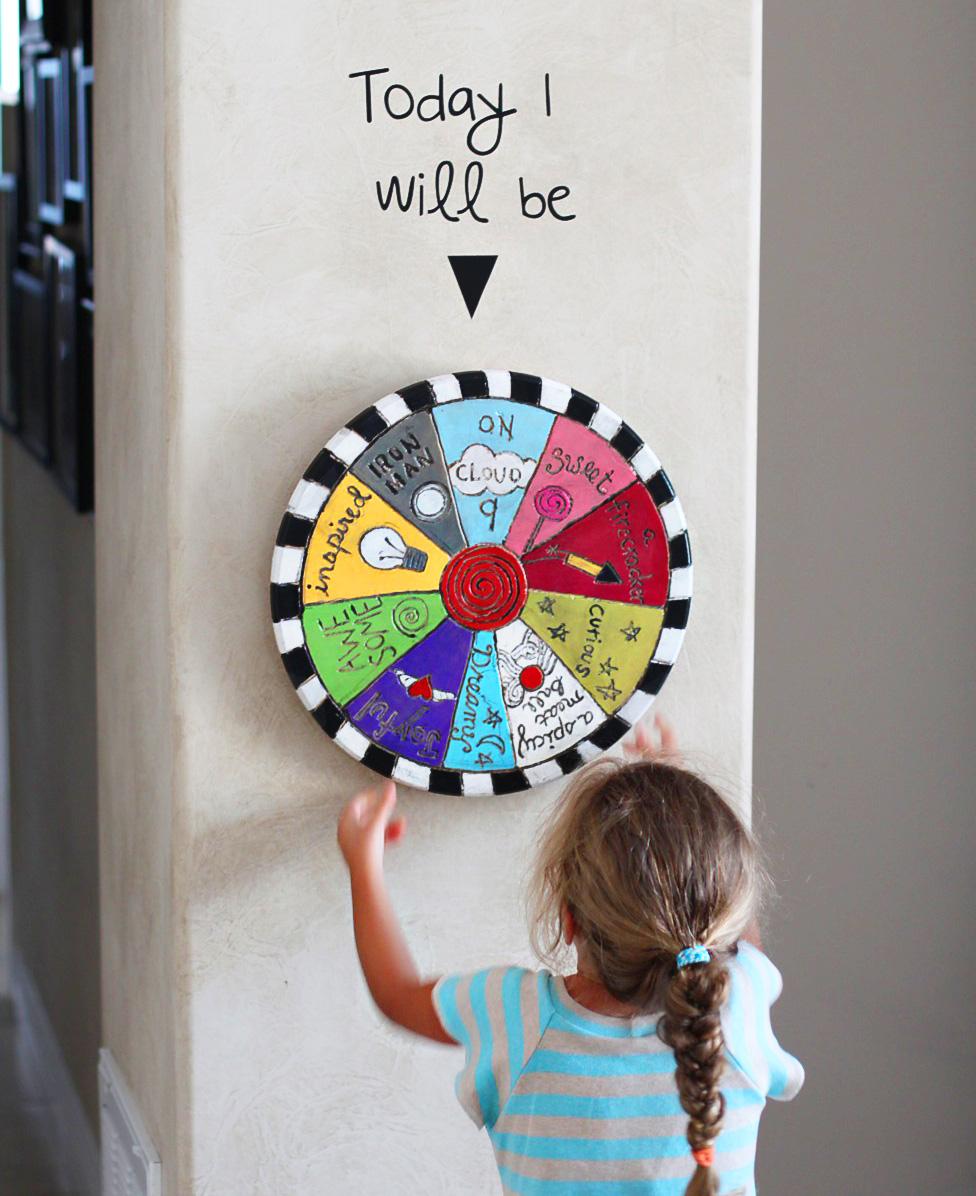
The lazy susan was painted to be a fun piece of wall art that Boo can turn every day and pick her mood:
Today I will be……awesome.
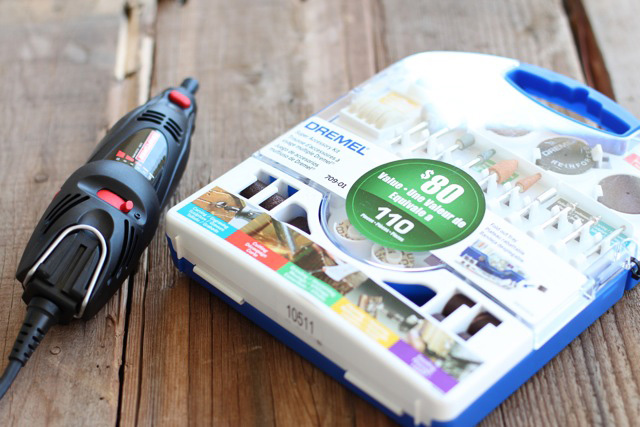
This was a fairly simple project that took about 3 hours in total. The carving was easier than I thought it would be with my new rotary tool and accessory kit:
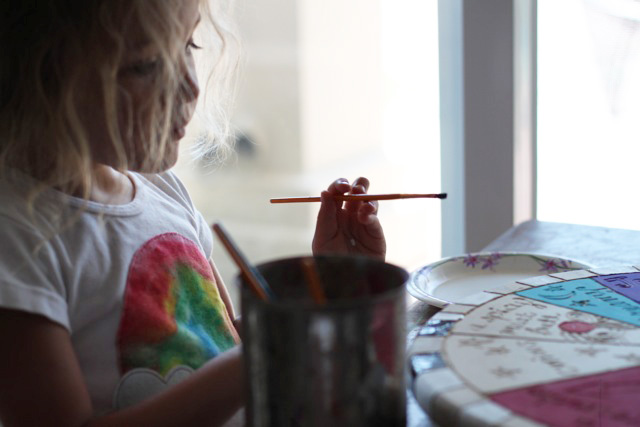
I also had my expert painter Boo as my helper. The key to painting with a 4-year-old is letting them paint freely and then just fix any large mistakes after the fact….when they aren’t looking.
Here’s how the art piece was made:
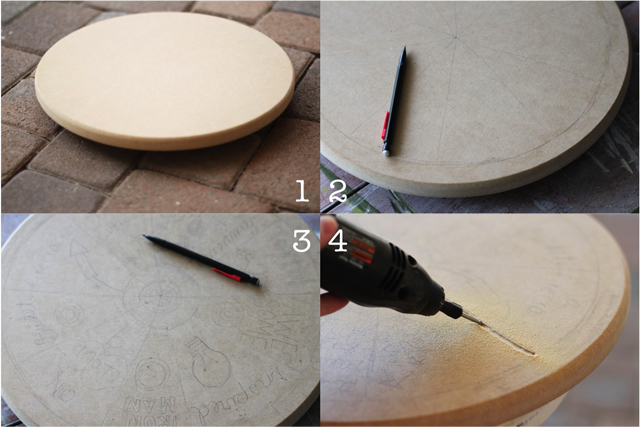
Photos 1, 2 & 3: I used a pencil to sketch my design out.
Photo 4: With a rotary tool, I started carving. I found that it is easiest to carve a faint line to serve as a guide and then carve deeper on your second pass.
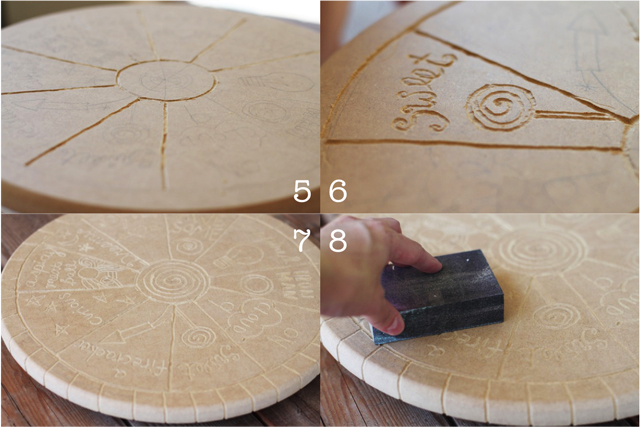
Photos 5, 6 and 7: I carved all the designs out. They don’t have to be perfect…..I like slightly imperfect!
Photo 8: I used a block sander to clean up any rough edges.
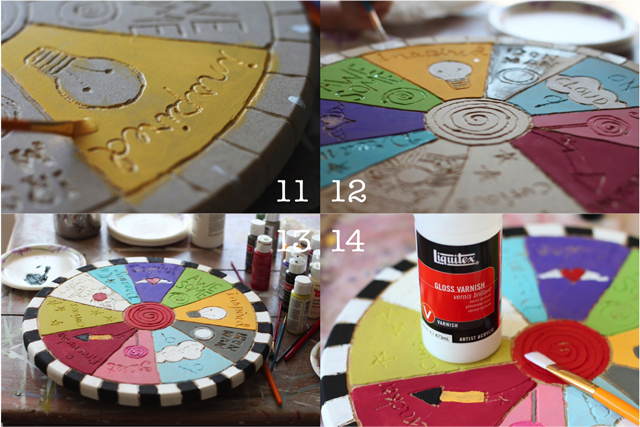
Photos 11 & 12: I blocked in the main colors using basic acrylic craft paint. I like to paint “imperfectly” for character. I let Boo paint the black and white border.
Photo 13: After all the colors were blocked in, I let the piece dry.
Photo 14: I used gloss varnish…..
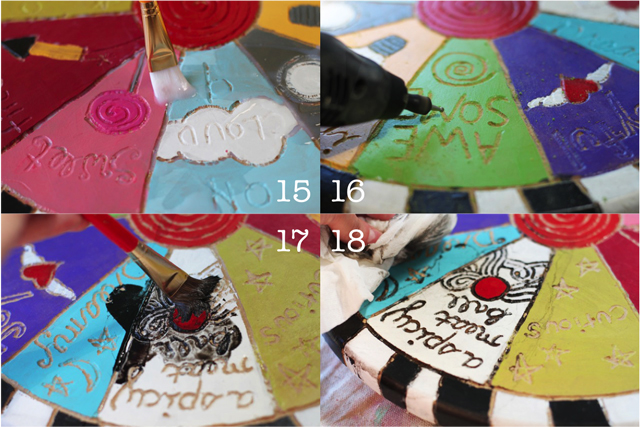
Photo 15: …..and painted a light coat over the whole piece to protect the colors from the glazing step.
Photo 16: I carved out excess paint from the designs.
Photo 17 & 18: I made a glaze of black liquid acrylic and added some water. I worked it into the designs, quickly wiping off the excess with a damp cloth.
The finished painted piece!
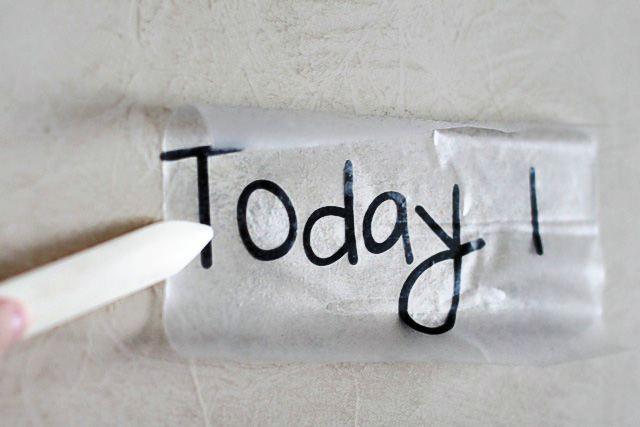
Using my Silhouette machine, I cut out the words “Today I will be” and applied the quote to the wall above where the lazy susan would hang:
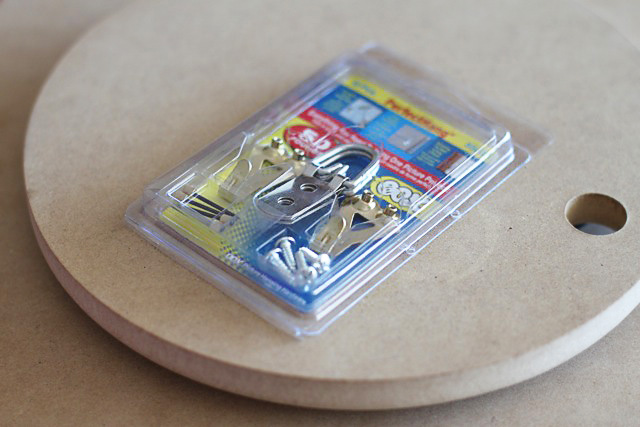
Some heavy hanging hardware was used to attach the lazy susan to the wall:
Today I will be……on cloud 9.

