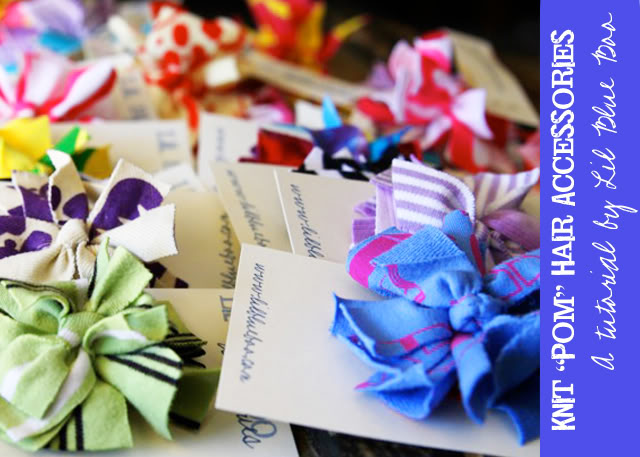
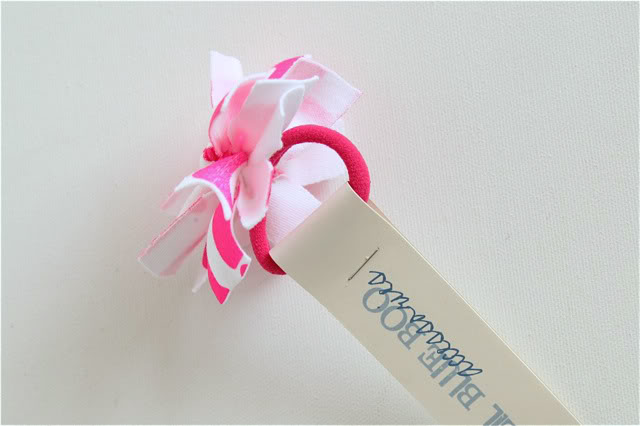
Upcycled Knit Pom Pom Hair Accessories (A Tutorial)
I’ve had requests for this tutorial for a while and I finally just made myself finish it this week! Everyone loves these hair accessories and it is a great way to use up those extra knit scraps!
This is a photo from last spring with Li’l Miss Elle wearing a pom in her hair….I can’t believe how young she and Boo look!

Materials needed:
Knit scraps
3 ” or 4″ needle
Nylon thread
Pliers
Glue gun
An alligator clip, head band or pony tail holder
Optional: velvet ribbon for lining clip
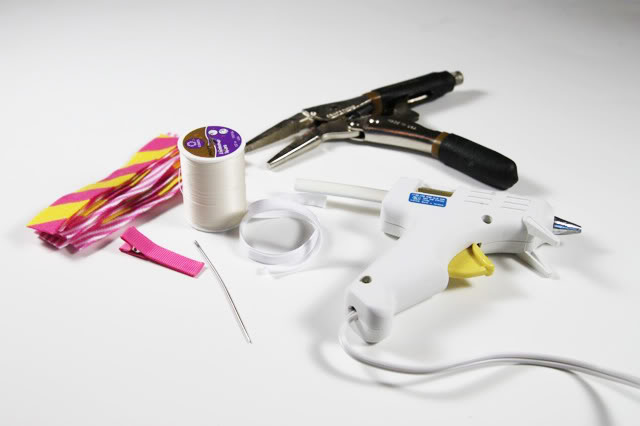
Step 1: Cut out strips of knit yardage or t-shirt scraps measuring about 5″ x 3/4″ and thread your needle:

Step 2: Take your first strip and insert the needle about 1/8″ from the middle edge….you will stick the needle back through at another 1/8″ and continue……
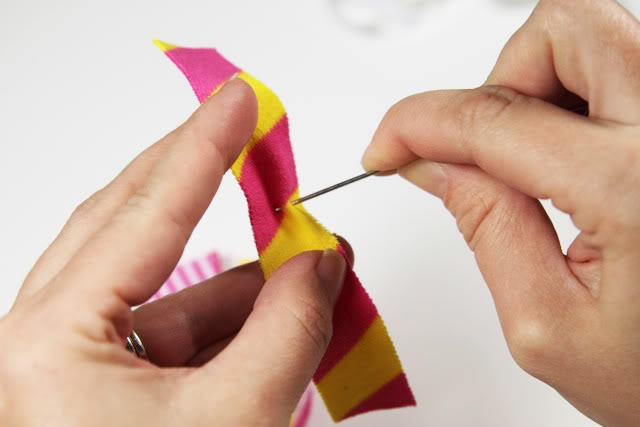
…..until you’ve created an accordion-type fold onto the needle:
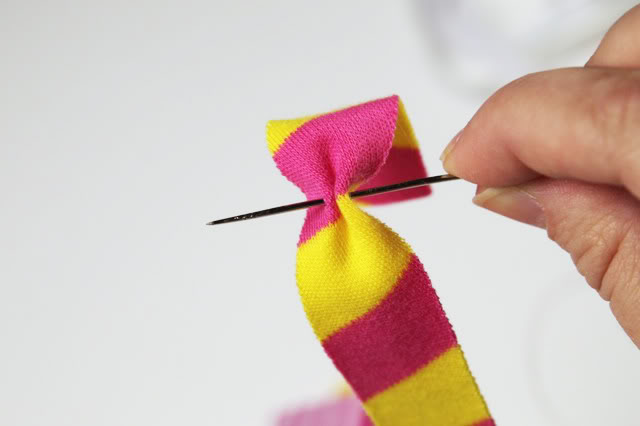
Step 3: Repeat the last step for your next strip of knit…..
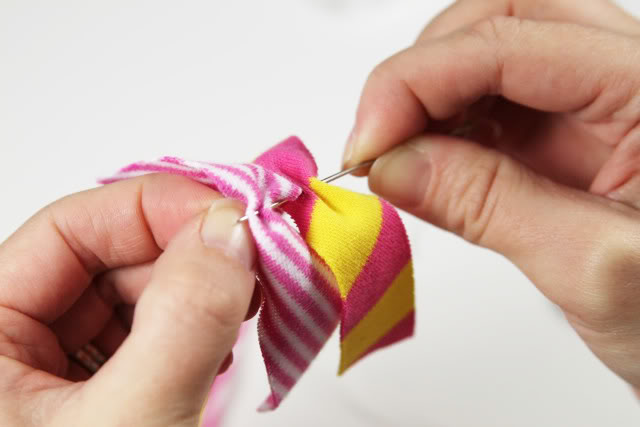
…but twist it around once it is on the needle so that it lays across the other piece like a cross:

Step 4: Continue to add your other strips of knit in the same manner and twist them once they are threaded into a star shape as shown and flatten them all down together to the bottom of the needle:
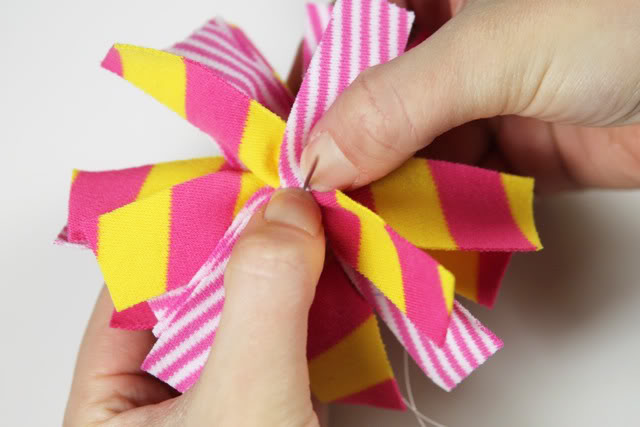
Step 5: Once you have added enough strips so that the pom is the fullness that you prefer run your needle back through to secure all the strips.
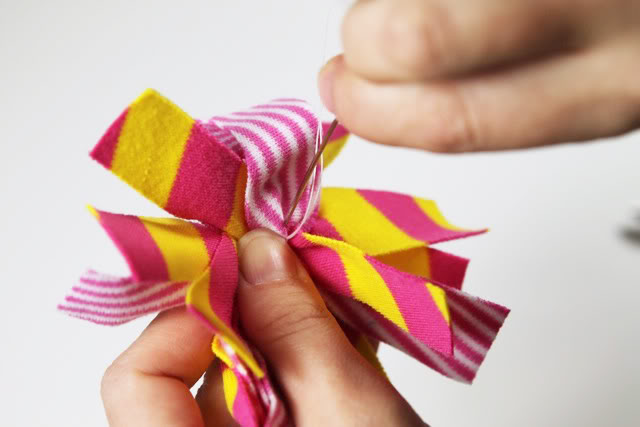
Stitch back and forth through all the layers one or two more times to secure them well….you may need a pair of pliers for this step to help pull the needle through!
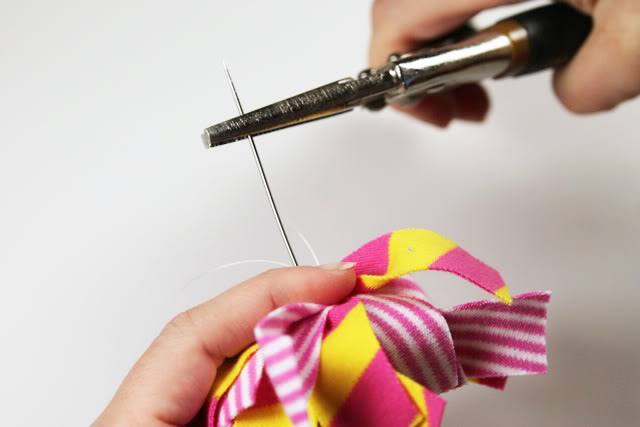
Step 6: Tie a knot to secure your pom…..
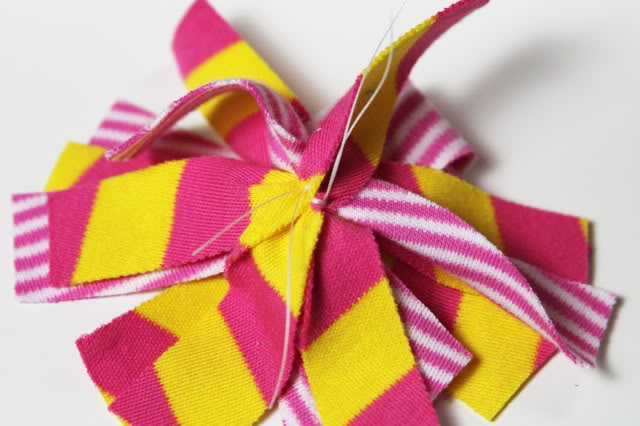
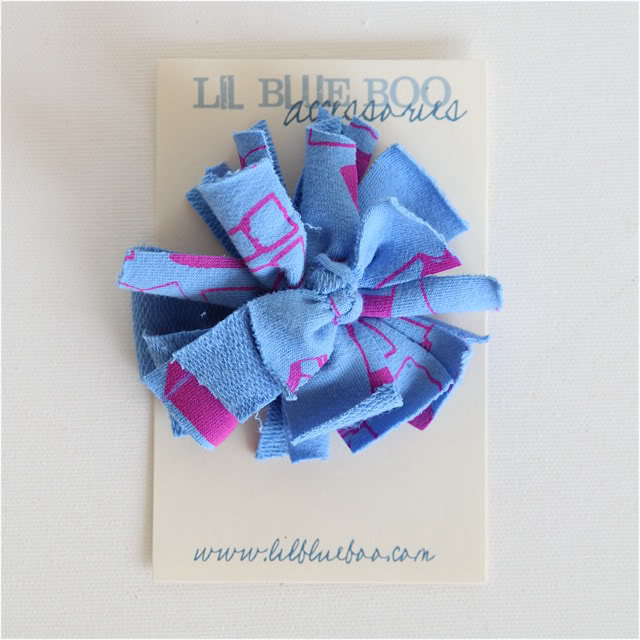
….and turn the pom over to the other side and tie the top layer in to a little knot as shown:
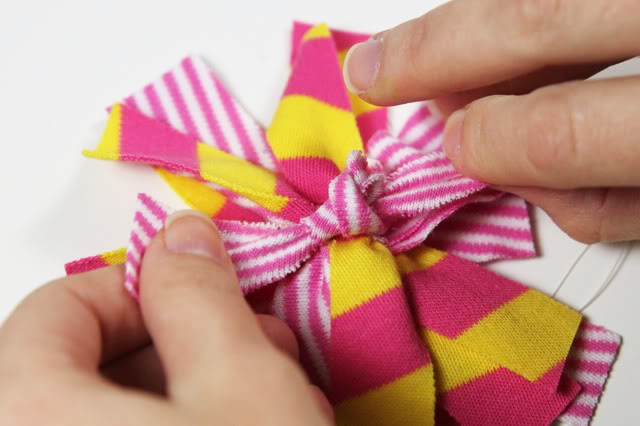
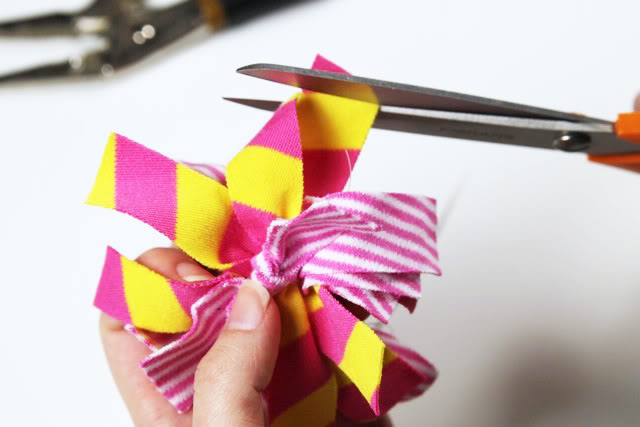
Step 7: Trim your layers to the length you prefer and making the top poms just a tad shorter than the ones below:
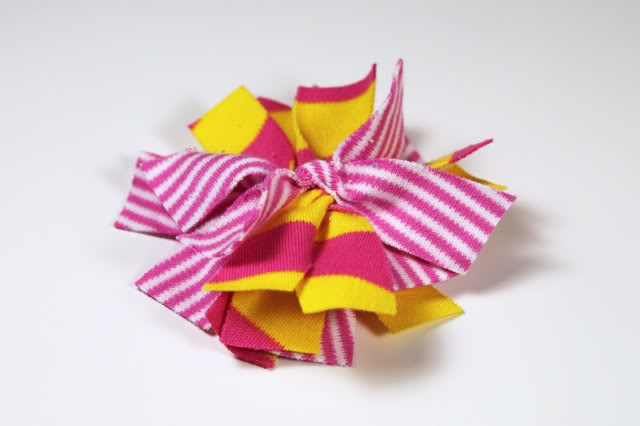
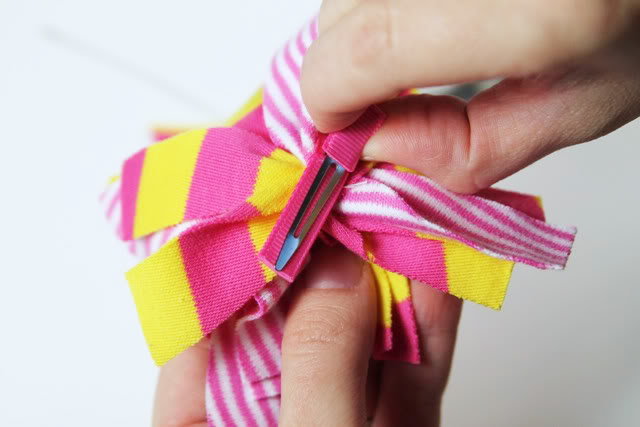
Use a glue gun to attached an alligator clip to the bottom. You can glue a small velvet strip to the inside of the clip to make it “non-slip.”
I love using silk screen scraps….
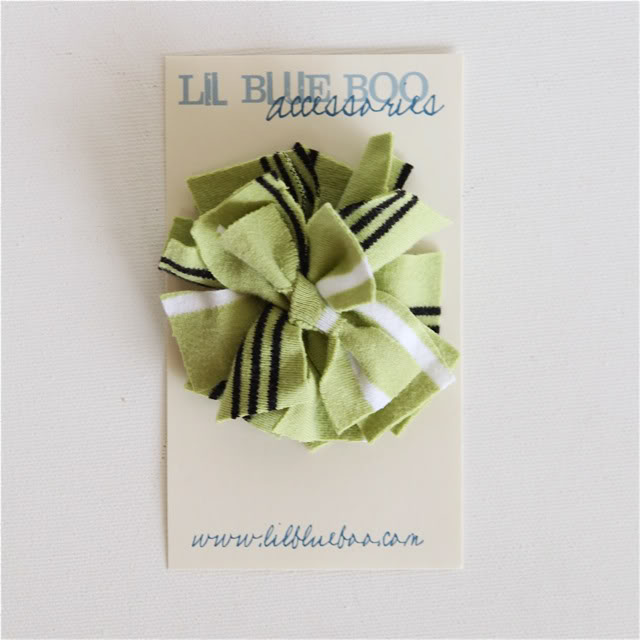
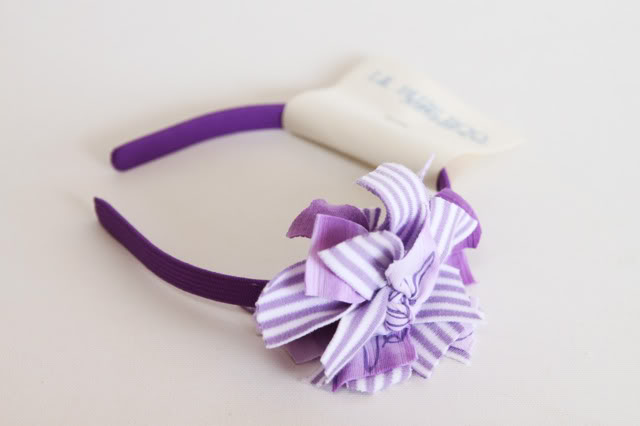
You can add a pom to a headband…..
A Crown for the Frog Prince
So it took me a while, but here is a template and instructions for a frog crown (you can print the crown pattern at the bottom of the post). You can modify it to have more “spikes” if you want or shorten it a little…..but it will be a good starting point if you want to “crown” your little frog prince. The original frog beanbag pattern is here.
Step 1: Place 2 piece of fabric right sides together and pin your template together with them. I use a disappearing ink pen to trace my crown just to make sure it is perfectly proportioned when I cut it out.
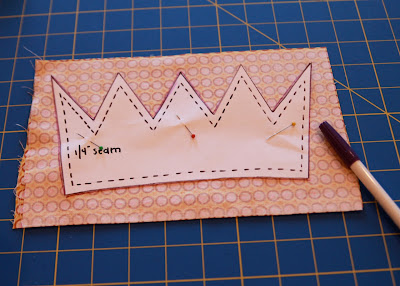
Step 2: Carefully cut out the crown pieces and re-pin together if necessary.

Step 3: Using a 1/4″ seam, starting at the bottom middle of the crown, sew all the way around the crown. You might want to draw your sewing lines with your disappearing ink pen to make sure your point are perfect…..because if they aren’t you’ll be able to tell! Make sure to…….

…….leave a small 1.5″ inch gap at the bottom so that the crown can be turned right side out.

Step 4: Carefully cut trim the seam allowance around the points…..
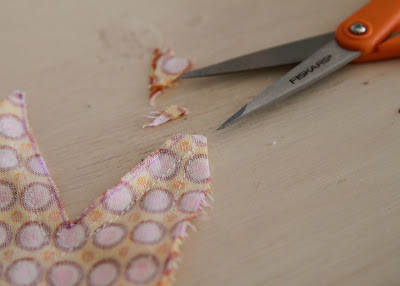
….and notch around the “valleys”, otherwise you will have too much bulk when you turn it right side out.
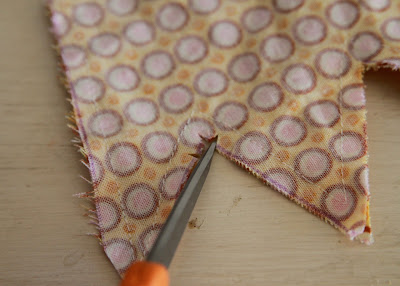
Step 5: Turn the crown right side out. Use a skinny object like the end of a small paintbrush or the dull end of a kabob skewer (that is what I use) to push the tiny points out. Then iron your crown flat.

Step 6: Topstitch 1/8″ from the edge all the way around the crown.

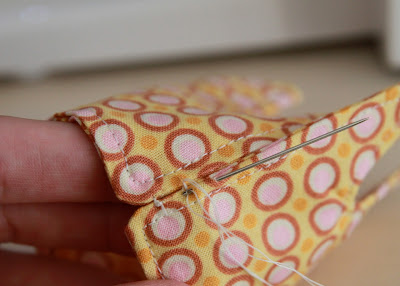
Step 7: Using a needle and thread, use a blind stitch to sew the crown together in the back. I knot each stitch as I go.
Optional step: Use small knots around the base of the crown to attach the crown to the frog.

Finished! You can add other embellishments as well. Make sure to get your frog finished before the new Disney movie comes out!
Frog Prince Crown
Copyright © 2009 by Ashley Hackshaw. All rights reserved. This crown pattern is for personal and home use only.
- « Previous Page
- 1
- …
- 5
- 6
- 7
- 8
- Next Page »


