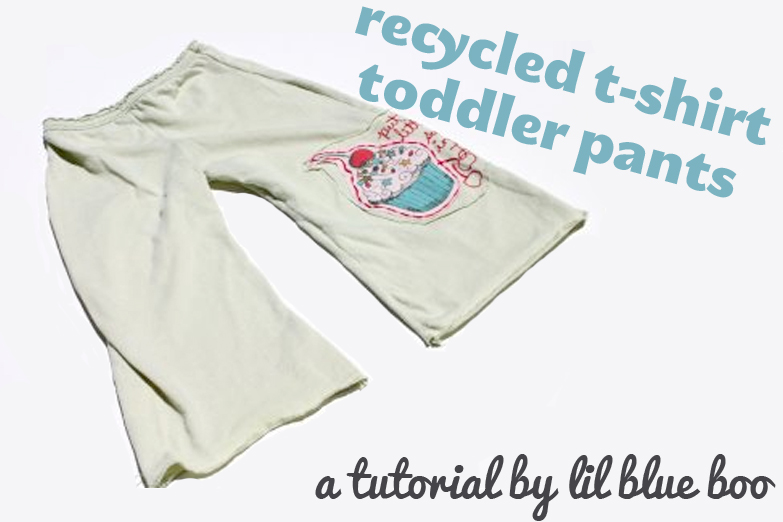
T-shirt pants have been around forever right up there with pillowcase dresses. There are so many tutorials out there. I have a few friends who are just starting to sew so I thought I’d post my own tutorial with updated measurements and tweaks that I’ve incorporated into the PERFECT t-shirt pants. (disclaimer: perfect for me, maybe not so perfect for everyone else)
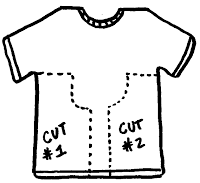
I call them “gauchos” now because as your child gets taller you’ll find that you start to lose the length because t-shirts are only so big! These little pants/gauchos are so easy to make and have endless creative possibilities! My tutorial is at the bottom of this post and is easy to download and print!
These were my favorites by far that I made when Sienna was a year old. I made them from one of my t-shirts that featured a cupcake on the front. I attached the cupcake portion using an applique technique on one of the pants legs before sewing the pants together (see my applique tutorial).
These cute little pants were made from a white undershirt and the detail was done using reverse applique. I made a matching t-shirt as well. You can see the detail of the pants here. My reverse applique tutorial is easy to follow as well!
The pair below was made from a black Superman shirt. I cut out the Superman logo and sewed it onto one of the legs before I sewed the pants together.
These gauchos were made from an old Carolina Panthers t-shirt. I originally started making them for a friends son but the length wasn’t long enough. They are now Sienna’s lounge pants!
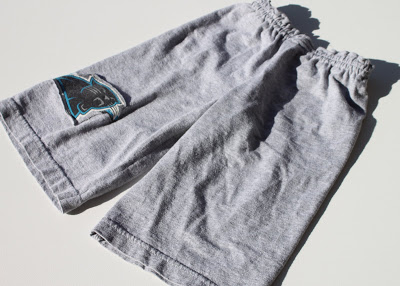
Sienna loves comfortable clothes!
A few tips:
1. If you are going to add applique or other detail, add it AFTER you cut the pants out but BEFORE you sew them.
2. Measure your child’s inseam first and adjust the length of your pattern to match. You can make shorts, capris, pants…. endless possibilities!
Email me if you have any questions! I’m glad to help in anyway!
T-Shirt Pants Tutorial

