I finally managed to get my Toddler Tie pattern I made for Boo’s “Annie Hall” look during Project Run and Play into digital format! It’s available through my Facebook Downloads for a limited time! Just click the image below to download the 10 page PDF pattern and tutorial. There are options for an easy elastic option and a regular necktie option!
The Blue Beret Pattern (Free Download)
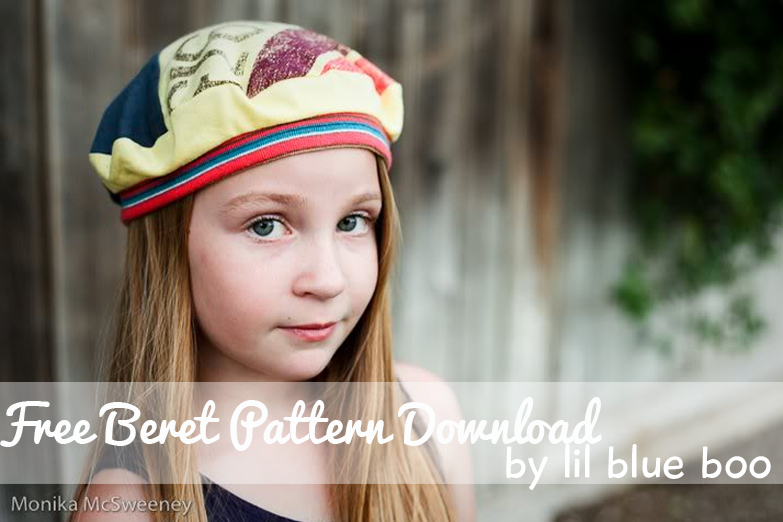
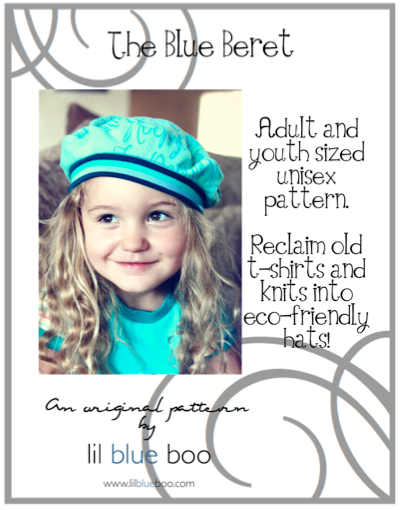
In case you missed it through Facebook….you can now download my beret pattern here! I renamed it The Blue Beret from the Adelaide pattern since it is a unisex hat...didn’t want the boys to feel left out!
Click image below to download the PDF pattern:
The whole pattern started with a hat I made for Boo for a collaboration with artist Stephanie Corfee. I silk screened Stephanie’s “When I Grow Up” print for a small limited edition for my shop a few months back. Boo’s hat has led to many, many more hats. Some are upcycled and recycled from t-shirts:
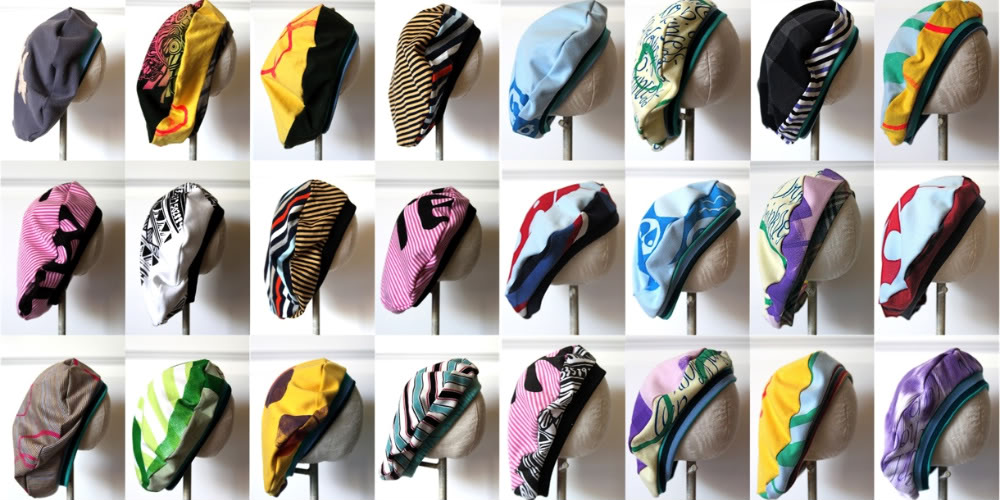
Some are dyed and silk screened:

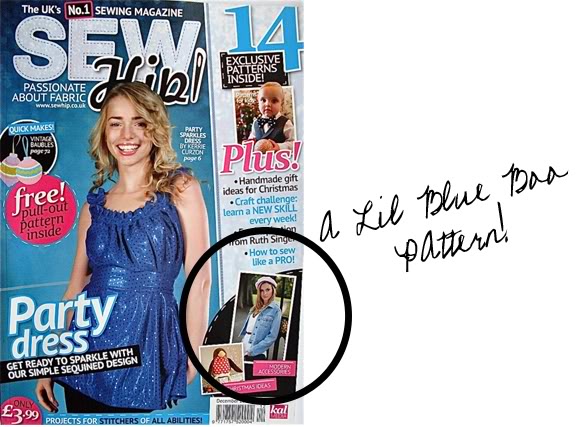
As featured in Sew Hip (click here for entire post):
One of my favorite upcycled hats photographed by Monika McSweeney on her daughter Grace:
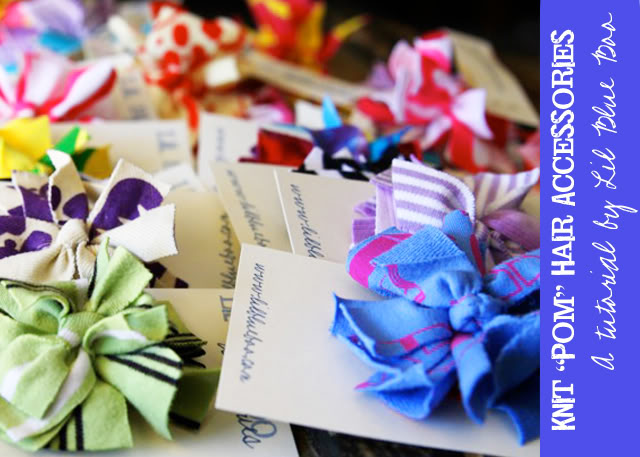
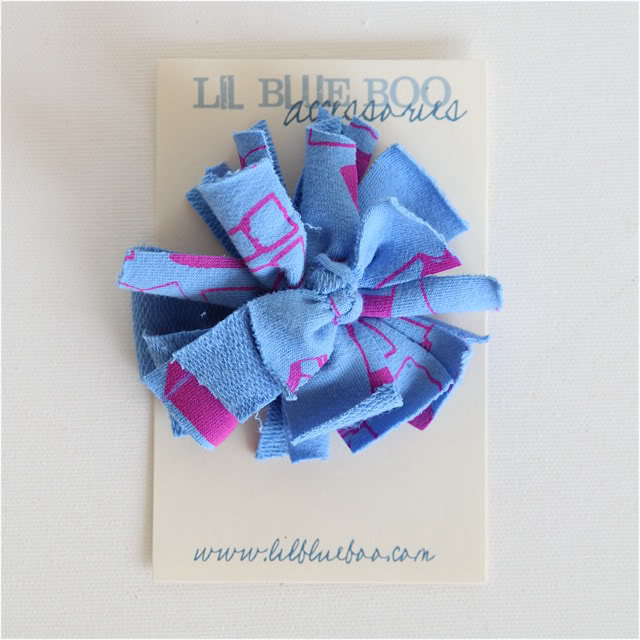
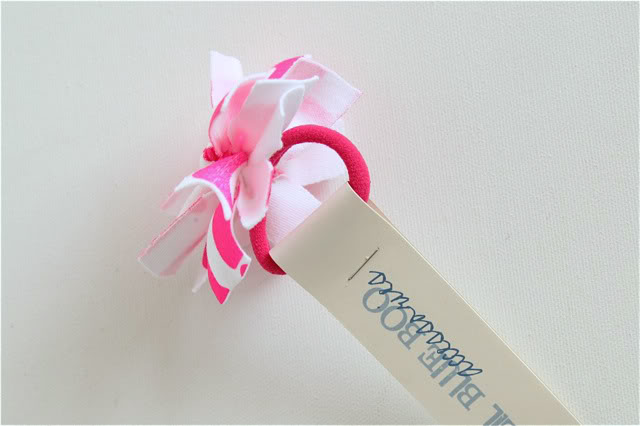
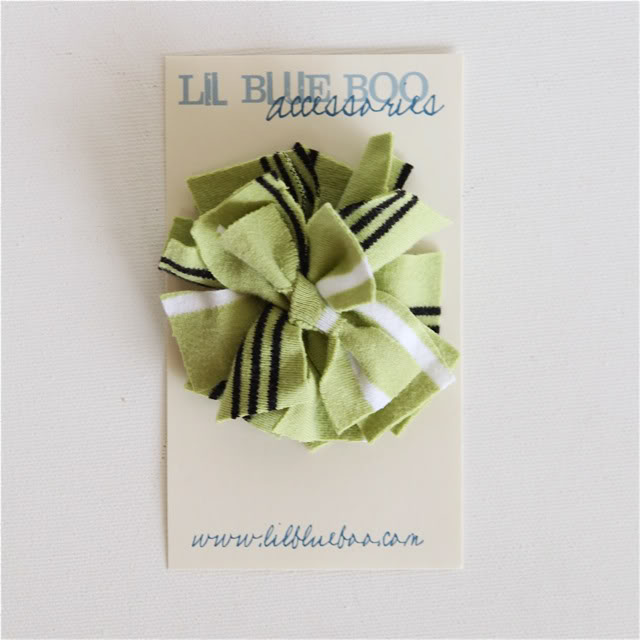
Upcycled Knit Pom Pom Hair Accessories (A Tutorial)
I’ve had requests for this tutorial for a while and I finally just made myself finish it this week! Everyone loves these hair accessories and it is a great way to use up those extra knit scraps!
This is a photo from last spring with Li’l Miss Elle wearing a pom in her hair….I can’t believe how young she and Boo look!

Materials needed:
Knit scraps
3 ” or 4″ needle
Nylon thread
Pliers
Glue gun
An alligator clip, head band or pony tail holder
Optional: velvet ribbon for lining clip
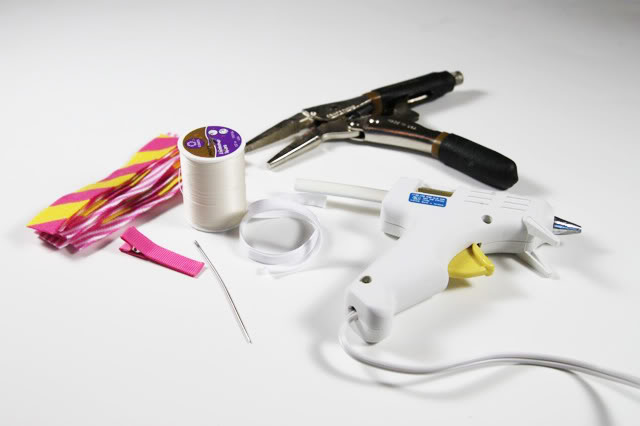
Step 1: Cut out strips of knit yardage or t-shirt scraps measuring about 5″ x 3/4″ and thread your needle:

Step 2: Take your first strip and insert the needle about 1/8″ from the middle edge….you will stick the needle back through at another 1/8″ and continue……
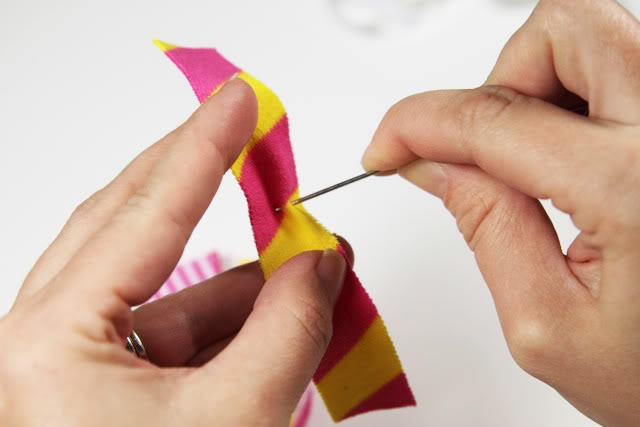
…..until you’ve created an accordion-type fold onto the needle:
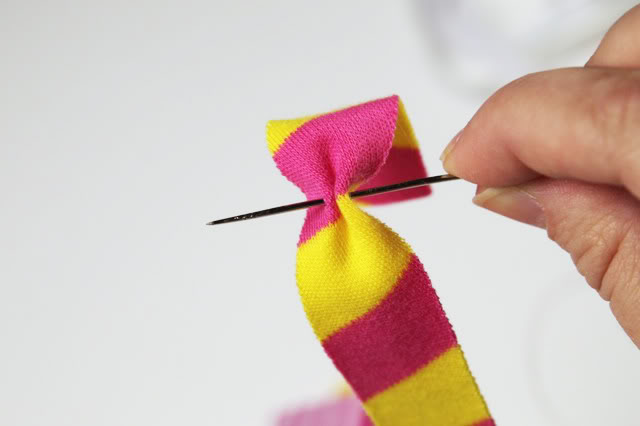
Step 3: Repeat the last step for your next strip of knit…..
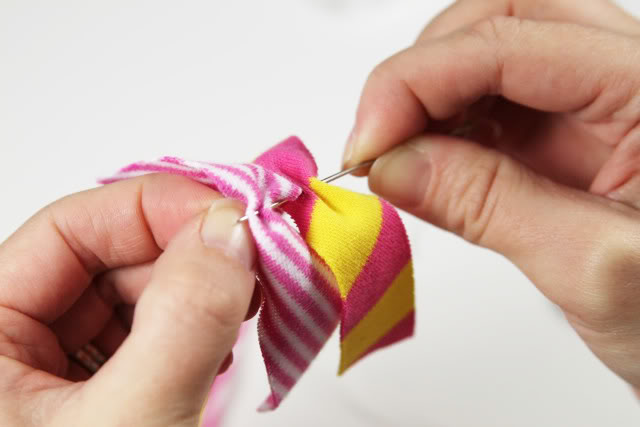
…but twist it around once it is on the needle so that it lays across the other piece like a cross:

Step 4: Continue to add your other strips of knit in the same manner and twist them once they are threaded into a star shape as shown and flatten them all down together to the bottom of the needle:
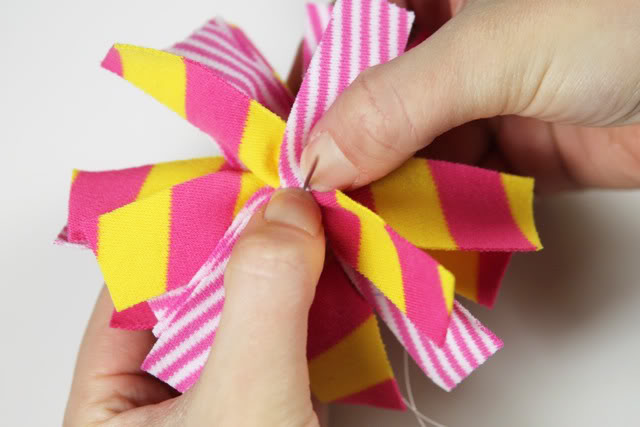
Step 5: Once you have added enough strips so that the pom is the fullness that you prefer run your needle back through to secure all the strips.
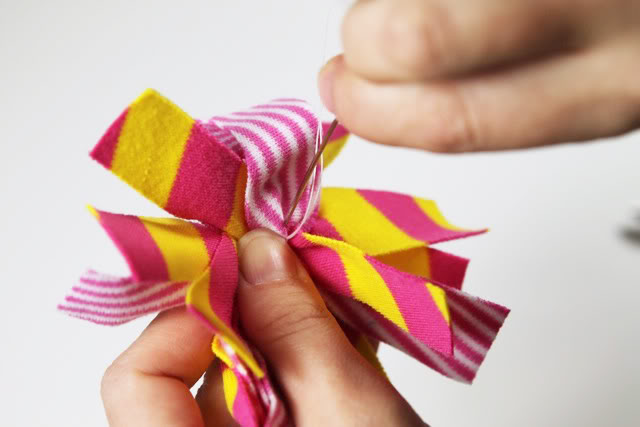
Stitch back and forth through all the layers one or two more times to secure them well….you may need a pair of pliers for this step to help pull the needle through!
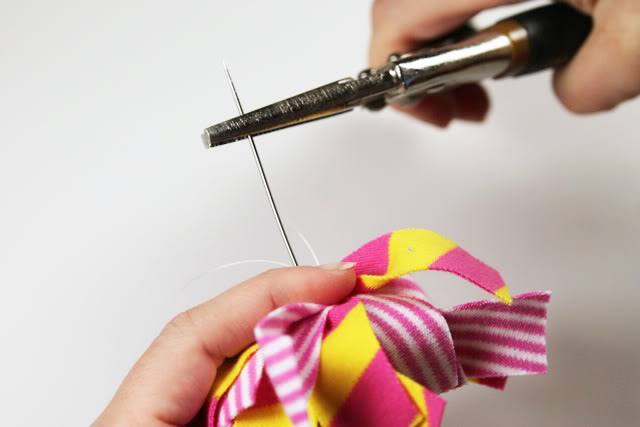
Step 6: Tie a knot to secure your pom…..
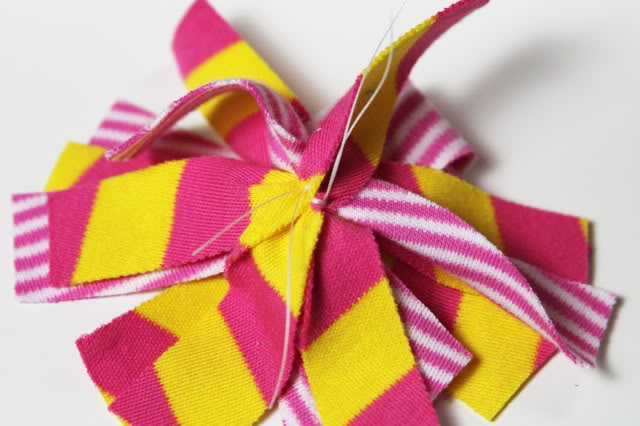
….and turn the pom over to the other side and tie the top layer in to a little knot as shown:
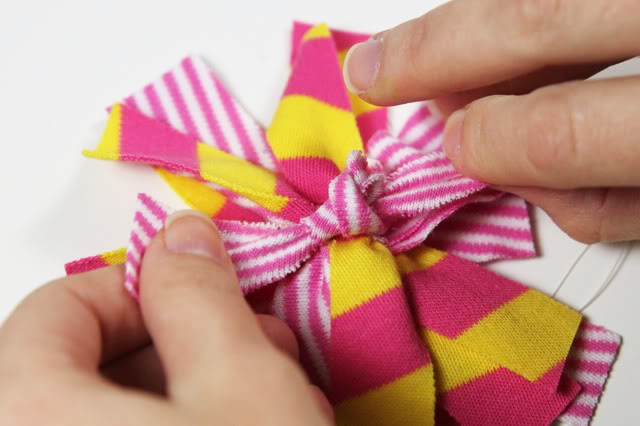
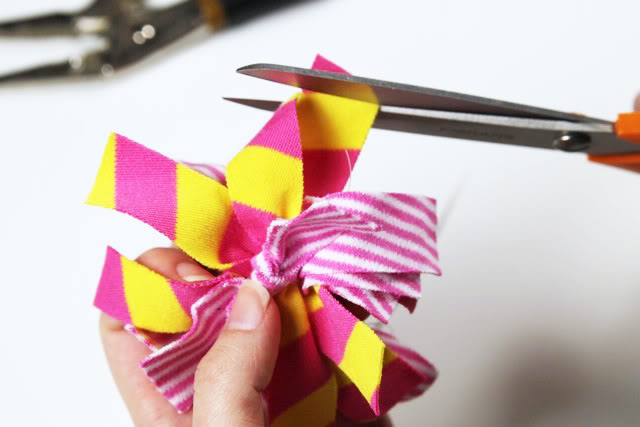
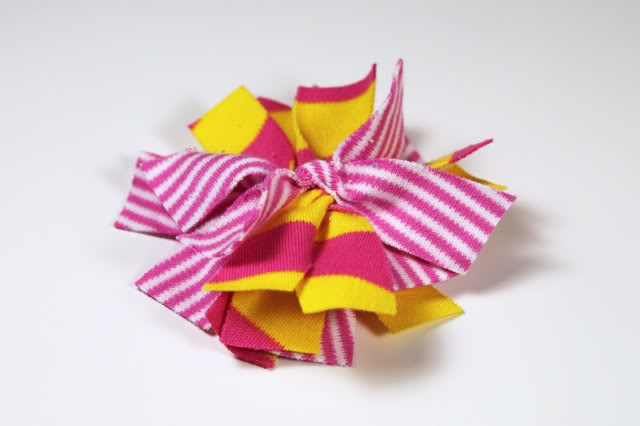
Step 7: Trim your layers to the length you prefer and making the top poms just a tad shorter than the ones below:
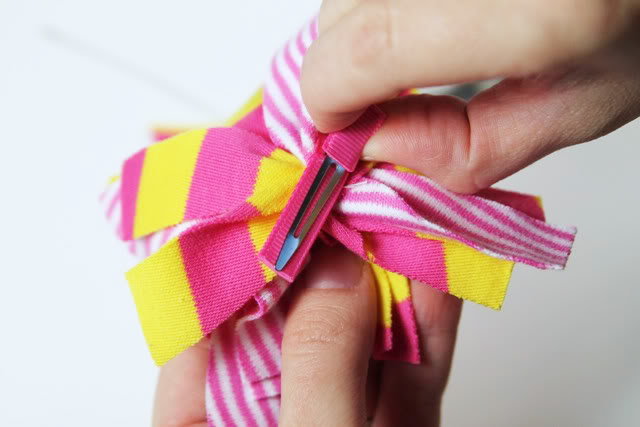
Use a glue gun to attached an alligator clip to the bottom. You can glue a small velvet strip to the inside of the clip to make it “non-slip.”
I love using silk screen scraps….
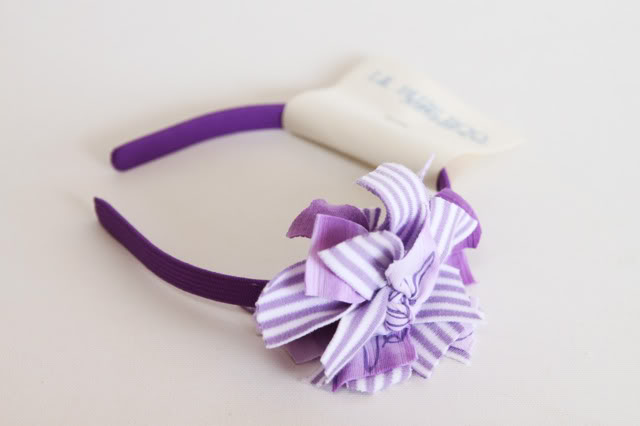
You can add a pom to a headband…..
- « Previous Page
- 1
- …
- 3
- 4
- 5
- 6
- 7
- …
- 9
- Next Page »


