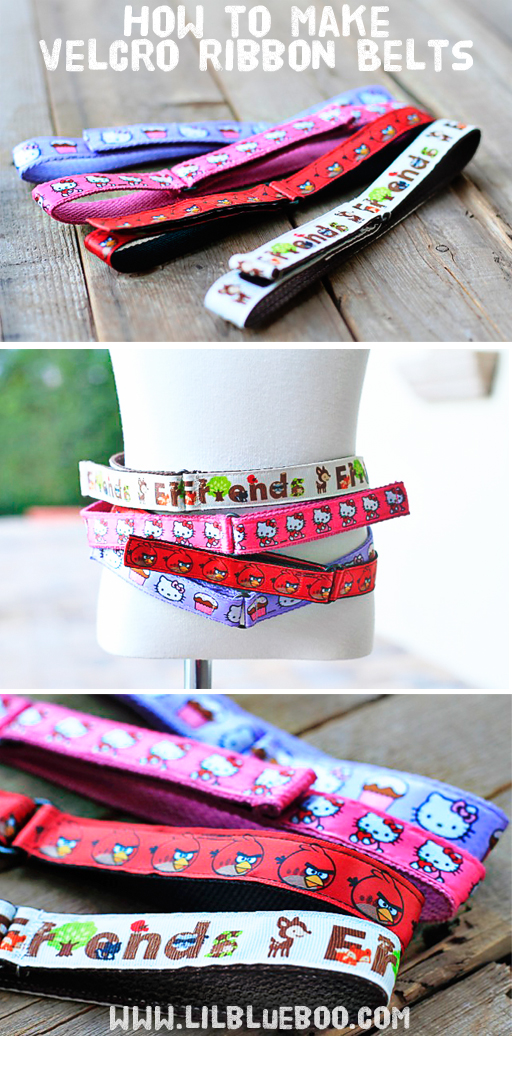
 These little belts are easy to make and great for kids because of the velcro closure. Each belt costs about $2.00 in supplies.
I started with 1″ webbing:
Ribbon Wrapped Headbands DIY. I made these as a few last minute gifts:
I used plain plastic headbands purchased from Target and soft satin ribbon. You can also order the plastic headbands from The Soda Pop Shop here. The Aleene’s Tacky Spray (make sure to use an acid free spray) is used to hold the ribbon in place.
I bought these fabulous beaded bows from Target Trim in L.A to embellish the hairbands with. They run about $6 each retail (maybe less if you are wholesale) and come in a variety of colors. You can place an order over the phone to them.
To start wrapping my headbands I sprayed the ends of the plastic band with the tacky spray:
I folded a piece of ribbon over the bottom of each band end:
Then I spray the entire headband:
Starting at one end, I began carefully wrapping my ribbon around the band:
Once I reached the other side I just tucked the ribbon under and secured it with a little hot glue:
A finished band:
Using hot glue I attached the beaded bows to the top of the hairband:
A great way to make your own headband to match whatever embellishment you want to add to the top!
An easy toy for a baby, toddler or even a puppy! You could even make a large version for a throw pillow or “mini” versions for a baby mobile. You can use a freezer paper stencil, a screenprint, or even just a fabric stamp to make these. Just make sure to use non-toxic, ACMI AP approved water-based ink products that are made in the USA if it might go into a mouth!
Step 1: One you have a fabric print finished and ironed, place the fabric wrong sides together onto a piece of fabric for the back of the toy. Cut out the image with a 1-inch border surrounding it so that you have a front and a back:
Step 2: Cut various 3″ mismatching pieces of scrap ribbon.
Step 3: On the front of the toy, fold each ribbon piece in half and pin in place as shown:
Step 4: Add as many ribbon pieces as you prefer:

Step 5: Using a 1/4″ seam, sew all the way around the front of the toy to attach the ribbon.
Step 6: Take out your pins and place the back of the toy face down onto the front. Sew all the way around using a 1/2″ seam and leaving a gap…..
….so that the toy can be turned right side out. (If you have curves in your design you will need to “notch” the seams before you turn it inside out so the edges look smooth)
Step 7: Top stitch all the way around the toy using an 1/8″ seam and making sure not to close the gap yet….you’ll need to add stuffing:
Step 8: Add your choice of stuffing:
Step 9: Carefully fold under the open section of the toy and top stitch it closed:
To make a crinkle tag toy:
Cut a piece of cellophane or plastic packaging (like from a microwave popcorn package):
Insert the cellophane or plastic flat up into the toy before closing:
So many different designs and prints you can use!
And they look so cute!
Here are some other scrap ribbon tutorials to check out!
