As much as I love the beautiful sunshine and the warm summer months, it isn’t always possible to photograph outside in the sunshine. There are lots of wonderful parts of our lives that happen indoors! Today’s post has 3 tips for getting better shots when you need to photograph indoors!
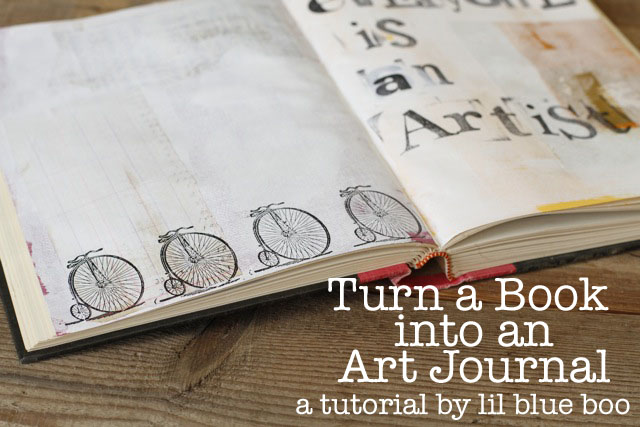
Turn a Book into An Art Journal (A Tutorial)
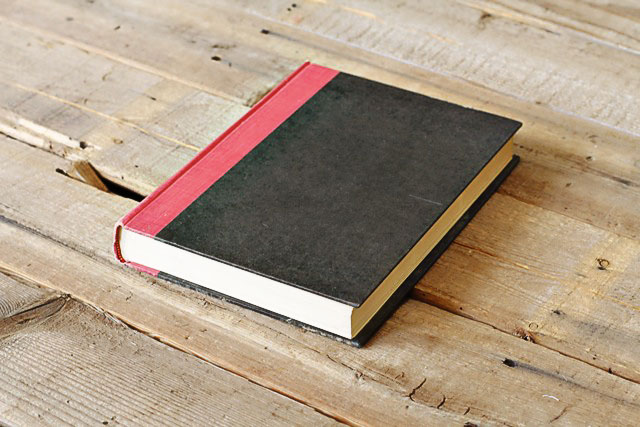
I love making art journals using composition books but old books are another great way to make a journal….and it’s a great way to recycle old books!
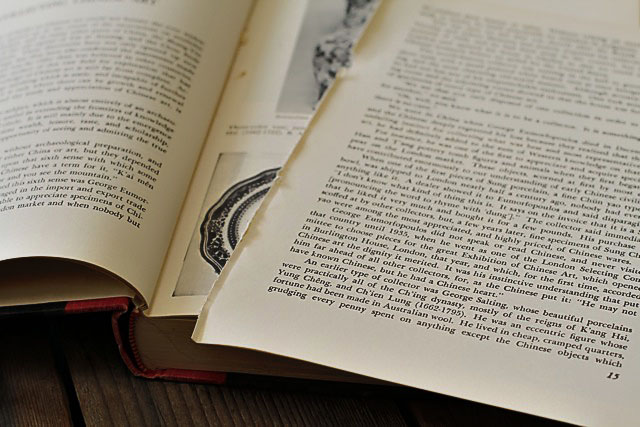
Since I add layers of paint and collage, the first thing I do is thin out the book. If the pages are sewn in I just pull out a few pages from each section….if the pages are glued to the binding I use a razor blade to cut them out.
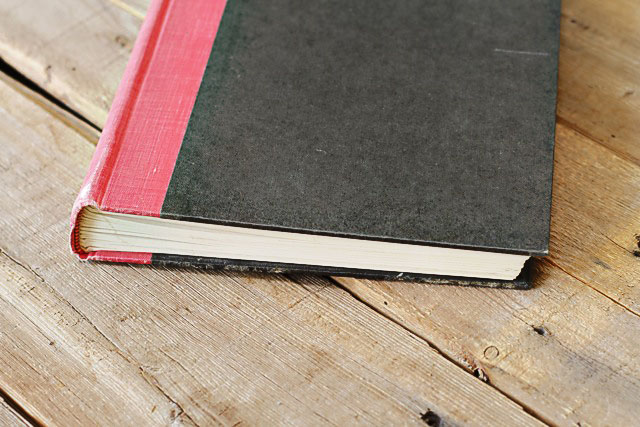
This is the thinned out book:
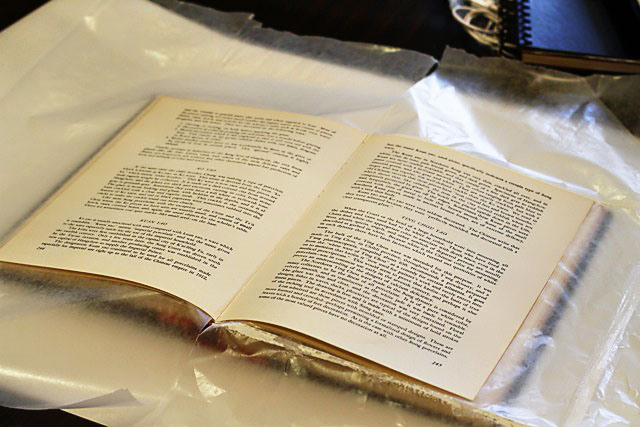
To make the pages I start anywhere in the book and put pieces of wax paper under each page I’ll be working with:
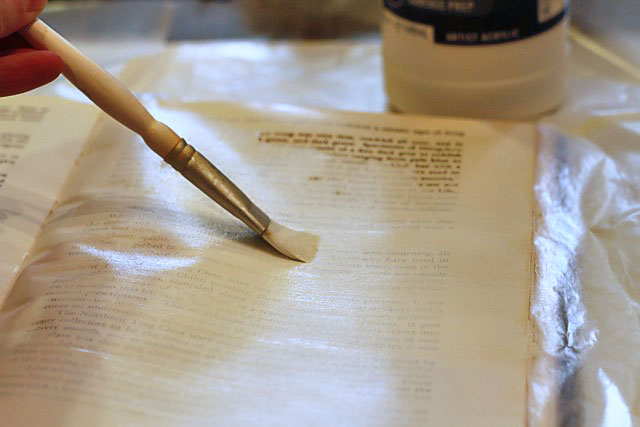
I coat the pages with gesso (a primer you can purchase in the paint section of the craft or art supply store):
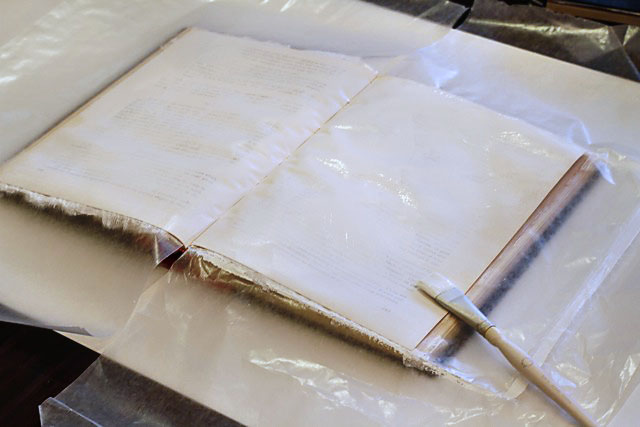
Once both pages have been coated with one of two coats I let them dry:
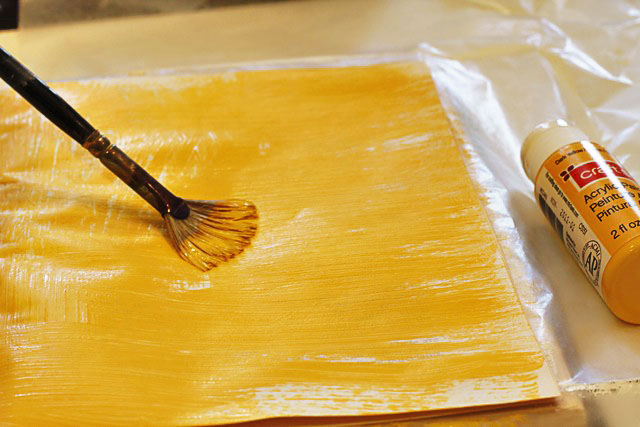
Then I add some color using craft paints:
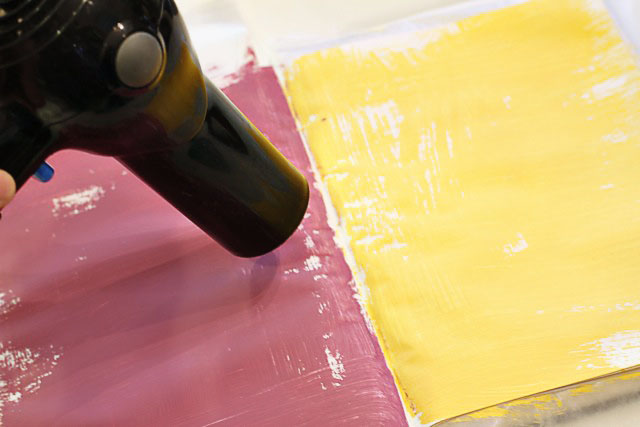
When I am doing a lot of coats I will pull out the hair dryer to speed along the process:
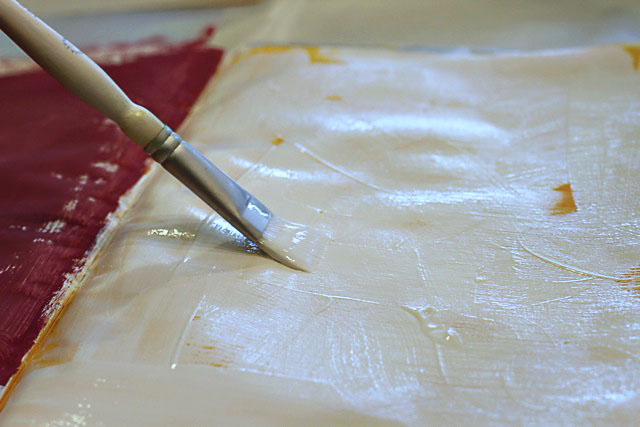
I usually add another coat of gesso…..
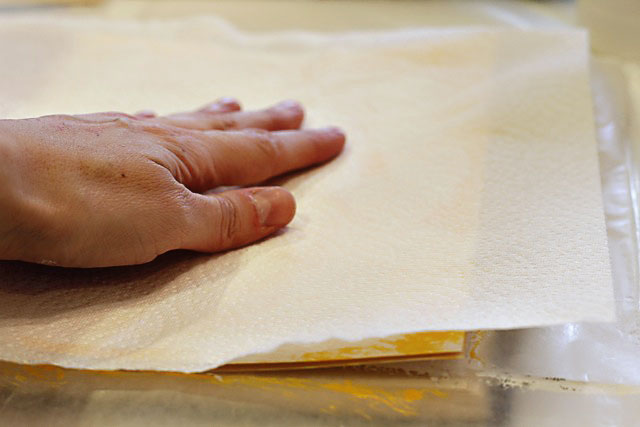
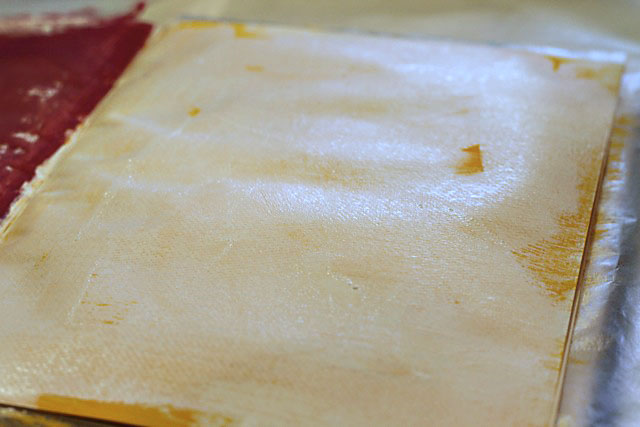
….and before it dries I’ll blot it with a paper towel so that the color will show through:
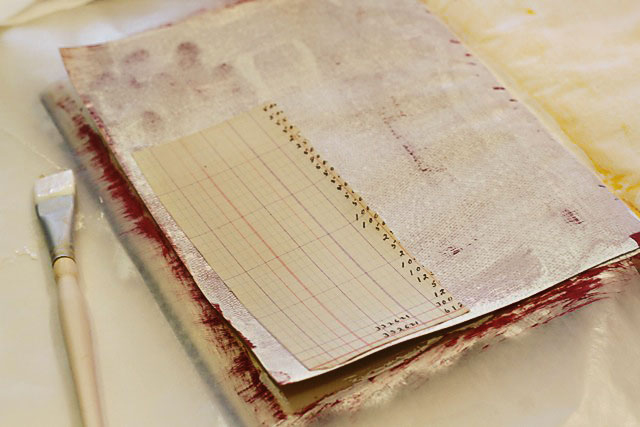
I add bits of old paper to the page using clean medium or mod podge:
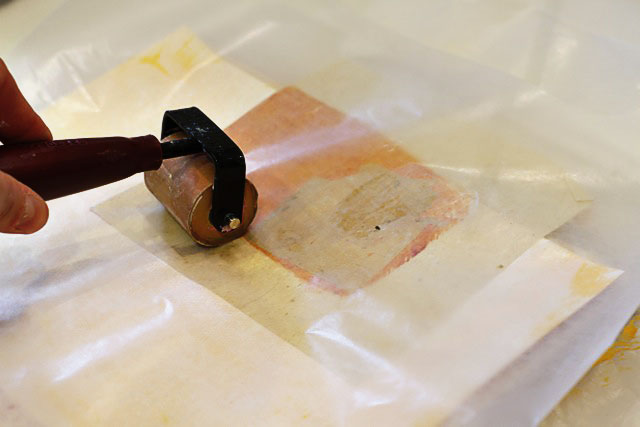
To make sure my collage pieces are flat I use a brayer with some was paper sandwiched in between:
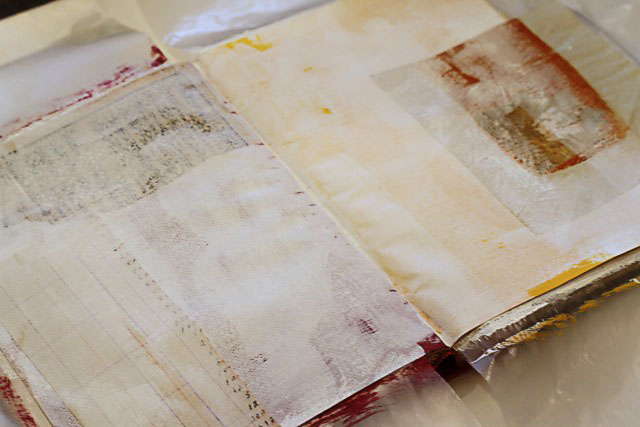
Here’s what the pages look like before I’ve added any text:
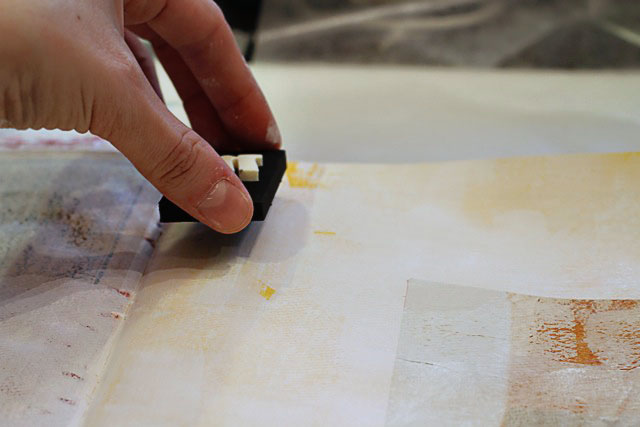
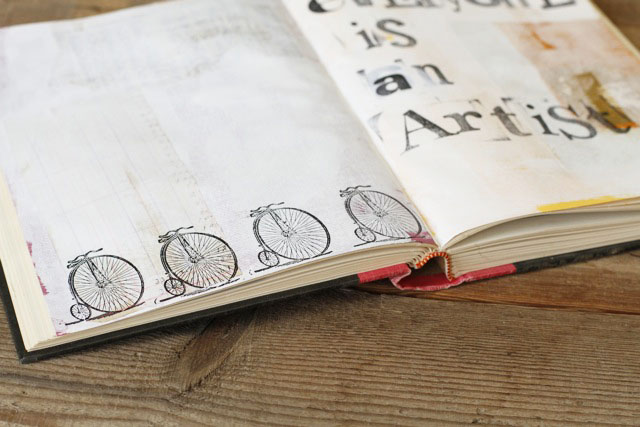
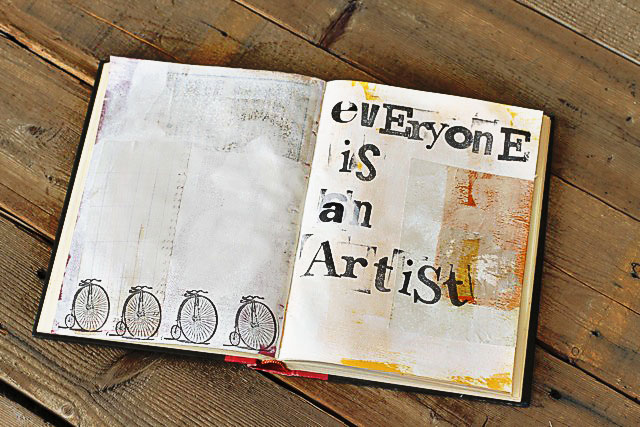
I like to use large font stamps to add some decoration:
The bicycle stamp was one I found in the dollar bin at Micheal’s:
Sometimes I just leave the pages as is….or add journal text later!
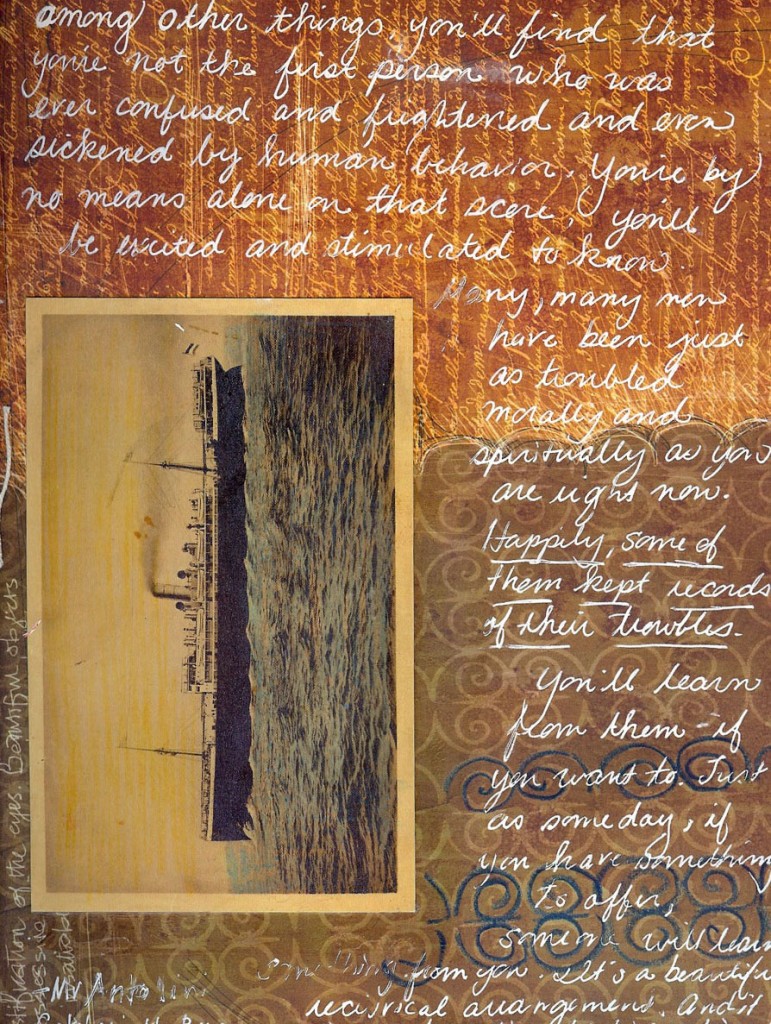
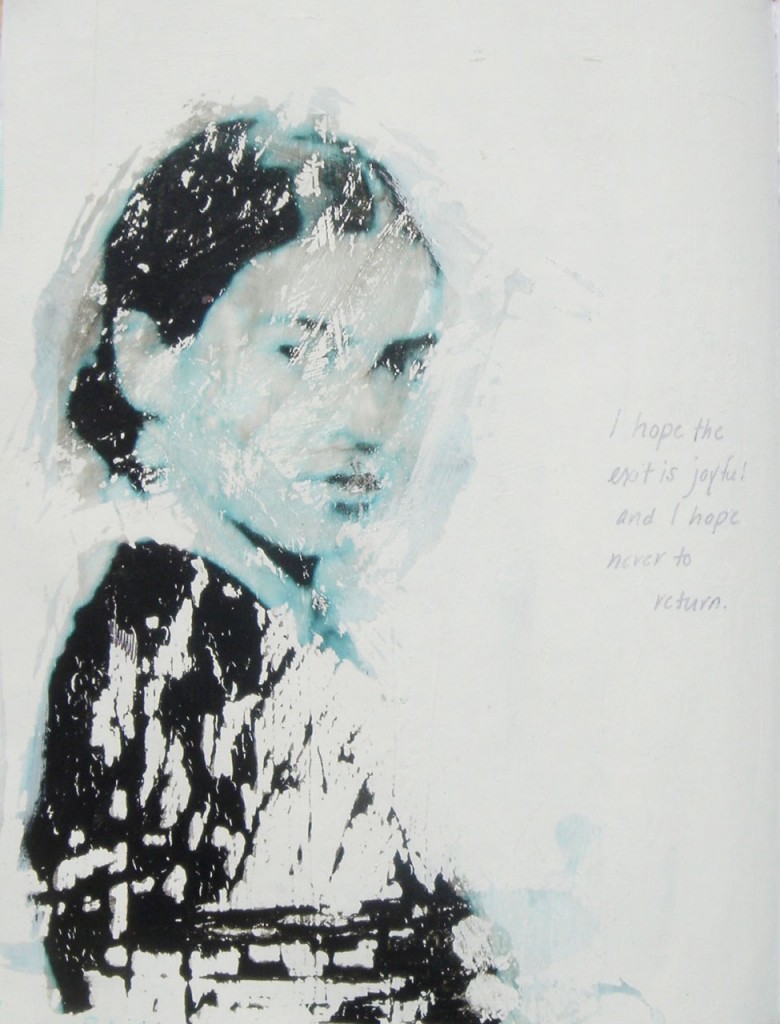
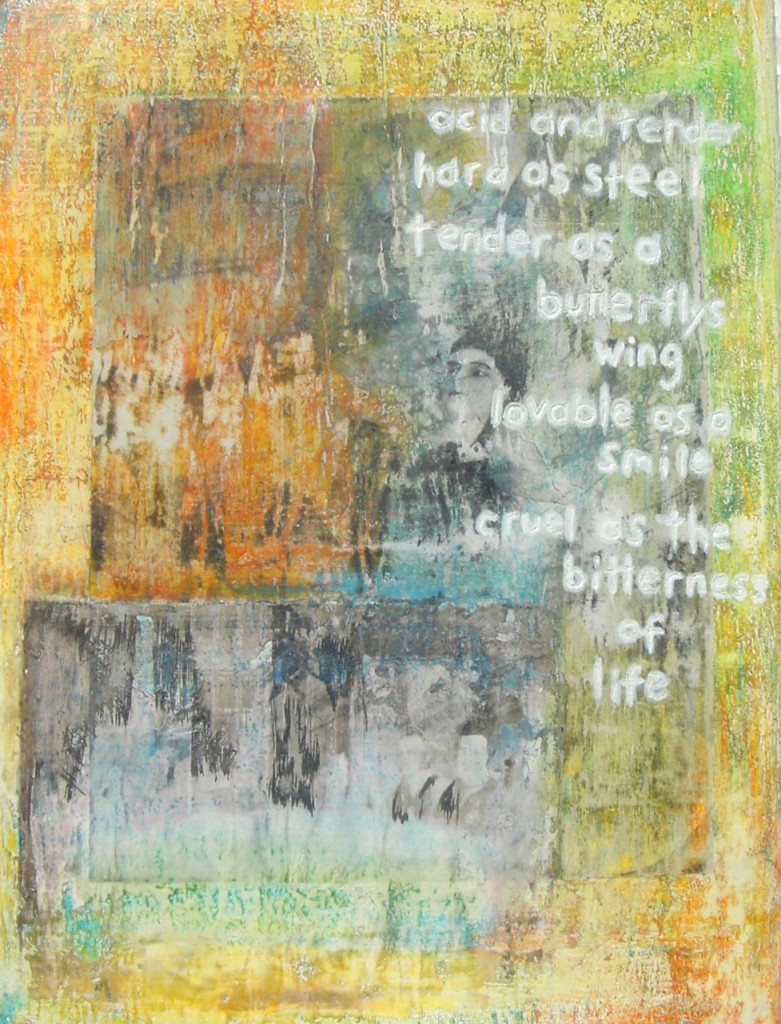
Now a few random pages from my journal…..
Read more journaling posts here!
A T-Shirt Quilt (A Tutorial)
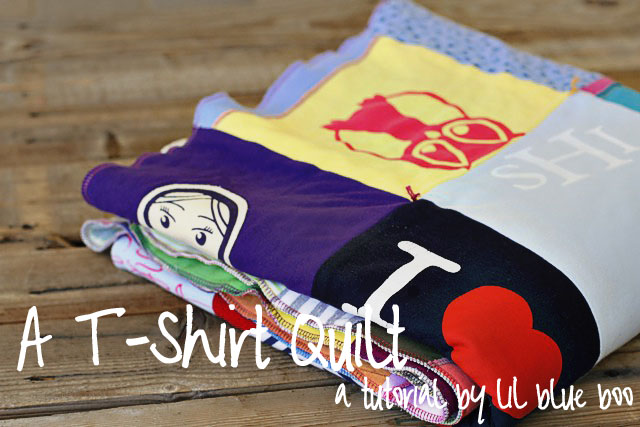
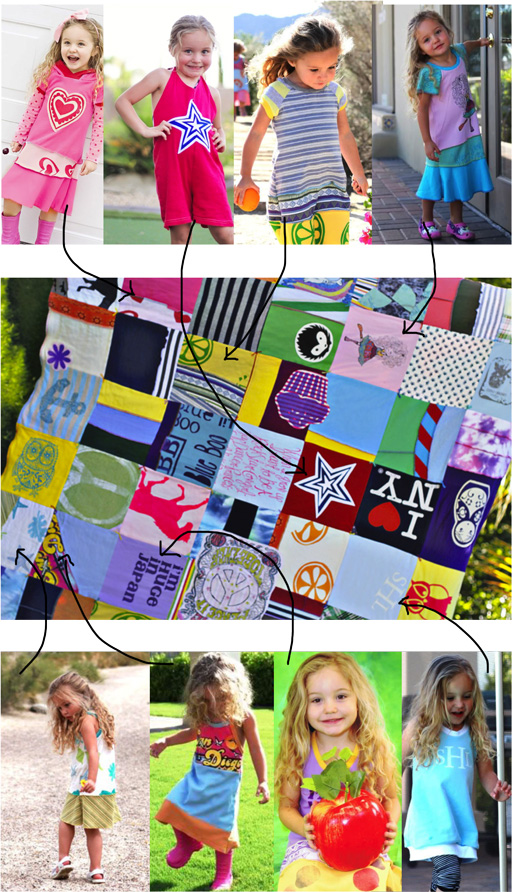
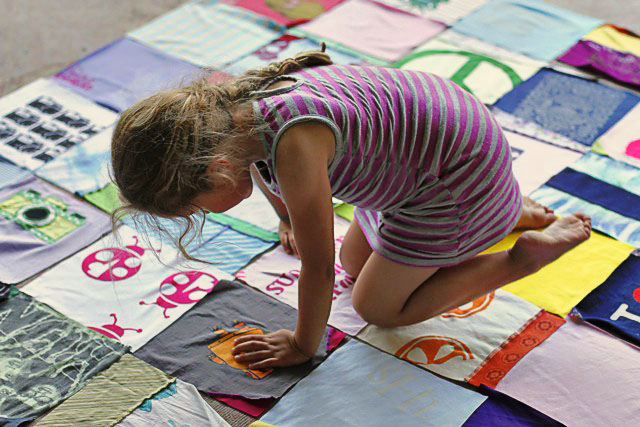
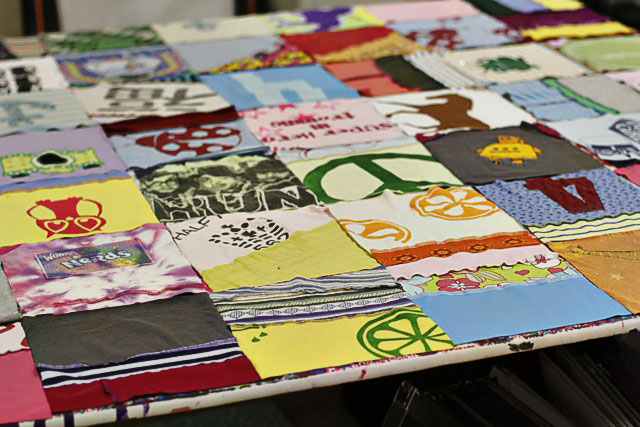
I made my first memory quilt…out of Boo’s old dresses! I’m sure there are many of you out there that are quilting experts, and that there are certain ways of doing things the “quilting” way….but I wanted to take a fresh look at quilting and make it up as I went along. I love that each square tells a story! Boo can point to each square and remember a special outfit she had and a memory associated with it!
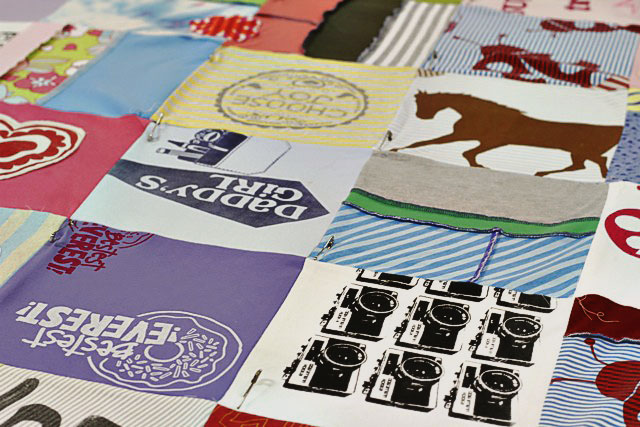
I love the way the quilt turned out. It’s sturdy, double sided, and full of memories….it’s upcycled/recycled!
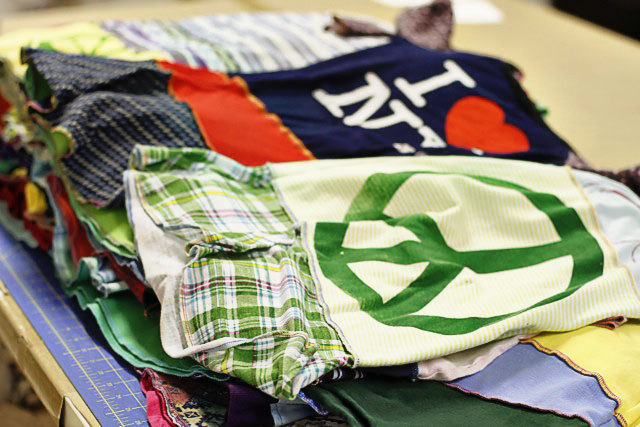
Instead of actually t-shirts I took Boo’s dresses from the last few years…..all the ones that I’ve made for her. Most are pretty worn out and had some stains on them…..so they couldn’t have been sold or donated.
Each dress has special memories and instead of putting the all into storage I decided to cut them all up and make them into a big quilt that she can enjoy for years to come.
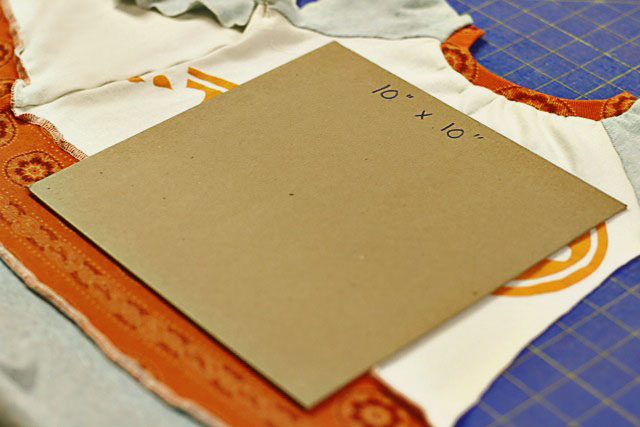
First I made a square template: 10″ x 10″
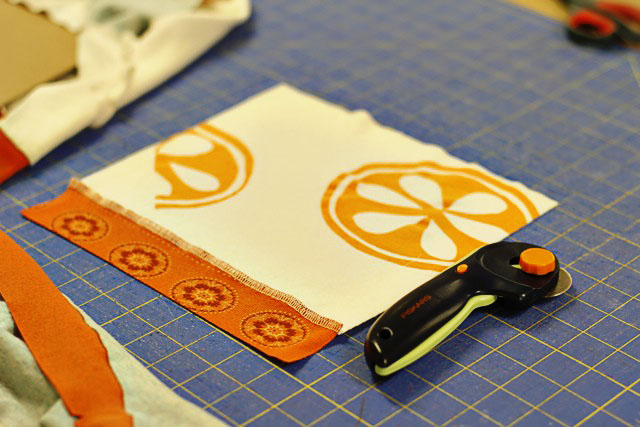
I used a rotary cutter to cut out as many squares from each dress as I could:
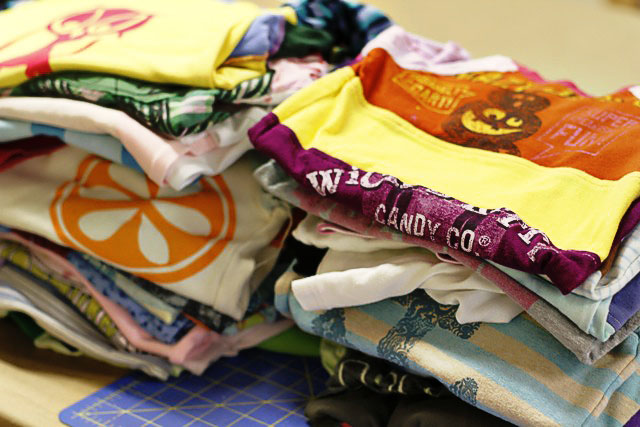
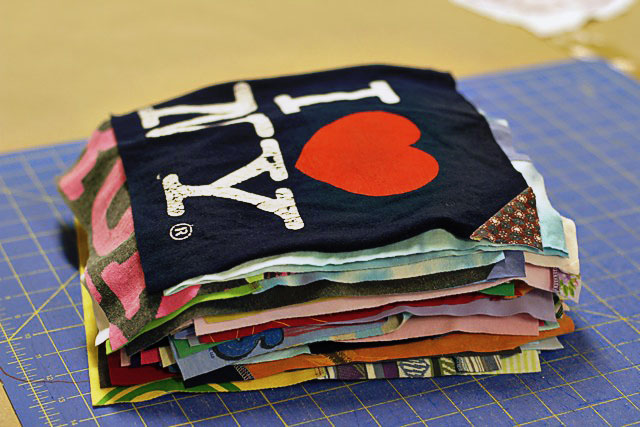
Here’s my big stack of completed squares:
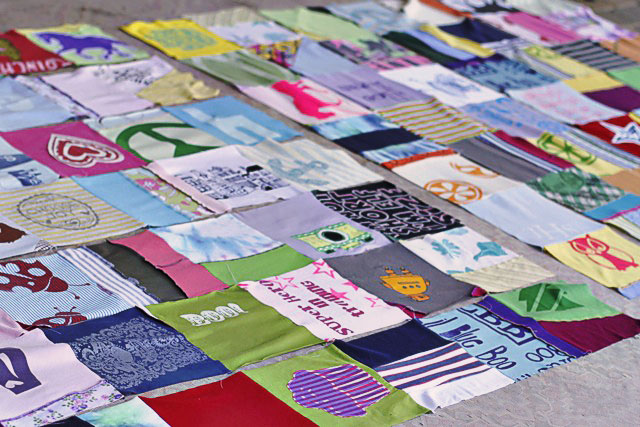
Boo helped me to place all the squares in a pattern. It’s double sided so we had 7 squares by 7 squares for each side of the quilt. I then stacked them up in order so I could keep them straight.
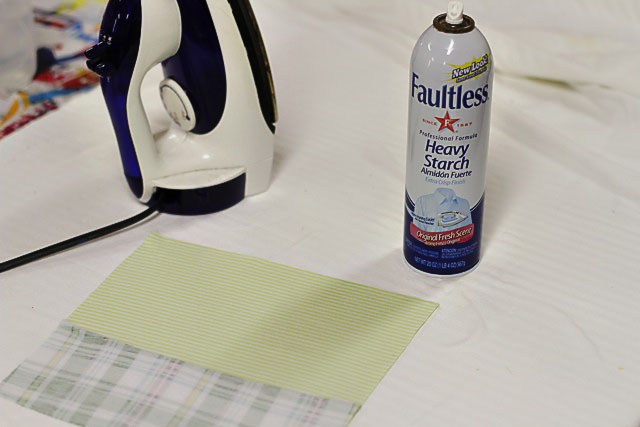
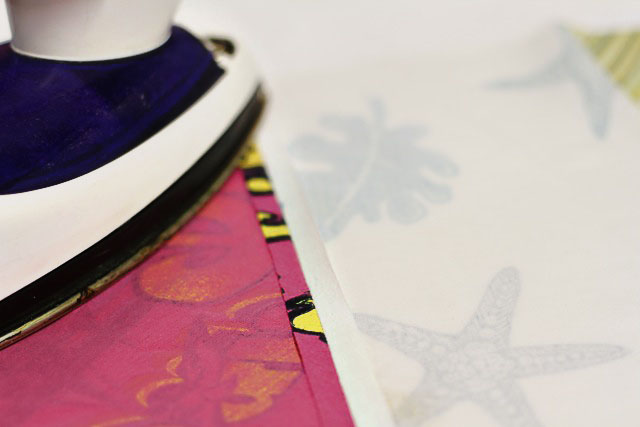
Instead of interfacing, I used spray starch to coat each square and I ironed out each piece. Then I rechecked my square template and trimmed any wonky edges so that each square was perfect.
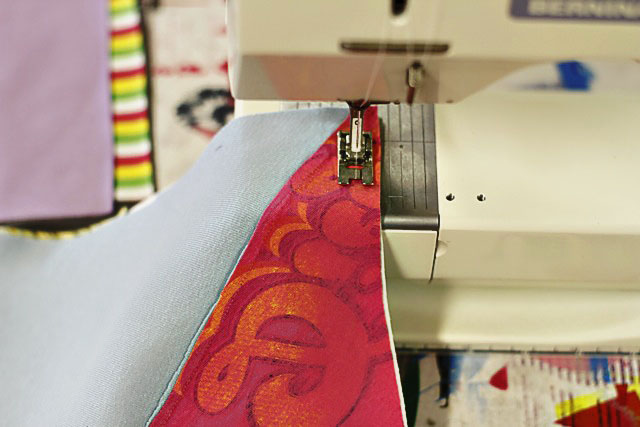
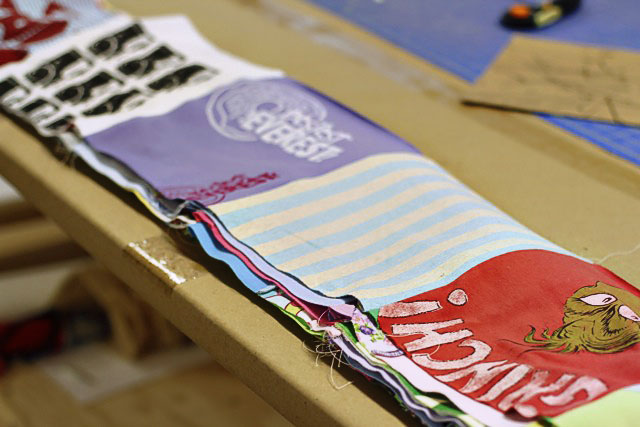
I began to sew each square together in rows. 7 squares made up each row.
After each row was finished I ironed the seams flat.
Here are all my rows finished:
I laid out all the rows again just to double check my design.
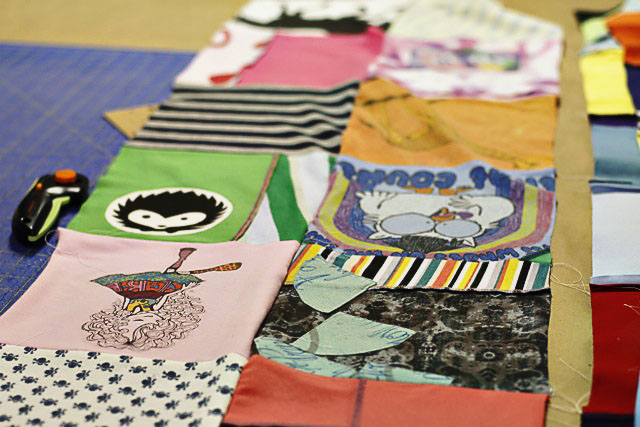
Then I began to sew all the rows together.
After both sides of the quilt were completely assembled I ironed all the seams flat again. I used spray starch to make sure they stayed nice and flat.
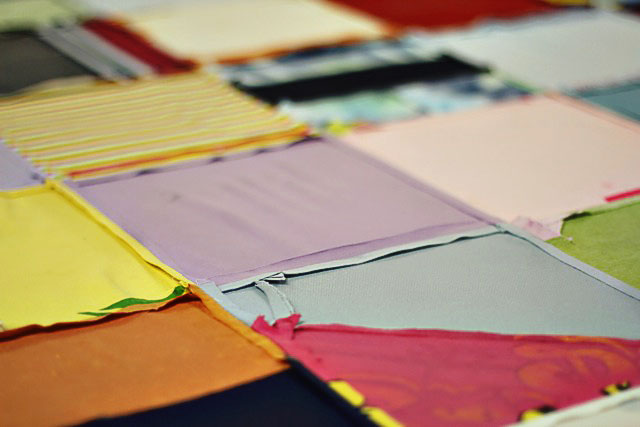
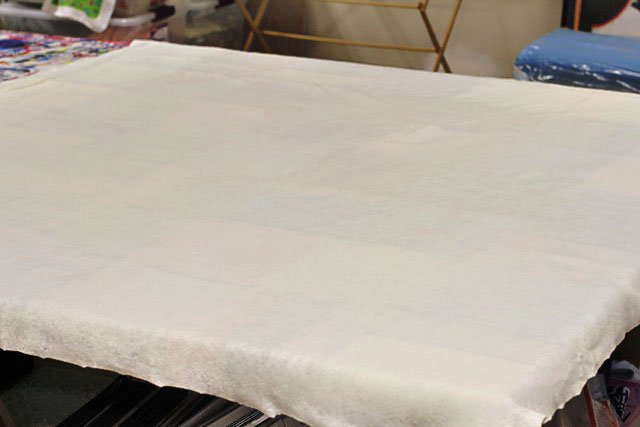
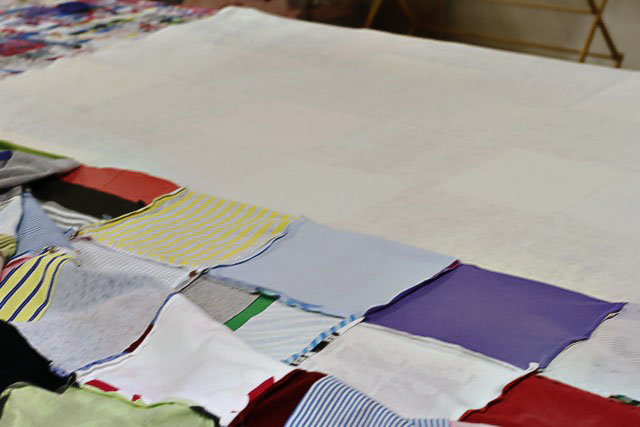
I laid one side of the quilt face down on a large table and then laid a large piece of batting on top of it. I used an iron to press the batting completely flat and smooth.
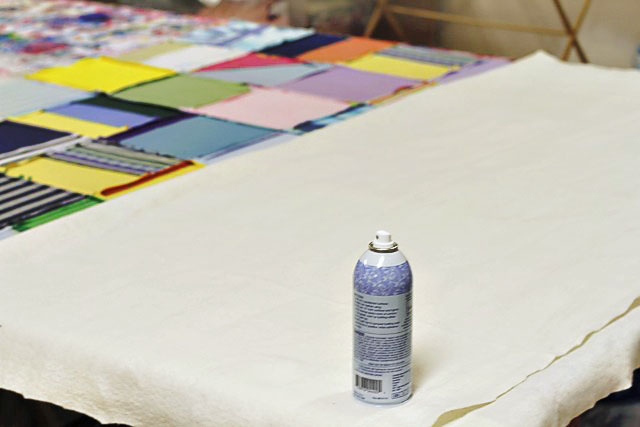
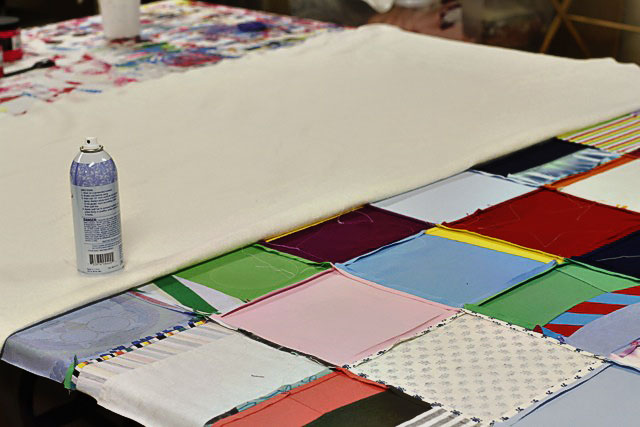
I rolled back one side of the batting and used a spray adhesive (made especially for quilting and basting) to coat the top of the batting. Then I carefully rolled the batting back into place making sure to smooth it into place.
Then I rolled back the other side of the batting and repeated the adhesive spray.
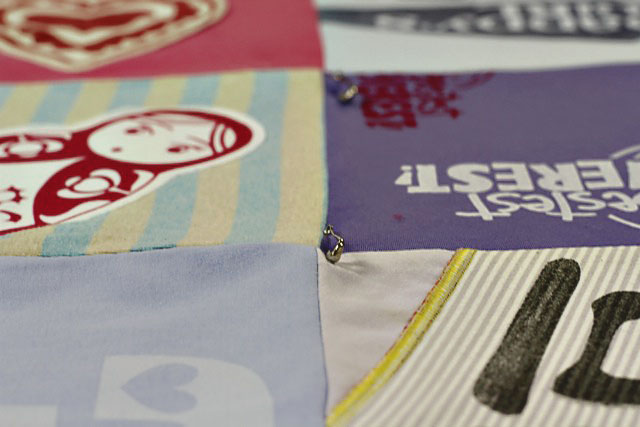
I finally laid the top of the quilt into place on top of the batting. Starting at the center of the quilt I carefully lined up the squares and seams to the other side of the quilt and used safety pins to pin it in place.
I rolled back one side of the quilt top and sprayed enough adhesive to cover the area of one row of quilting squares. Then I carefully rolled one row of the squares back in place and used safety pins to secure just that row in place by matching up the seams (mostly where each section of 4 squares meet together).
I slowly repeated this process for every row in the quilt until I reach the edges. Then I repeated for the other side of the quilt. By the end, my entire quilt was pin together with all the seams matching from front to back. If any of the squares look a little wonky or tilted I used a little bit of tugging back and forth to smooth out the entire quilt.
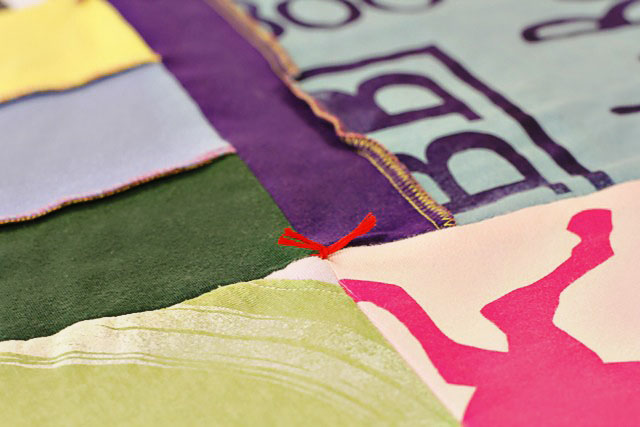
I used embroidery thread to make little ties at each intersection of squares. This holds the entire quilt together and secures the pieces in place. On the entire quilt was secured I removed the safety pins.
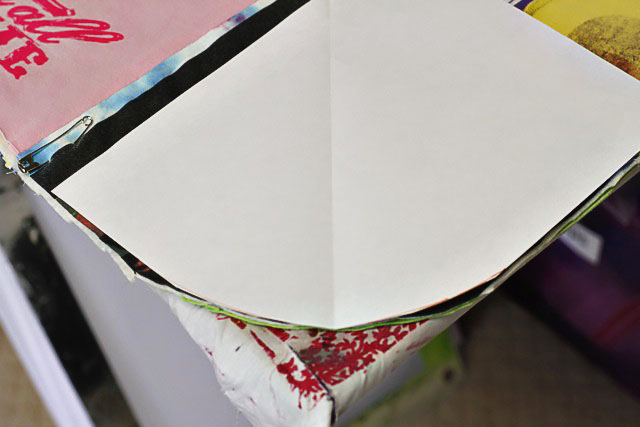
I made a little template to round out the corners of the quilt:
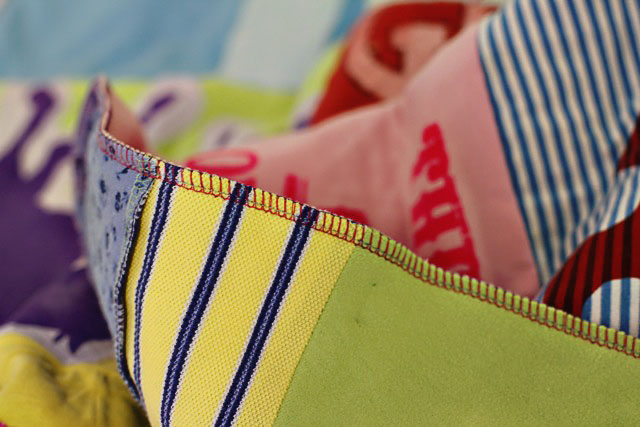
Instead of binding the quilt, to keep with the exposed seams used in the dresses, I just used my serger to add color thread all the way around. You can add bias tape around the edges if you don’t have a serger.
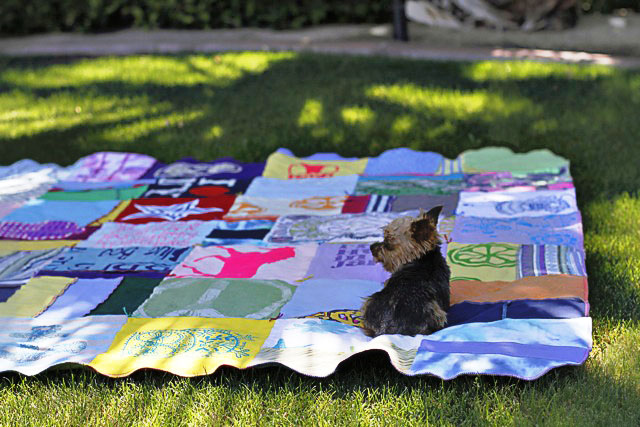
Here’s Diesel enjoying the blanket this morning out in the yard!
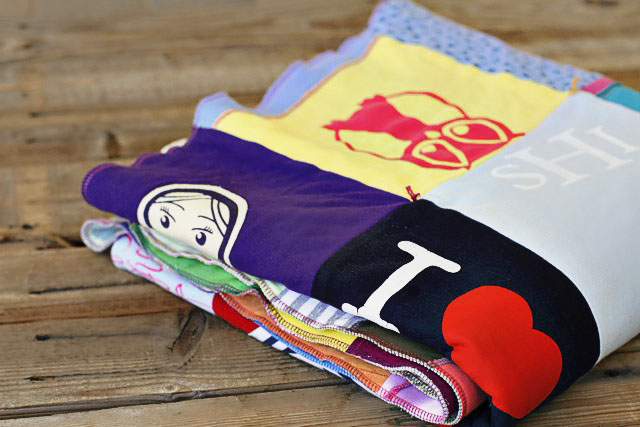
I added a few extra appliques from t-shirts that weren’t able to be added as a square…..it made the quilt a little more interesting. A t-shirt quilt (or dress quilt!) is a great way to preserve memories so that they’ll be enjoyed every day!
- « Previous Page
- 1
- …
- 22
- 23
- 24
- 25
- 26
- …
- 61
- Next Page »

