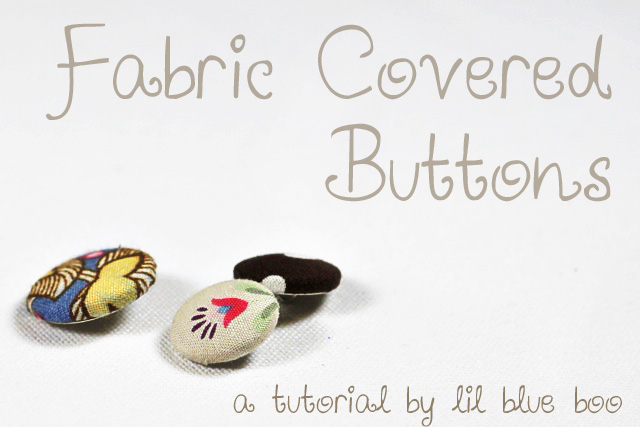
I love fabric covered buttons. There are so many unique uses for them as you’ll see in our project roundup at the bottom of this tutorial.
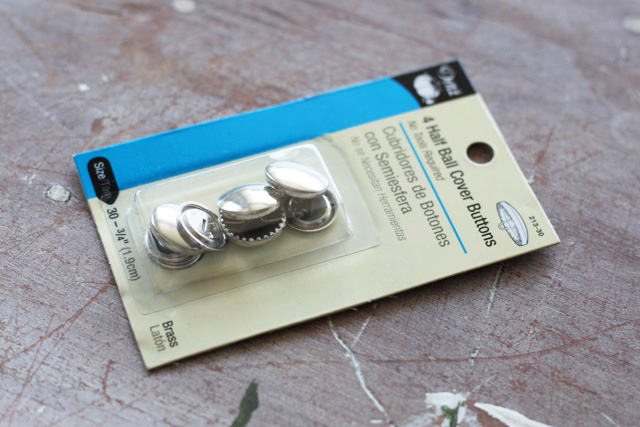
To make the buttons you’ll need a metal button kit which comes in many sizes and can be found in most sewing stores:
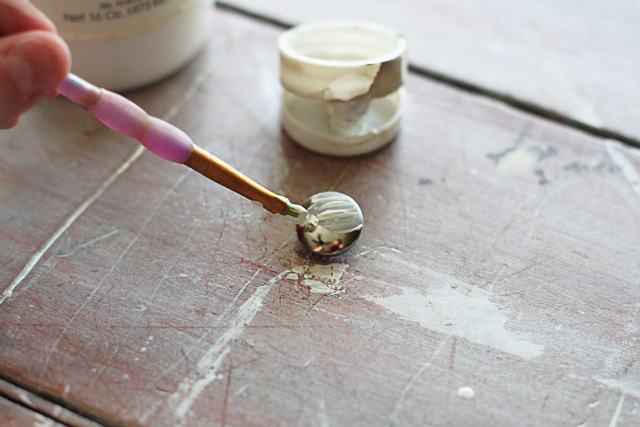
Optional Step: Personally, I like to paint my buttons with an acid free primer first so that the metal doesn’t reflect light from under the fabric once they are made:
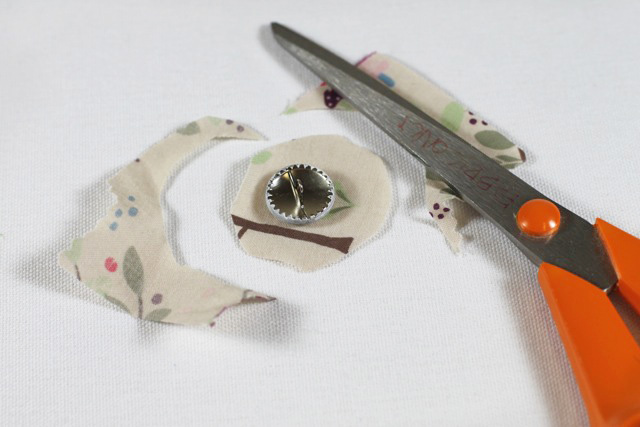
Step 1: Cut a fabric circle slightly bigger than the button you are making:
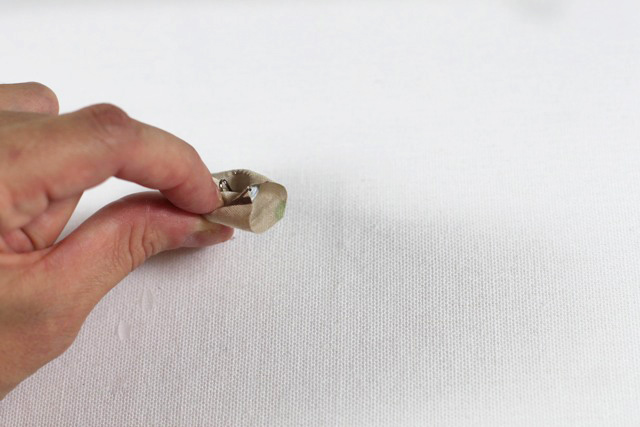
Step 2: Carefully push the fabric around the edges of the button and under the metal prongs that will keep the fabric in place:
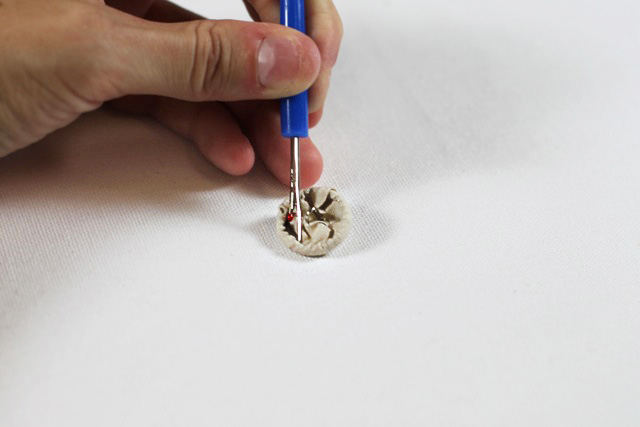
You can use a point from a seam ripper to carefully grab stubborn, small areas and force them under the prongs:
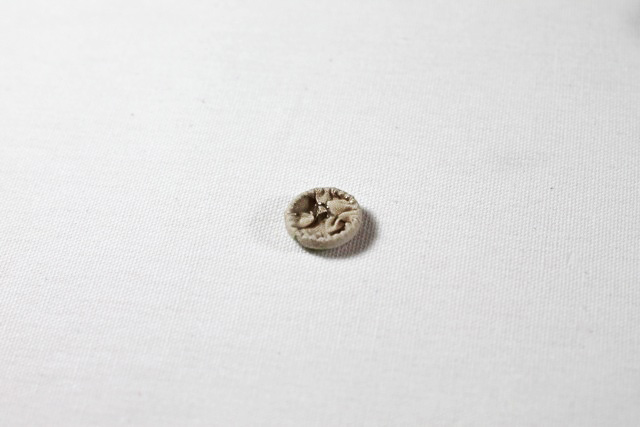
Continue until all the fabric has been pushed under the prongs.
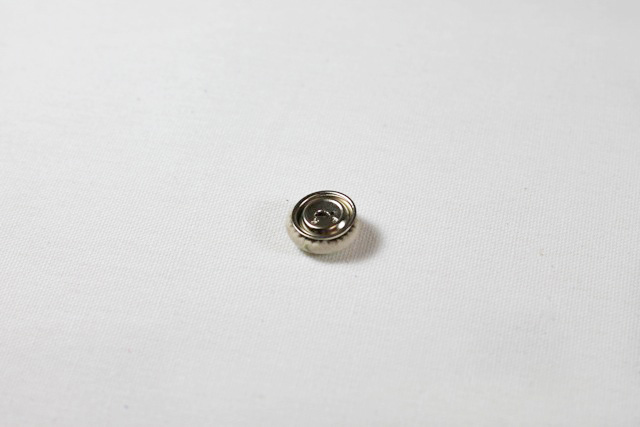
Step 3: Place the metal backing onto the back of the button……
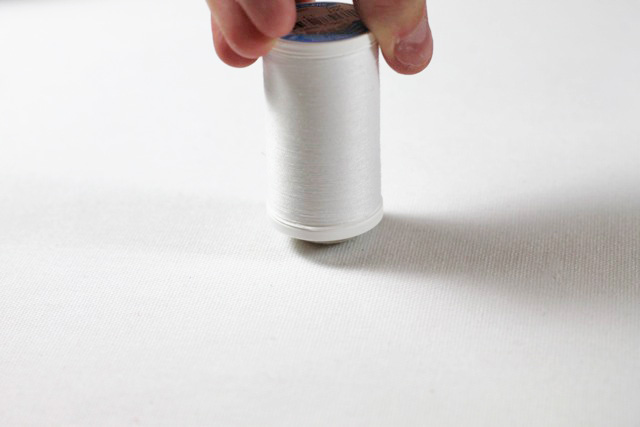
…..and use a spool of thread to push it down into place:
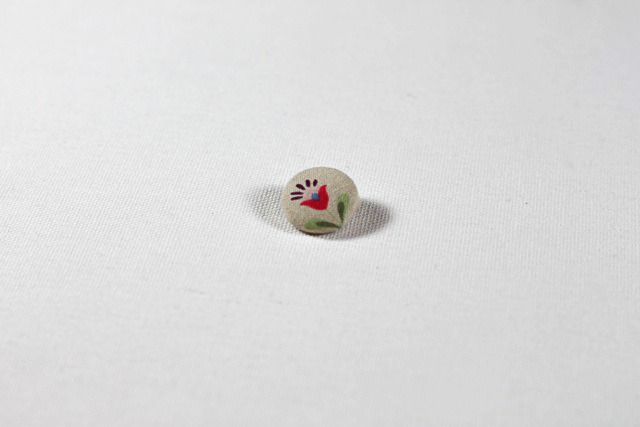
A finished button! I love using novelty fabric such as the folk art print below:
Just a few button crafts we found around the web!
 1. Button Hair Clips from Better Homes & Garden
2. Button Wreath from CountryHome
3. Fabric Button Earrings from Sada Lewis
4. Fabric Button Necklaces from Very Purple Person
5. Fabric Button Brooches from Sania Pell
6. Button Necklace from FiskarsCrafts
7. Pointed Flower Tutorial from Creation Corner
8. Covered Button Ties from Martha Stewart
9. Covered Button Blossoms from Martha Stewart
10. Covered Button Bookmarks from My Three Sons
This post is part of a new ongoing series:

