I’ve been helping my friend Daren transfer some of his old acting demo clips from VHS to digital format. I thought it would be the perfect opportunity to create a step-by-step tutorial for transferring VHS to iMovie because I know you’ve been asking for a while now.
First of all…..how cute is Daren?! I loved watching all of these episodes….brought back so many memories: Wonder Years, Hunter, My Sister Sam, Growing Pains. You can click the image below and see the clips on IMDB:
 I’m still trying to talk Daren into letting me run his fan club.
Ok, on to the step-by-step:
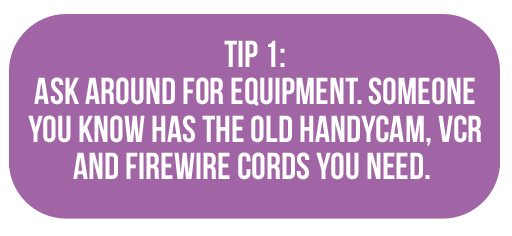
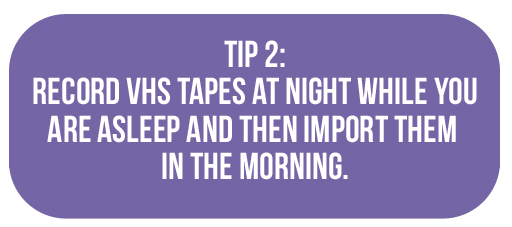
First of all, it’s pretty easy to import a VHS tape into iMovie for editing….but it involves a few steps because the VHS has to be converted into a digital format first. I do this using my Sony Digital 8 Handycam. I record the VHS tape onto the Handycam and then import recorded footage into iMovie. I’ve got two tips to getting this done:
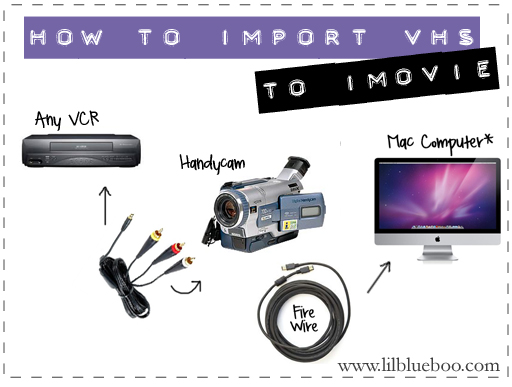
Ok now to get started! To convert VHS to digital format using a handycam you’ll need the following which you can probably find from a neighbor or friend:
Digital 8 Handycam (DVC)
Audio Video TV Out AV Cable
Any VCR
Fire Wire Cable
Fire Wire Cable Adapters (if needed)
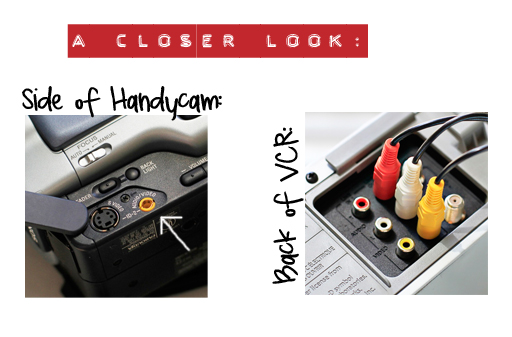
The first step is connecting the Handycam to a VCR. This is done with a simple Audio Video TV Out AV Cable….you probably already have one sitting around somewhere. It has the 3 colored plugs on one side and an earphone like plug on the other side.
 Here’s a closeup of where to plug each side of the AV cable into:
 Next, insert a blank tape into the Handycam (DVC)….or one that you don’t mind recording over. Turn the DVC on to VCR mode:

