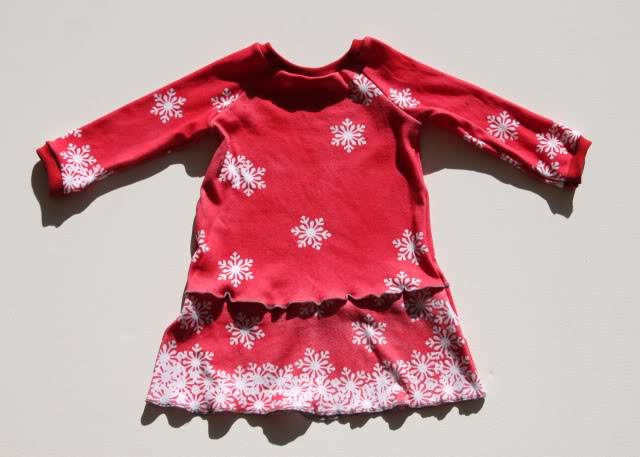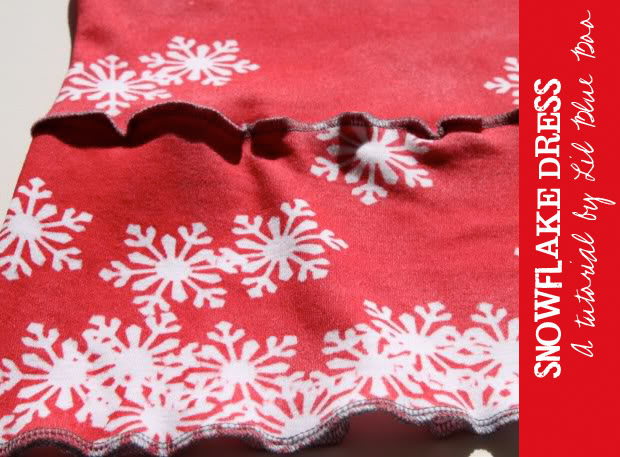
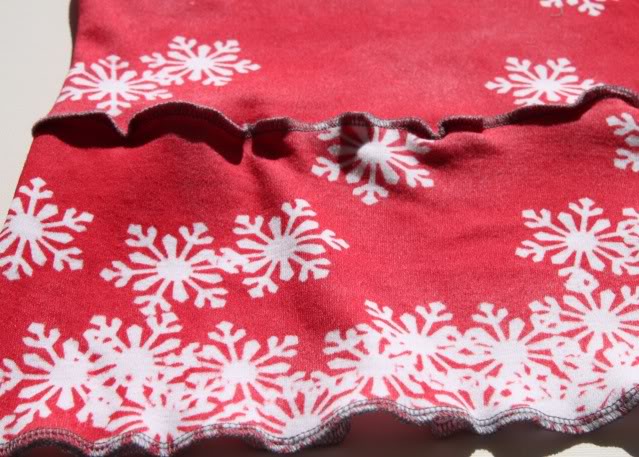
This was runner up for my submission for this coming week’s snow theme over at SYTYC. I made two “crafts” but this was the one that didn’t quite make the Lil Blue Boo cut so here it is! You can use this technique to make any print you like….I just chose snowflakes because of the holiday season! Use it on t-shirts or pants too! A very simple reverse freezer paper stencil technique:
Materials needed:
Solid color fabric (white or another light color works best)
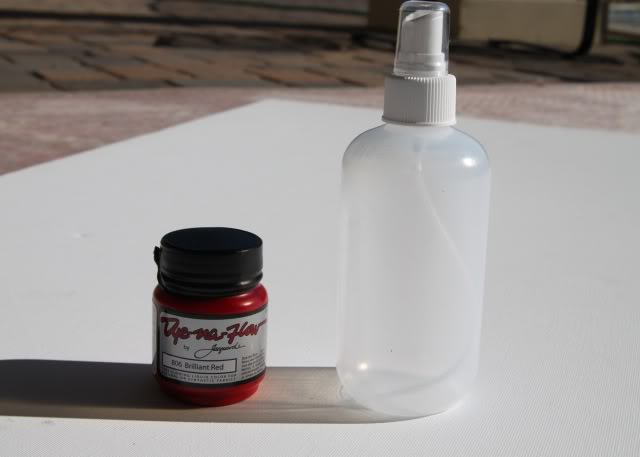
Dyn-A-Flow Silk Paint* (I only needed a 2.25 oz jar)
Spray bottle
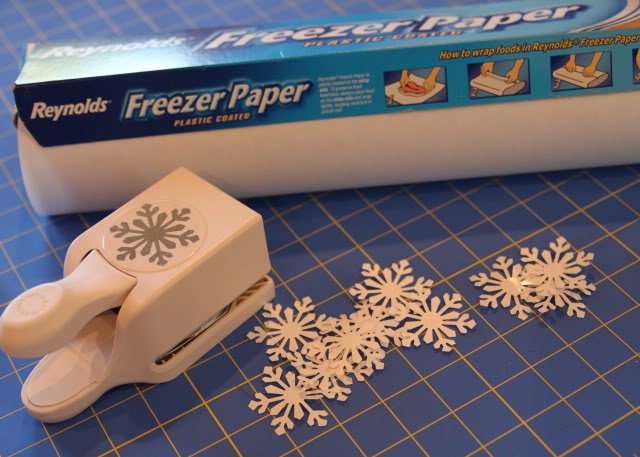
Freezer paper
Scrapbook Punch
*Not typically available at your local craft supply store….I got mine from Dharma Trading.
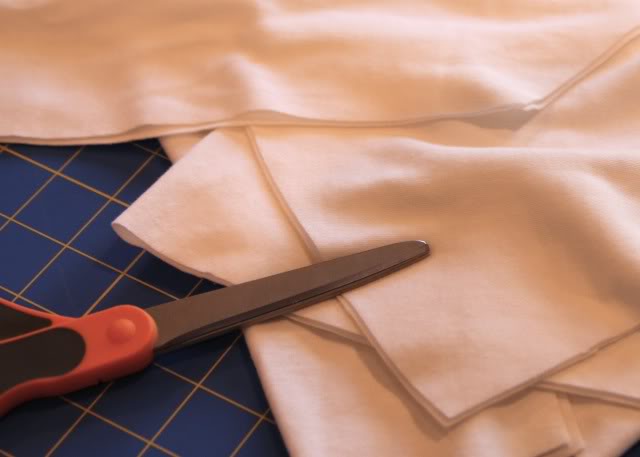
Step 1: Cut out the pieces of your clothing pattern.
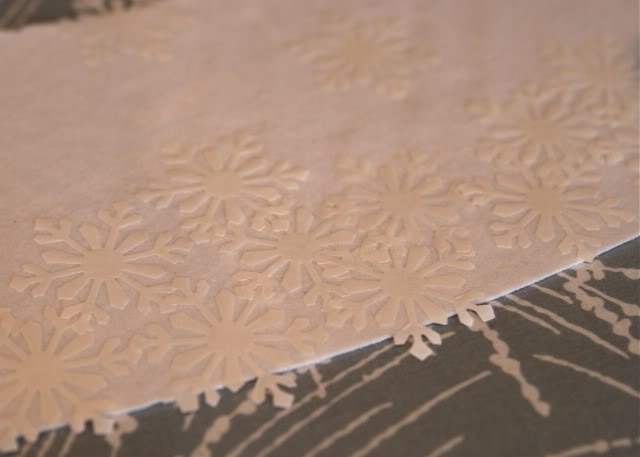
Step 2: Cut your shapes from freezer paper using a scrapbook punch.
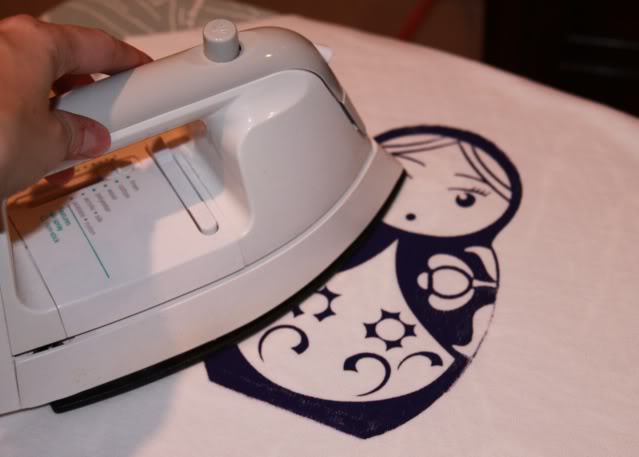
Step 3: Starting at the bottom of your pattern pieces start to iron on each shape (or snowflake in this example). I overlapped the pieces to resemble accumulating snow at the bottom.
Step 4: Mix your Dyn-A-Flow Silk Paint into a spray bottle: 1 part water to 1 part paint. I did the entire dress with one small jar of paint. This paint is really thin but strong (resembles a dye)….which leaves your fabric really soft unlike other paints.
Step 4: Lay out your fabric on a protective covering and lightly spray the entire surface. Do not spray too much or the dye will seep under the freezer paper shapes.
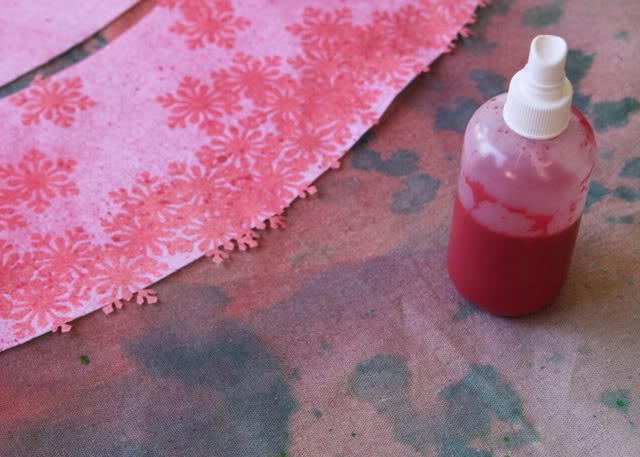
Step 5: As each layer dries, spray another layer……continue until you reach the desired color and coverage.
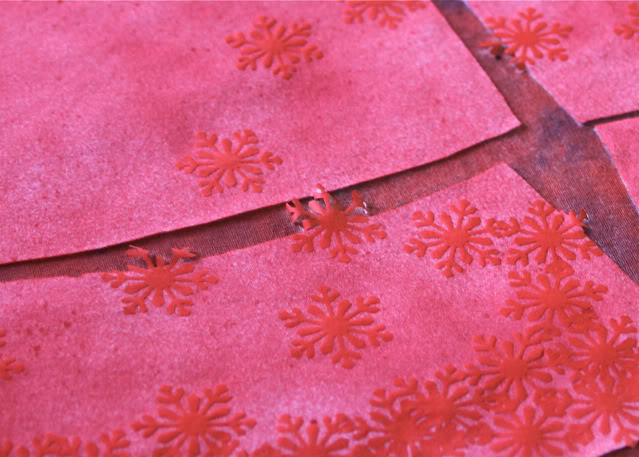
Step 6: Press each pattern piece with a hot iron to set the dye. You can wash your pieces before sewing if you prefer.
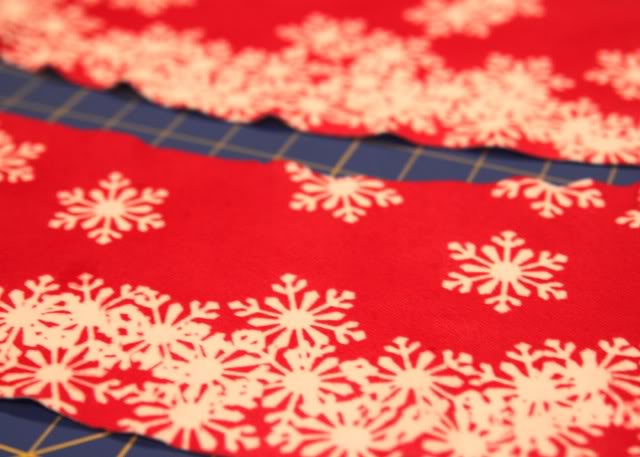
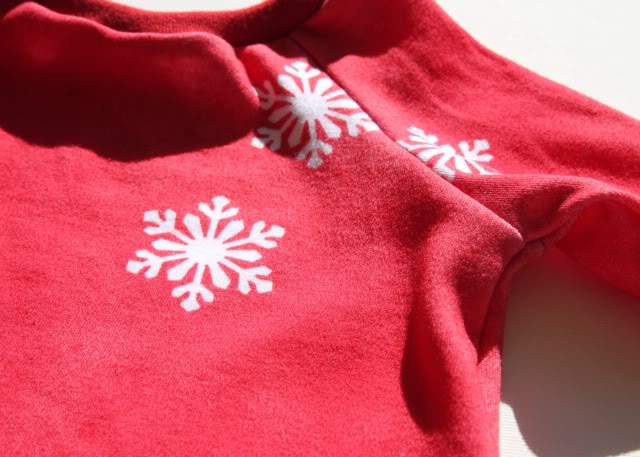
Finished! Boring old white fabric made into a vibrant custom print! Click here to see other projects and tutorials with freezer paper stenciling.

